Subaru WRX Forum banner

Billy's 2011 WRX Build Thread (Optimus)

65K views 205 replies 22 participants last post by  jfisch822  
#1 · (Edited)
Well It's finally here guys and gals, my build thread! Bare with me here, due to the nature of money this will be a VERY SLOW build. But follow along with me as I document the life and build of my new daily driver. So lets get started!

A little bit of background: My previous cars have been a 1984 z28 Camaro with a built 5.7L, a 2005 Maroon Dodge Dakota 3.7L, and a 2006 Silver Dodge Dakota 4 3.7L door with all the bells and whistles (except I facked up and didn't get the 4.7L like I should have in the first place). I also Currently own a 2007 Suzuki SV650S which becomes my daily diver for 6 months out of the year (Picture Here). This is my first Subaru and I'm loving every bit of it. There will be a bit of a learning curve for me but I've been doing an absurd amount of research to find the exact setup I'm going to be shooting for. Anyhow, I bought my 2011 WRB WRX Sedan back in September (2013) and I don't regret any bit of my first massive purchase. Now lets get to the important stuff.

Below is my parts list, current, pending, and future plans. Again, keep in mind this build is going to be slow. I'm hoping to be able to get my car to where I want it in about 2 years but we will see how that goes. You never know what could happen I guess!

Current Setup

Exterior/Engine Bay Dress-up
  • De-badged trunk
  • 18% tint all around
  • 5% front windshield visor
  • Perrin short antenna
  • RallyArmor Mudflaps Black w/Red lettering
  • GrimmSpeed Red Alternator Cover
  • Perrin Radiator shroud (Red)
  • SPT Carbon Fiber Trunk Trim
  • JDMFantastic Vinyls Red Tail Light Blinker Overlays
  • JDMFantastic Vinyls Subaru Emblem Overlays
  • JDMFantastic Vinyls Smoked Reverse Light Overlays
  • JDMFantastic Vinyls Third Light Red Out Overlay
  • GrimmSpeed Turbo Heat Shield
  • Limited Edition Black WRX quarter panel badges
  • Flat Black JDM Chrome Window Trim Delete
  • Hella Supertone Horns in Red
  • GrimmSpeed License Plate Relocate Kit
  • Custom License Plate Delete
  • JDMFantastic Vinyls Yellow Fog Light Overlays
  • WeatherTech Side Window Deflectors
  • Genuine Subaru Parts Fog Light Kit w/Housing
  • ForceWerkz Front Lip

Interior
  • SMY ClusterMaker Dual Gauge Pod
  • DeFi Analog Boost Gauge (Red)
  • Innovate LC-2 Wideband A/F Sensor and DB Gauge (Red)
  • Blue foot well illumination Kit
  • Subaru all weather floor mats
  • Pioneer AVH-X5600BHS
Engine/Powertrain
  • Opensource Tuned By Dom @ Turn in Concepts
  • Cobb RAM intake w/ Airbox
  • Invidia High Flow Catted Downpipe w/extra Bung
  • Invidia Q300 Quad Titanium Tipped Cat Back Exhaust
Suspension/Brakes
  • StopTech Street Performance Brake Pads, (front and rear)
  • StopTech Rotors (front and rear)
  • StopTech Stainless Braided lines (front and rear)
  • RCE Black Springs
  • Koni Yellow Adjustable Struts
Wheels
Summer:
  • Enkei Raijin's 18x9.5 +45
  • Michelin Pilot Super Sports 265/35 R18
Winter:
  • Stock wheels
  • No tires yet (likely General Altimax Arctic)
Fluid and Fluid Related Items
  • Retired: Redline 0w30 Engine Oil
  • Retired: Purolator PureOne oil filter (PL14460)
  • Rotella T6
  • Subaru Oil Filter
  • Motul 600 Brake Fluid
On Order/Pending Install

Build Plans

Engine/Powertrain
Next "staged" setup
-TMIC - ProcessWest, GrimmSpeed, or Mishimoto
-Aftermarket Full Recirculating Bypass Valve
-DeatschWerks Fuel Pump - Likely DW56c
-Fuel Injectors - Likely ID1000's

Interior

-Trunk LED strip
-Overland Shifter Boot
-Overland Ebrake Boot
-Alcantera Wrapping

Suspension/Wheels
-Whiteline Sway Bars (24 front - 22 rear)
-Kartboy Endlinks
-Enkei Raijin 18x9.5 +45 Matte Black

Driveline[/B]
-Kartboy Short Shifter
-Kartboy Shifter Bushing Kit
-WC Lathe Werks Custom Shift Knob
-Pitch Stop Mount
-Transmission Mount
-Subframe Lockdown Bushings
-Differential Lockdown Bushings
-Cusco Power Steering Rack Brace
-Whiteline Steering Rack Bushings

This is the night I got it up in Toledo:
Image


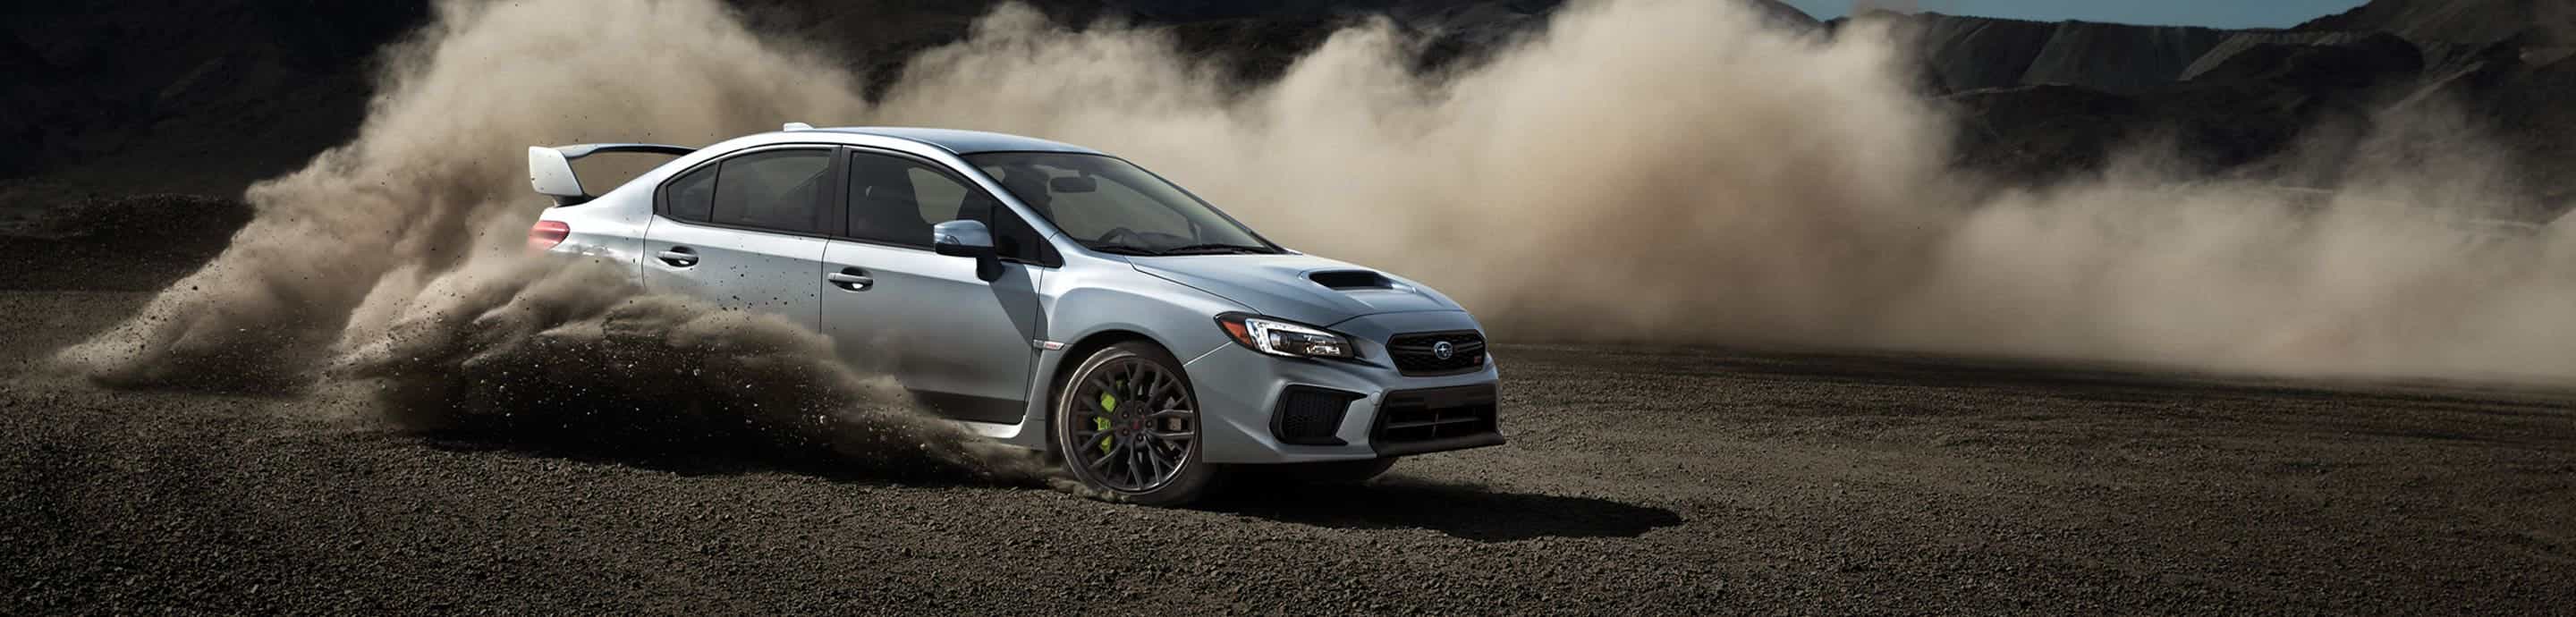
And this is how it currently sits:
Image


Here is my tune graph:
Image
 
#5 ·
Hey all, Just got back from the holiday vacation this week and had some parts waiting for me. Now added to the parts install party come spring is a red Perrin Radiator shroud and a GrimmSpeed turbo heat shield. Also, I kick started my Stage 2 parts accumulation with a GrimmSpeed EBCS :woocow:.
 
#6 ·
Had some fun in the snow today with my buddy and his evo. Here are some of the pictures we got. Ill post a GoPro video compilation when I get it uploaded to youtube.

Image

Image

Image

Image

Image

Image

Image

Image

Image

Image

Image

Image

Image

Image

Image

Image
 
#7 ·
Well installed a full set of mudflaps yesterday. The front was pretty easy because I just used the original mounting hardware from the previous set that were on there, took all of 15 minutes including adjustment time. The rears were a different ballgame. For starters, I knew I was going to run into this problem so I ordered a package of those paneling clips a few months back. What I didn't realize was how hard it was actually going to be.

For a bit of background, I found these bold studs and bolts in all places that there are supposed to be those little black panel clips on each of the rear fender well/wheel well (pictures below). I don't know why or even how, but someone thought it would be a good idea to replace those panel clips with some nuts and bolts... Thankfully they were not very tight. I could take most of them off with my hands with some outward pressure so the bolt would stay in place and not rotate. But the inside clip holes were not so easy. Those were somewhat tight and with no way to actually get to the inside of the panel piece I didn't know where to go from there. Well, after a bit of playing with things to see what might work and a healthy handful of curse words, I came up with an idea. So I removed all nuts I could with my hand and pushed the bolts into the fender support box. I then had my roommate pull on the fender just enough to get my hand inside the crack with a miniature open ended wrench to secure the bolt from moving. I was then able to, very uncomfortably and very slowly, loosen the nuts.

After that fiasco, everything went on nice and smooth. The mounting hardware for the rear mudflaps were easy and simple to install. I also re-installed the fender support box the PROPER way with the new plastic clips, unlike the brainless $hit$ that thought it was okay to put nuts and bolts their instead. How they did it, I have not a clue but it is fixed and doesn't look like crap anymore. :rclap:

TL;DR - Some dumba$$ thought it was a good idea to replace the plastic fender clips with virtually inaccessible nuts and bolts. After much cursing the bolts are off, mudflaps are on, and proper fender clips have been installed.

Image

Image

Image
 
#12 ·
Thanks for the tip. I probably would have thought about that if I had one of those haha. Either way I fixed it and made sure it was done properly.
 
#14 ·
3-21-14

Well, I ended up getting some extra time today and with the beautiful weather I couldn't pass up a chance to put some of the things that have been sitting around, on my WRX. So today I was able to install my vinyl emblem overlays, my rear blinker overlays, my SPT truck trim, my GrimmSpeed alternator cover, my Perrin radiator shroud, and I was able to debadge the trunk. The rear really looks different to me and I love it :wiggles: . I was also able to clean up a bit of the salt residue from winter in the engine bay. I will be washing the whole engine bay here in a couple months.

Unfortunately I was not able to get to the heat shield, the chrome trim deletes and the black fender well badges. Those will come on another nice day.


So here are some pictures from today's endeavors! Enjoy!


Started as a pile:

Image


This is the engine bay before mild cleaning and parts install:

Image


This is the engine bay after parts and a bit of cleaning (I accidentally left a screwdriver in there, whoops) :

Image


This is the rear end before:

Image


And After :woocow::

Image
 
#17 ·
Thanks, I love it too. I got the badge overlays from JDM Fantastic Vinys. I love these because they have a load of different colors you can mix and match for the emblems and they are cheap! I also got my tail light overlays from them. As for the fender badges (that I have not installed yet) I got those straight off of Subaru Genuine Parts .
 
#20 ·
4/1/14

Today I got some spare time and some more nice weather which gave me the ability to install my limited edition black fender emblems. I actually made a tutorial as to how to install this. The link is below. Took all of about 45 minutes but I sort of overheated the plastic fender and disfigured it slightly :unhappy: . Thankfully it is not that noticeable unless you get really close to it. here is a before and after.

08-14 Fender Garnish Trim Install


Image

Image

Image
 
#22 ·
To my other toy/summer DD. This past weekend I got her out of storage and installed some TechSpec tank grip pads, an integrated tail light (super happy with this one), got rid of the turn signals on my Fender Eliminator Kit, polished and waxed the whole bike, and bought a new gel battery! I'm also going to take off those ugly looking blinkers on the sides of my rear farrings when this stupid weather clears back up, and slap the new shoes I have sitting in my bedroom on her.

Here is a nice picture for your troubles.
Image
 
#26 ·
Yesterday I removed the ugly, and practically useless, cheap LED turn signals on my bike. Now there are just two little hole where the lights used to be. You can't see them in the picture unless you are looking for them, but in person they are noticeable. As unfortunate as this sounds, I think I am going to have to cover them up with some sort of matching stickers :(. Pictures:

After:

Image


Next, today I got some more nice weather on a day I drove to work instead of rode. So I went ahead and installed the last small item on my agenda, the chrome trim deletes. They were fairly simple and straight forward and it took me all of 30 minutes (I went slow and took my time). These, I believe, were from Premium Auto Styling. Here is an after picture:

Image


Now all we do is wait for me to compile the money to take my car to the tuner :)
 
#27 ·
I did the chrome trim two weekends ago as well. It does look great. I screwed up the passenger rear side though because it was baking in the sun all day and got hot. It stretched the vinyl to where it didn't fit perfectly anymore :(
 
#28 ·
You know, none of mine really "fit perfectly". It seems like all of them were quite a bit too long. Did you have this same problem? One was quite a bit too long but that is because I stretched it a little bit while installing it.
 
#31 ·
Sweet build man love the snow vid I'm sure you had fun Optimus is very suiting if you have ever seen smurfinwrx's videos or build thread here he has red rims if you ever wondered what that would look like on your car!
 
#34 · (Edited)
#35 ·
So a little present came in the mail for me today :) A big thank you to Matty over at WTF Tuning for hooking me up with some awesome parts. Now I just wait to get the money over a couple more paychecks and schedule for a dyno protune over at IPS Motorsports. :woocow:

Image
 
#36 ·
..... and just like that, with all good comes bad apparently. So I took my wheels to get rebalanced today after this harsh winter. Well they came in and told me there was something I need to see. Come to find out there was a HUGE deep chunk taken out of the inside sidewall of one of my tires. F*** me right? This thing was deep. Deep as in you could see the inside lining of the tire deep. Although this is bad, and I'm certainly far from happy about this all as not only did I had to get a new tire today but I just bought these tires in December, I'm still extremely lucky because they are only a quarter of a year old and there was hardly any tread ware. So, instead of getting a whole new set of tires, I only needed to get one new tire. Also, God only knows how long my tire has been like that and I'm extremely lucky the tire didn't blow out then forcing me to not only get a new tire, but a new wheel as well.

All in all, F*** Ohio pot holes and their lack of ability to keep their roads safe for cars. Needless to say, this is going to put a decent damper on my plans to tune. :(

Image
 
#37 ·
McBill said:
So a little present came in the mail for me today :)
I tell you your car is slow and all of a sudden power parts arrive...I must have mind-control or something.

McBill said:
..... and just like that, with all good comes bad apparently. So I took my wheels to get rebalanced today after this harsh winter. Well they came in and told me there was something I need to see. Come to find out there was a HUGE deep chunk taken out of the inside sidewall of one of my tires. F*** me right? This thing was deep. Deep as in you could see the inside lining of the tire deep. Although this is bad, and I'm certainly far from happy about this all as not only did I had to get a new tire today but I just bought these tires in December, I'm still extremely lucky because they are only a quarter of a year old and there was hardly any tread ware. So, instead of getting a whole new set of tires, I only needed to get one new tire. Also, God only knows how long my tire has been like that and I'm extremely lucky the tire didn't blow out then forcing me to not only get a new tire, but a new wheel as well.

All in all, F*** Ohio pot holes and their lack of ability to keep their roads safe for cars. Needless to say, this is going to put a decent damper on my plans to tune. :(
:sadwave:
 
#38 ·
Well as a result of my having to buy a new tire and not being able to tune for a bit longer, I decided to go ahead and just put the Q300 on this weekend. Installation was pretty straight forward and easy and there were no fitment issues. Both of the bolts to the down pipe just broke off with not too much force at all. The old doughnut gasket that was in-between the down pipe and the mid pipe was quite a pain to get off. we had to chisel it off of the down pipe. The joint between the stock down pipe and the new mid pipe has a bit of an exhaust leak. I'm not terribly concerned about it because I will be putting the new down pipe on in just a couple of months.

Otherwise, the new setup sounds amazing. It's better than I could have hoped for. Here are some pictures.

Image

Image

Image

Image
 
#42 ·
I am very happy with the sound. If I had a way to describe it I would say it's perfect. It does a GREAT job of emphasizing the lower RPM's, really deepened the tone all around. It's definitely noticeable and sounds GREAT but it's no where near stupid loud like a fart cannon. There is no drone what so ever (I have a sedan). On the highway, or even cruising city streets at the same RPM's, It sounds like the stock exhaust especially with the windows up. In a nutshell, it's loud when you want it to be and nice and quiet when you want it to be. Quite perfect honestly.

Honestly, while I'm not typically a fan of the burnt muffler tip (I prefer an OE look), it doesn't look bad on a WRB car. I still would have stainless tips on my personal vehicle (even WRB), but it isn't that bad on your car.
I like the burnt tips on the WRB a lot but that's about it. I think the OEM brushed tips look the best out of the two on all the other colors.