
Where to start... who knows?
I guess first I really need to thank my sponsor JSC Speed especially Chris & Justin, for all of their help. Always helpful, thanks guys!
I will be starting my third season in SCCA Solo racing. My goal for last season was to be the STX champion in Philly Region and I did so with this setup:
2007 Power:
Gutted stock uppipe
Invidia catted downpipe
Borla Hush catback
OTS Cobb STX tune
2007 Suspension:
JDM STi Pink springs
Koni Sport Inserts
RCE lowering camber plates
GroupN rear mounts
Whiteline 27/29mm front swaybar
Whiteline 24mm adj. rear swaybar
Poltec endlinks
None of this is an overly amazing suspension setup, but I did find the car to be balanced and capable. I also found that my springs quickly became the limiting factor. They were simply too soft for a truely competitive car. This simple fact led to this year's suspension setup listed below.
2008 Power:
Perrin AftaMAF hose
Samco turbo inlet hose
Invidia uppipe
Invidia catted downpipe
Invidia N1 Regular catback
OTS Cobb STX tune (in need of a custom tune)
2008 Suspension:
Tein MonoFlex coilovers - non-OTS spring rates
Hotchkis street swaybar set (Note: Front now a Perrin 25mm)
Poltec endlinks (box mount rear)
Whiteline KCA375 offset traverse link bushings
Cusco lower mount bar
Aluminum rear lateral links
ALL GroupN rear suspension bushings
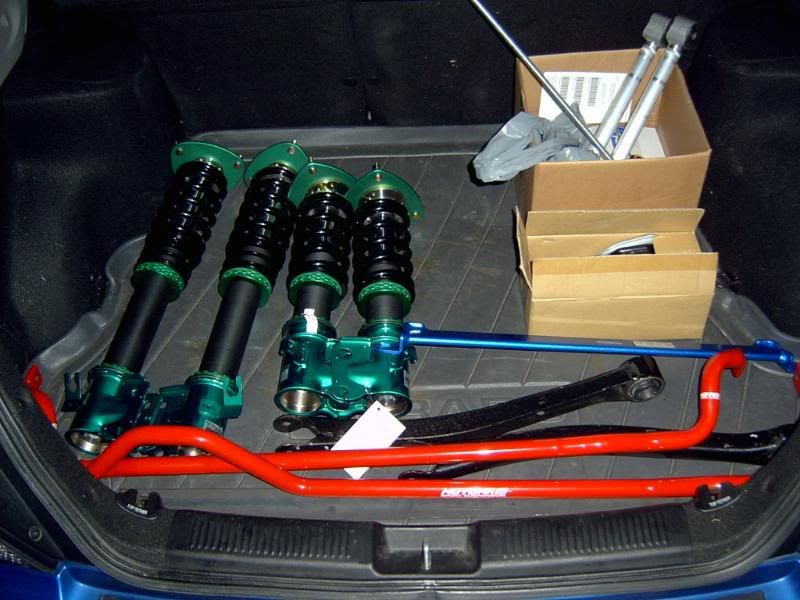
Obligatory bling shots:
![Image]()
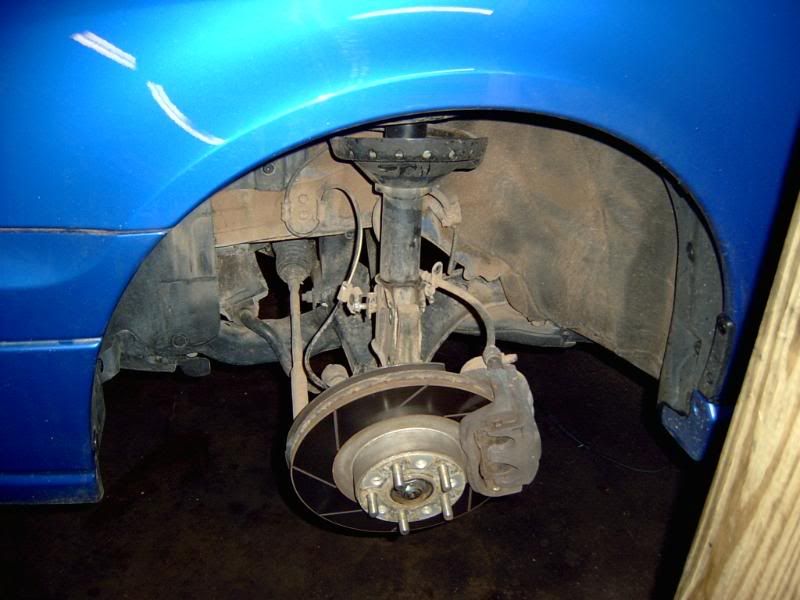
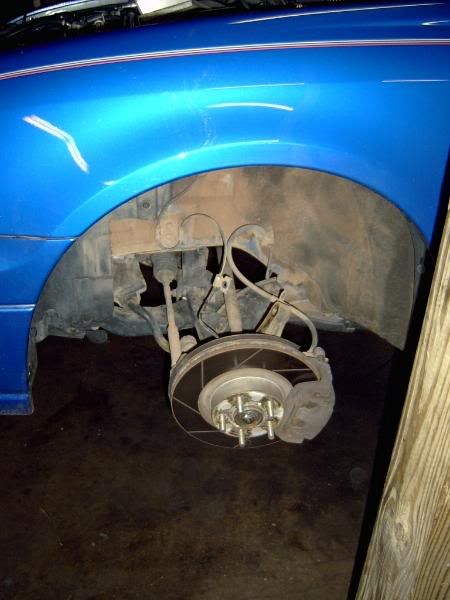
Let the surgery begin...
(Struts & springs are ready to come out)
![Image]()
![Image]()
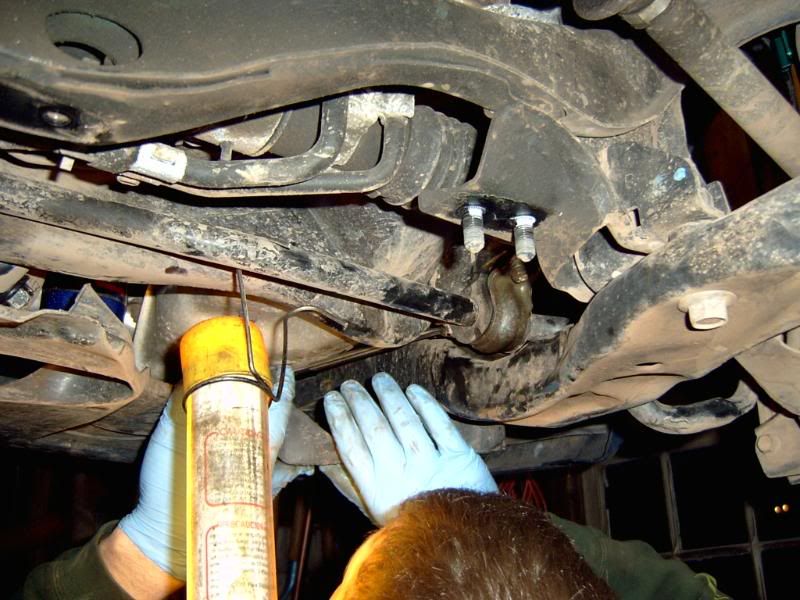
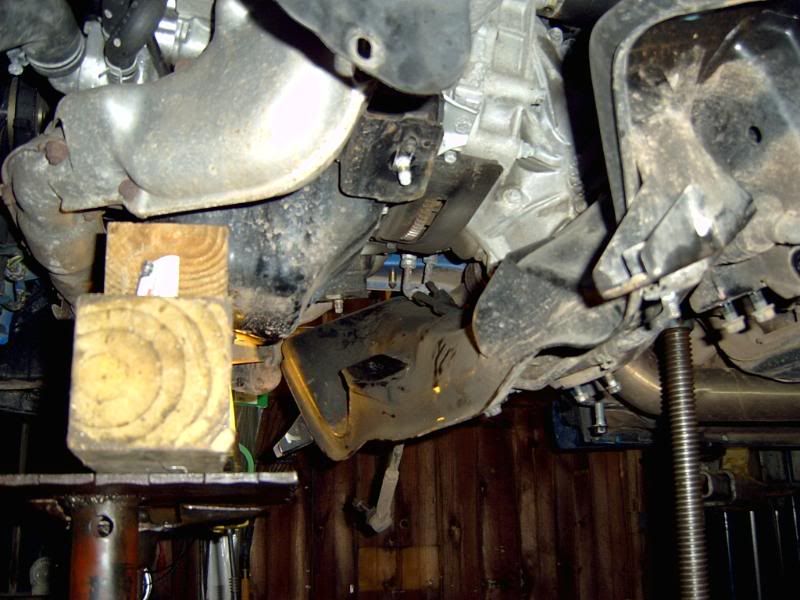
To install the front offset bushings and GroupN engine mounts the subframe and crossmember had to come out
Dropping the front subframe & crossmember...
![Image]()
![Image]()
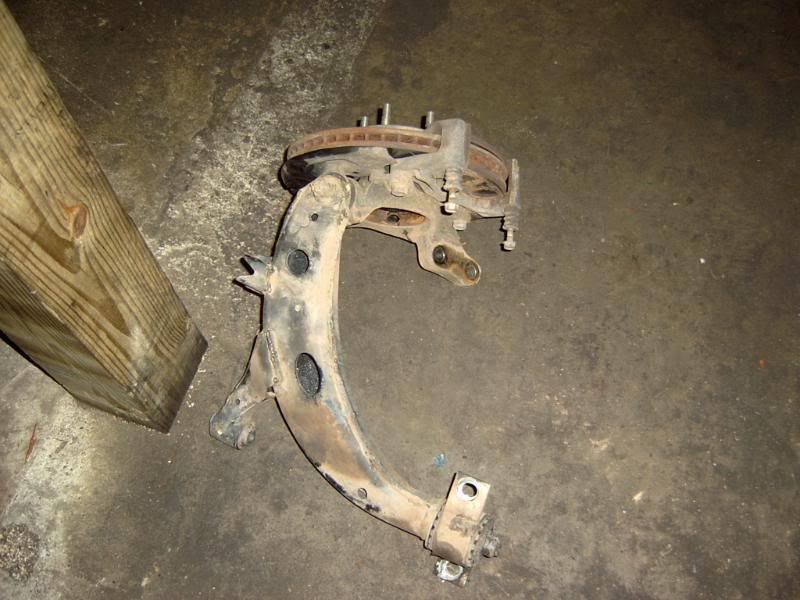
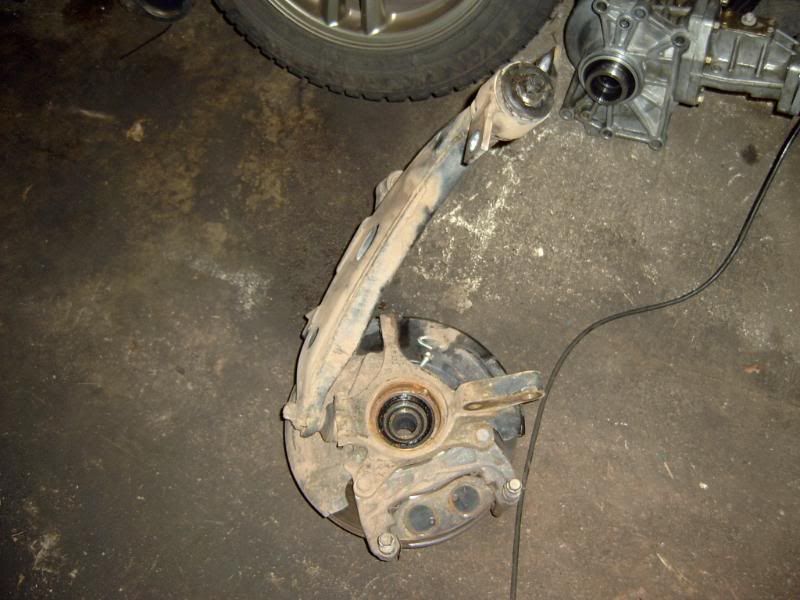
Next we removed the front control arms. This is when the zip tie holding the front brake caliper broke and the caliper fell about a foot, nailing me in the forehead. Control arms off...
![Image]()
![Image]()
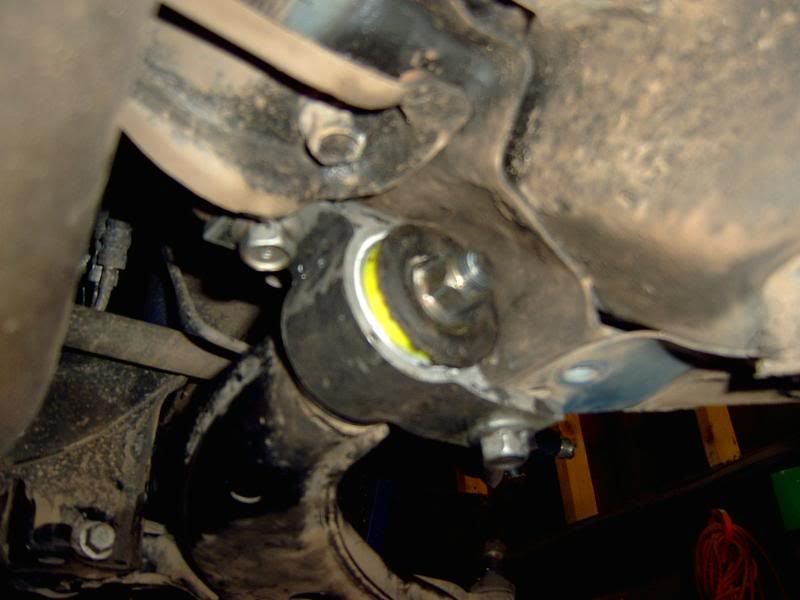
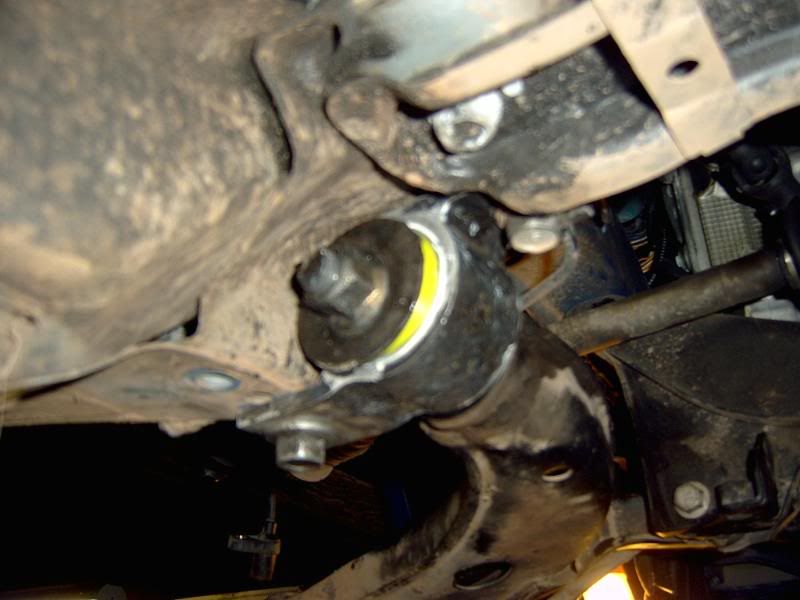
Next we removed the OE traverse bushings, they are surprisingly liquid filled, and pressed in the Whiteline offset bushings. Ah, nice yellow bushings...
![Image]()
![Image]()
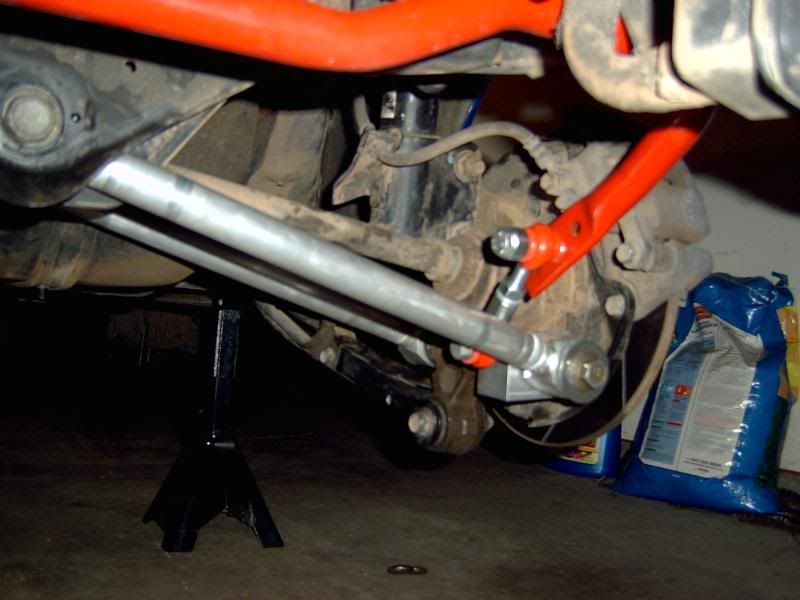
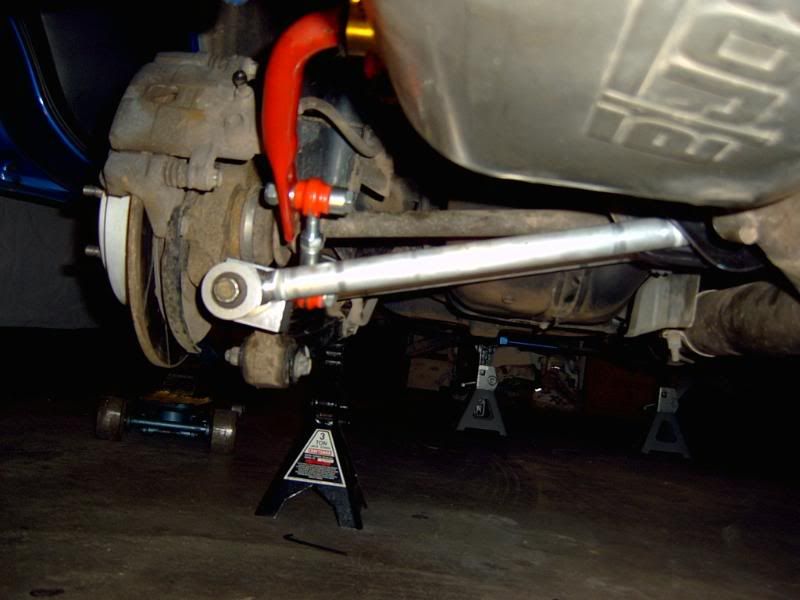
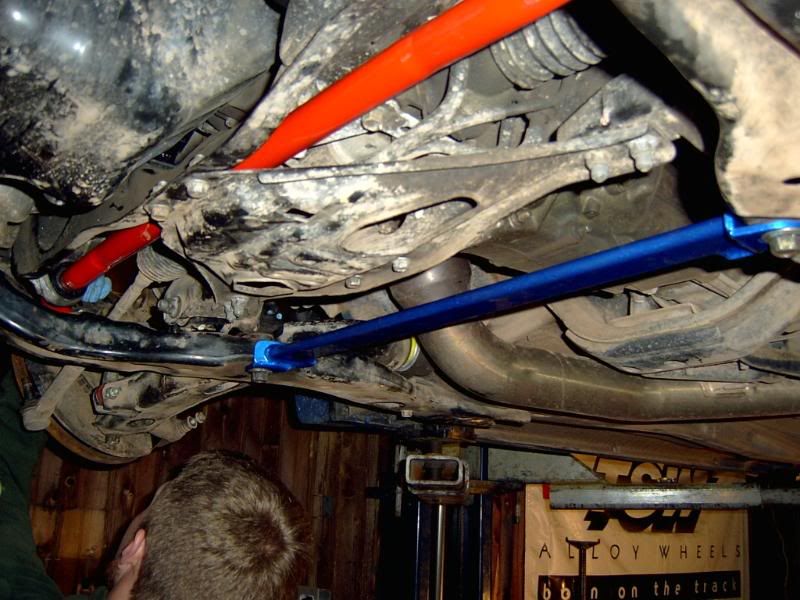
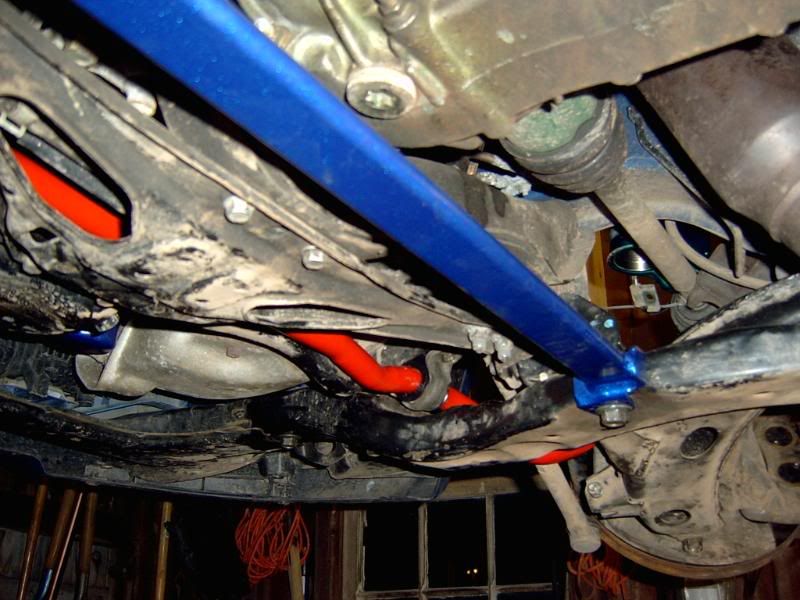
Now to finish up the rest of the front end, swaybar installed and lower mount installed...
![Image]()
![Image]()
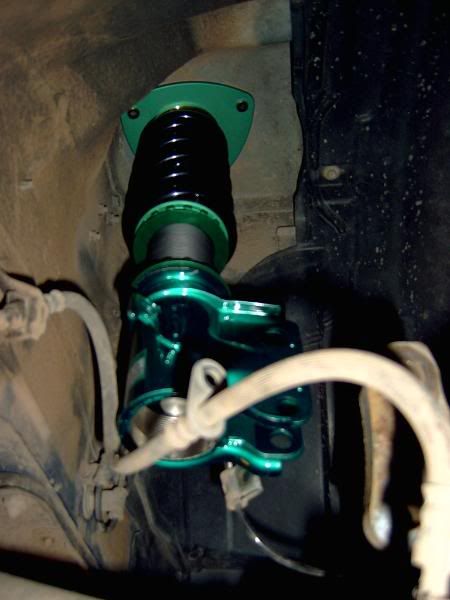
With the evening getting VERY late, we installed the coilovers, made some adjustments and called it good for the night. Front coilovers...
![Image]()
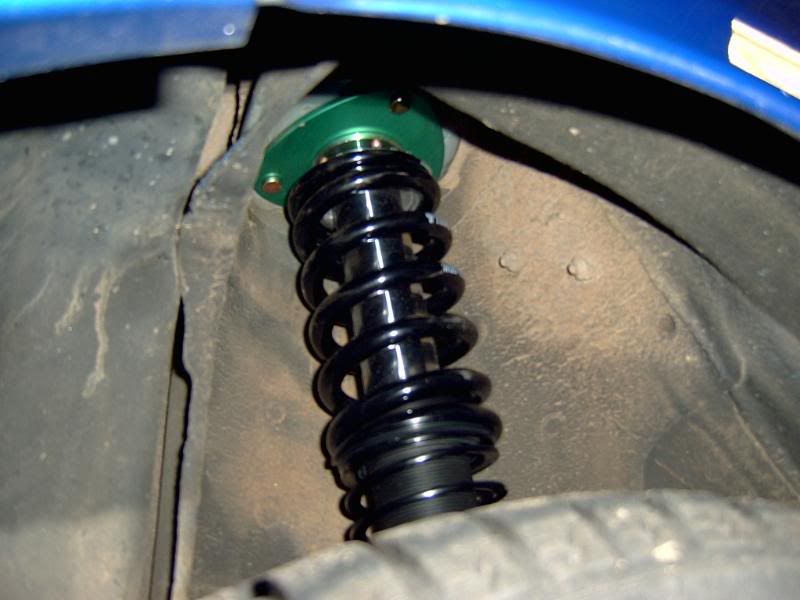
Rear coilovers...
![Image]()
That ended up being a very lengthy evening as I mentioned. The install of the motor mounts and the front offset traverse bushings added a good couple hours to the job.
I guess first I really need to thank my sponsor JSC Speed especially Chris & Justin, for all of their help. Always helpful, thanks guys!
I will be starting my third season in SCCA Solo racing. My goal for last season was to be the STX champion in Philly Region and I did so with this setup:
2007 Power:
Gutted stock uppipe
Invidia catted downpipe
Borla Hush catback
OTS Cobb STX tune
2007 Suspension:
JDM STi Pink springs
Koni Sport Inserts
RCE lowering camber plates
GroupN rear mounts
Whiteline 27/29mm front swaybar
Whiteline 24mm adj. rear swaybar
Poltec endlinks
None of this is an overly amazing suspension setup, but I did find the car to be balanced and capable. I also found that my springs quickly became the limiting factor. They were simply too soft for a truely competitive car. This simple fact led to this year's suspension setup listed below.
2008 Power:
Perrin AftaMAF hose
Samco turbo inlet hose
Invidia uppipe
Invidia catted downpipe
Invidia N1 Regular catback
OTS Cobb STX tune (in need of a custom tune)
2008 Suspension:
Tein MonoFlex coilovers - non-OTS spring rates
Hotchkis street swaybar set (Note: Front now a Perrin 25mm)
Poltec endlinks (box mount rear)
Whiteline KCA375 offset traverse link bushings
Cusco lower mount bar
Aluminum rear lateral links
ALL GroupN rear suspension bushings
Obligatory bling shots:
Let the surgery begin...
(Struts & springs are ready to come out)
To install the front offset bushings and GroupN engine mounts the subframe and crossmember had to come out
Dropping the front subframe & crossmember...
Next we removed the front control arms. This is when the zip tie holding the front brake caliper broke and the caliper fell about a foot, nailing me in the forehead. Control arms off...
Next we removed the OE traverse bushings, they are surprisingly liquid filled, and pressed in the Whiteline offset bushings. Ah, nice yellow bushings...
Now to finish up the rest of the front end, swaybar installed and lower mount installed...
With the evening getting VERY late, we installed the coilovers, made some adjustments and called it good for the night. Front coilovers...
Rear coilovers...
That ended up being a very lengthy evening as I mentioned. The install of the motor mounts and the front offset traverse bushings added a good couple hours to the job.