Okay guys So here is my write up from the brake upgrade I did on on my 2011 WRX premium sedan. I upgraded the calipers from the sliding type to the fixed caliper 4/2 pot 06-07 wrx oem calipers. This ended up being WAY simpler and easier than I imagined. Ken and Nick at KNS brakes helped me with gathering all the parts necessary for the upgrade. I can not say enough about their service. They were very helpful and professional. They can get you ALL the parts you need for this upgrade. The adapter bracket they make for the rear calipers is what made this upgrade so easy. here it is
The hardest part of this is going to be figuring out where to start. Just break your lugs free and jack the car up completely off the ground and put it on jackstands. I started with the passenger front caliper and made my way around the car. Take all of your wheels off and get all your parts lined up and ready to go.
turn your wheel so you can easily access the caliper and remove the bolts holding it in place. there should be two of them and they will be easily identifiable to you. Crimp your brake line off with a vice grip or something of that nature. I used a towel over the brake line and a vice grip so I didnt accidentally tear the rubber line.
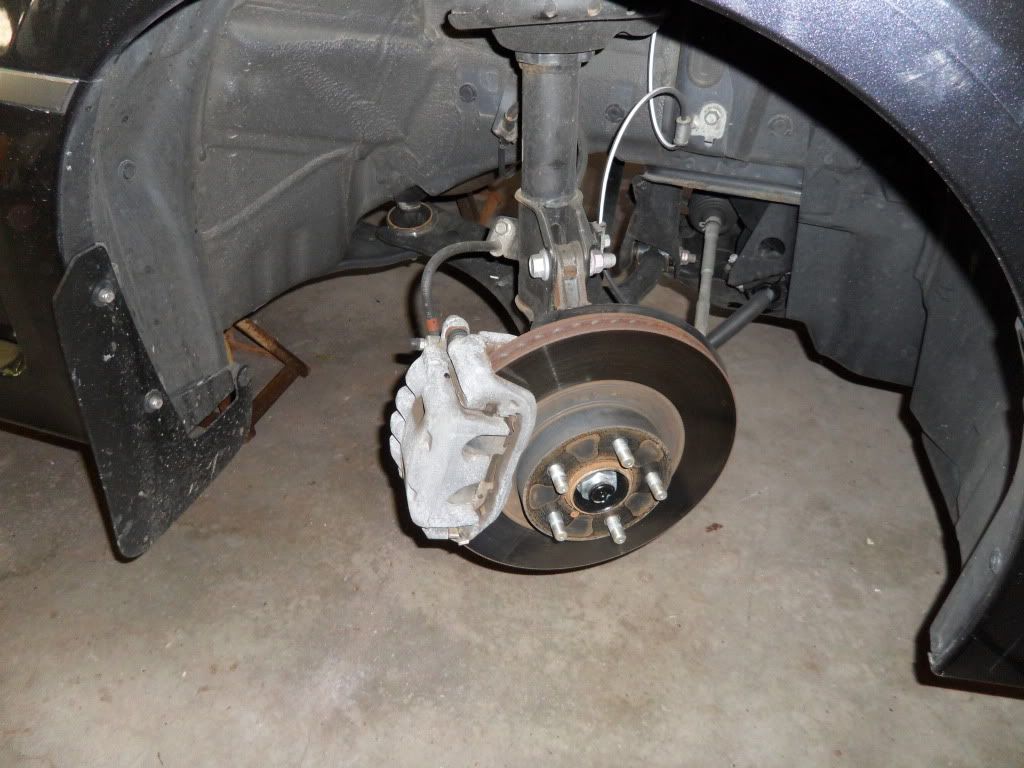
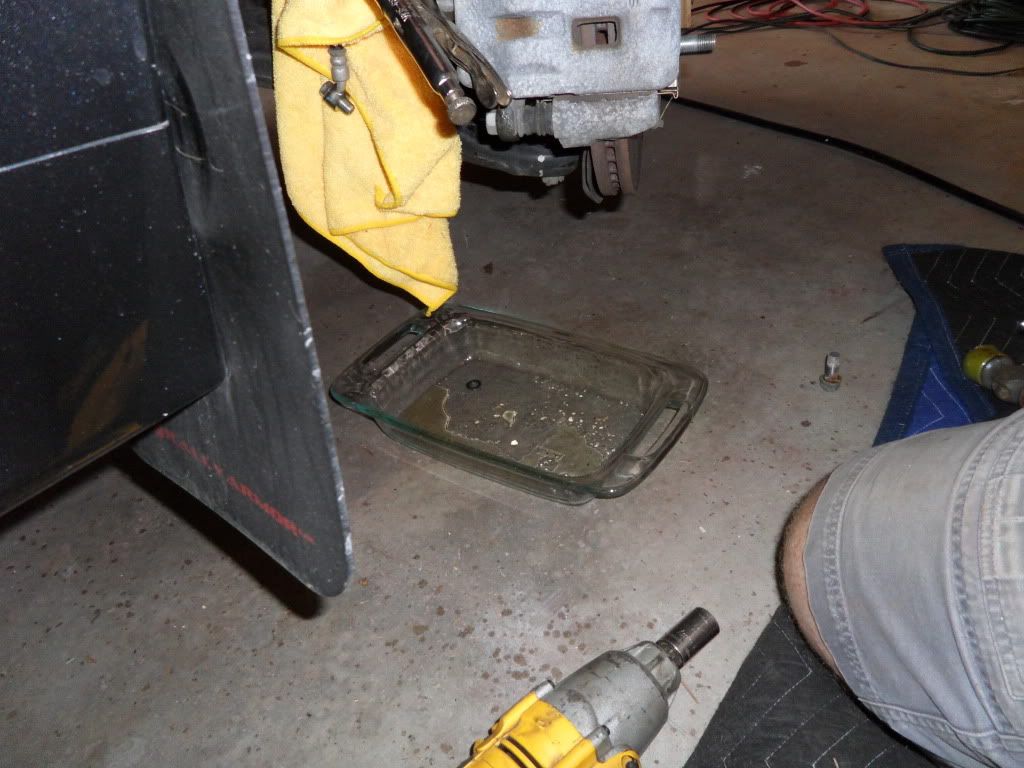
Next you will remove the banjo bolt from the back of the caliper and the two bolts holding the caliper in place. then slide it off. rear caliper just to show it off the car.
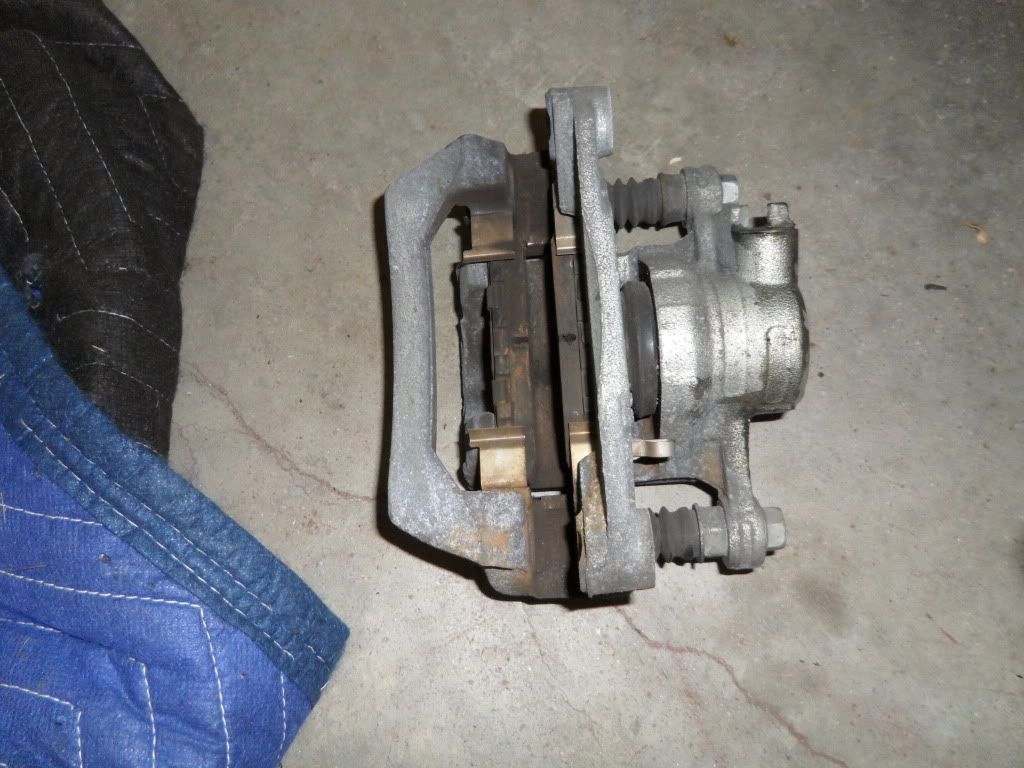
Then you simply reverse the process with the new caliper. It can go on the car with the pads and all the hardware already in it. If you need to know how to assemble the caliper and pads google it.
new caliper bolted up.
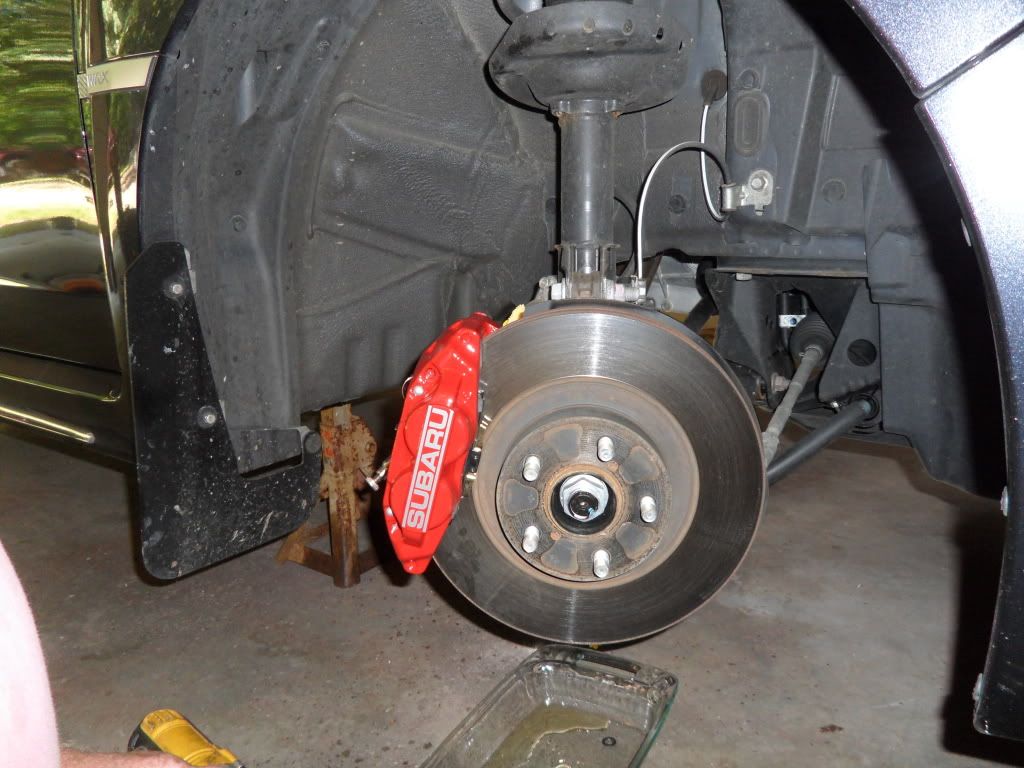
Once the caliper is bolted into place and the banjo bolt on the brake line is re attached to the caliper you will need to put a dish under the caliper and run a line off of the bleeder. crack the bleeder and let the caliper fill up with brake fluid until it starts to drip. then close the bleeder. if you get any brake fluid on the caliper immediately pour water on it. brake fluid eats paint and water neutralizes it.
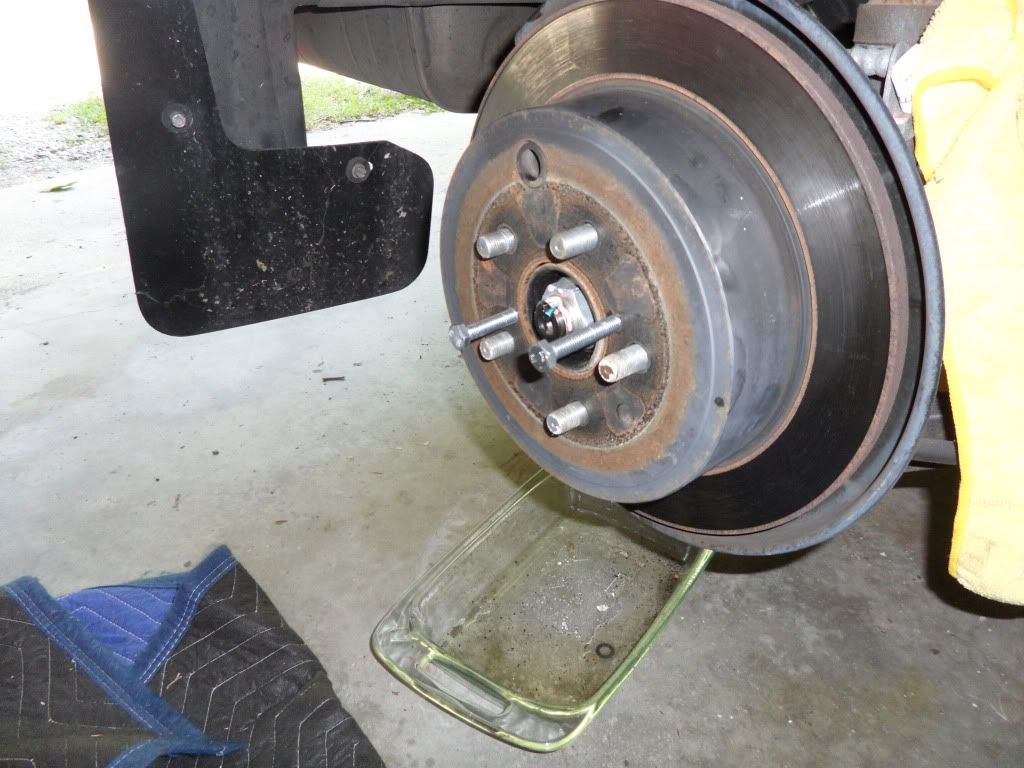
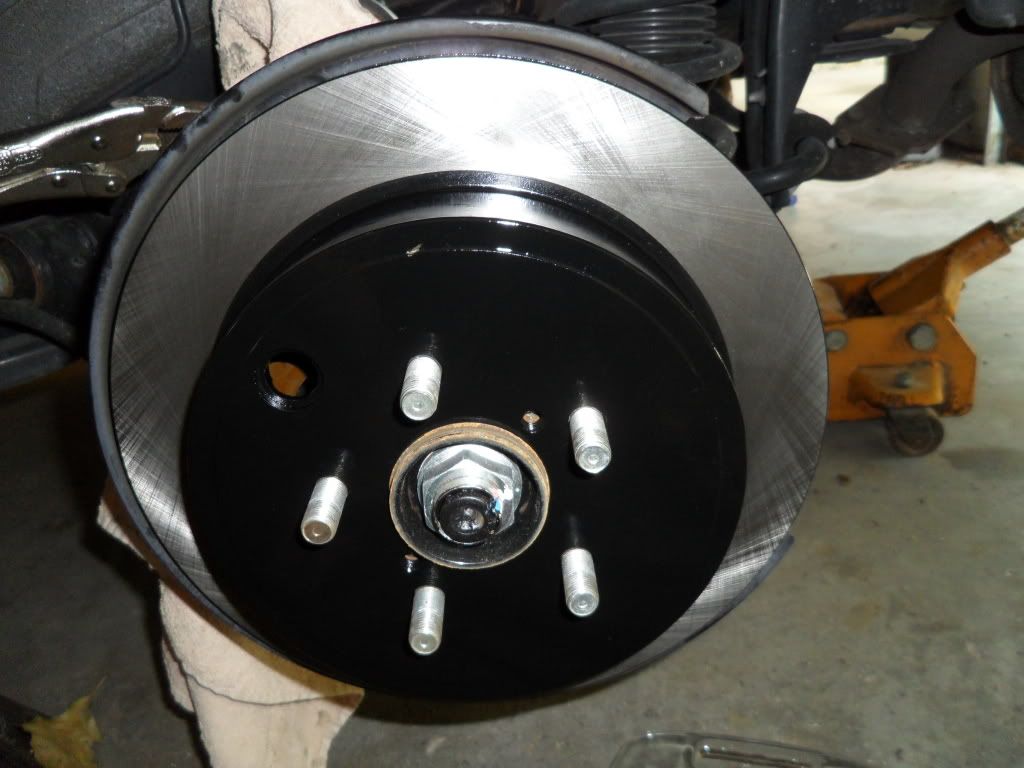
move onto the rear and do the same as the front. once you get the caliper free and off the rotor You will need two bolts that thread into the rotor to pull it off the hub. I forget what size they are but you can get them at any hardware store. your new rotor will be a vented rotor from a 2010+ legacy GT. It will fit in the dust shield. some guys say you need to trim it but I did not have to.
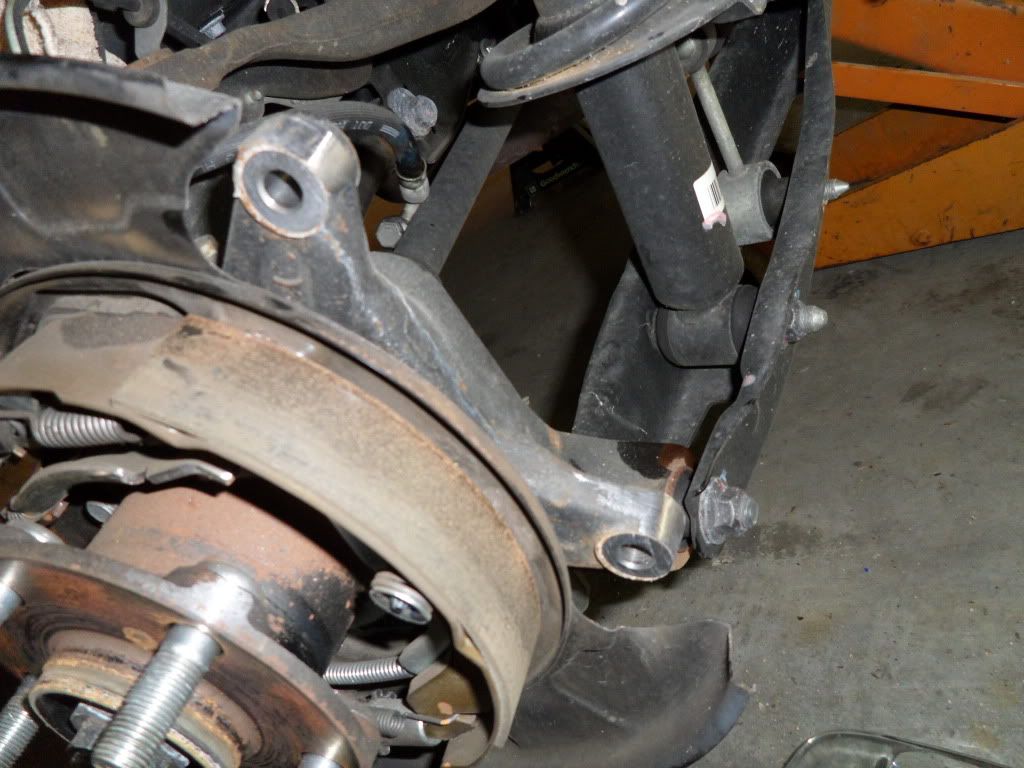
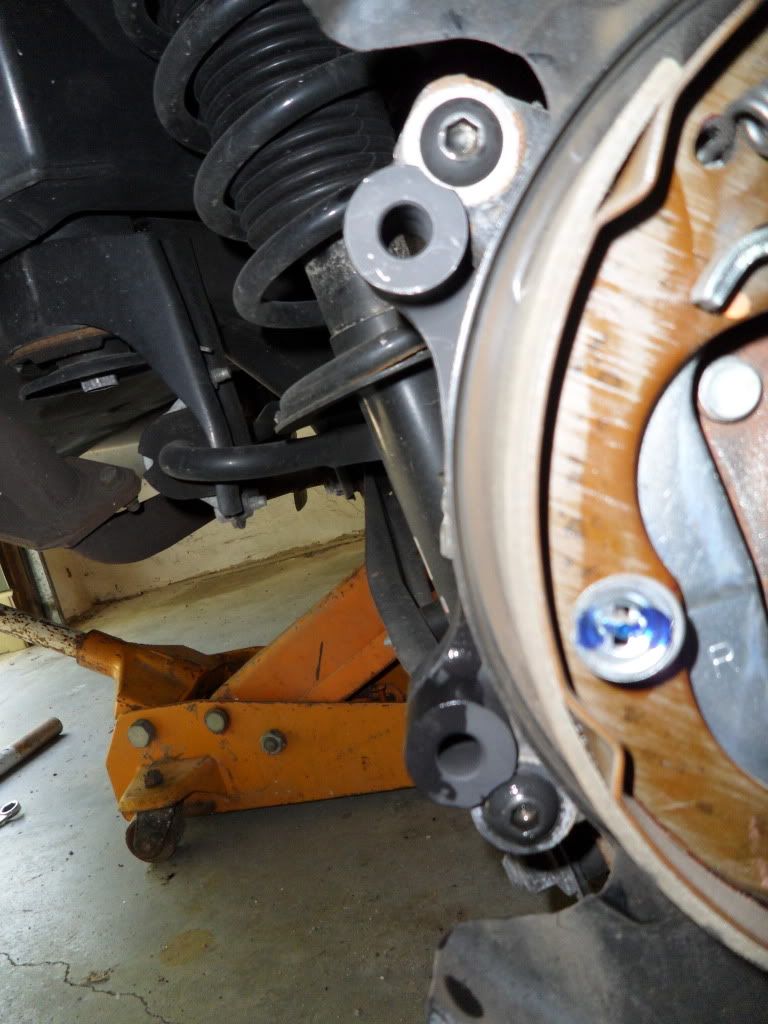
take your adapter bracket from KNS and put it on. It will not bolt right up immediately. it is a black bracket and once you try to thread the bolts through it and realize it is not going to work you can take it off and look at the inside of it. you will see some points where it is rubbing and that is where you will need to take a dremel to the hub. no big deal it is hardly any material just do it.
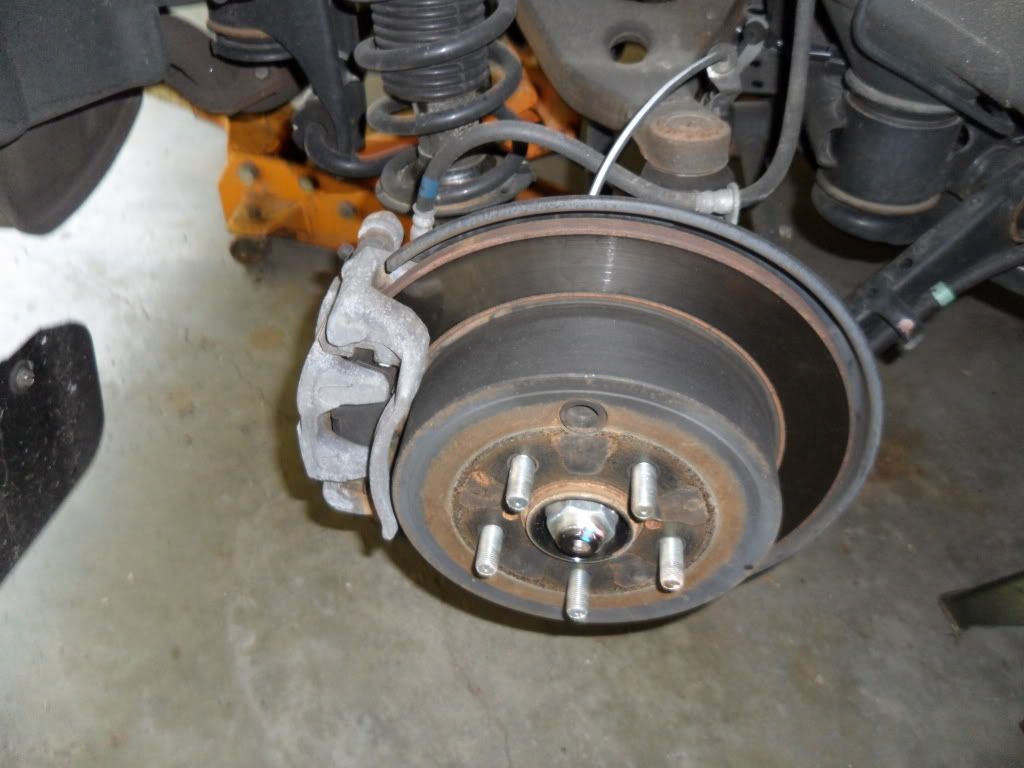
stock rear caliper and rotor.
two bolts I was talking about
what needs to be ground off
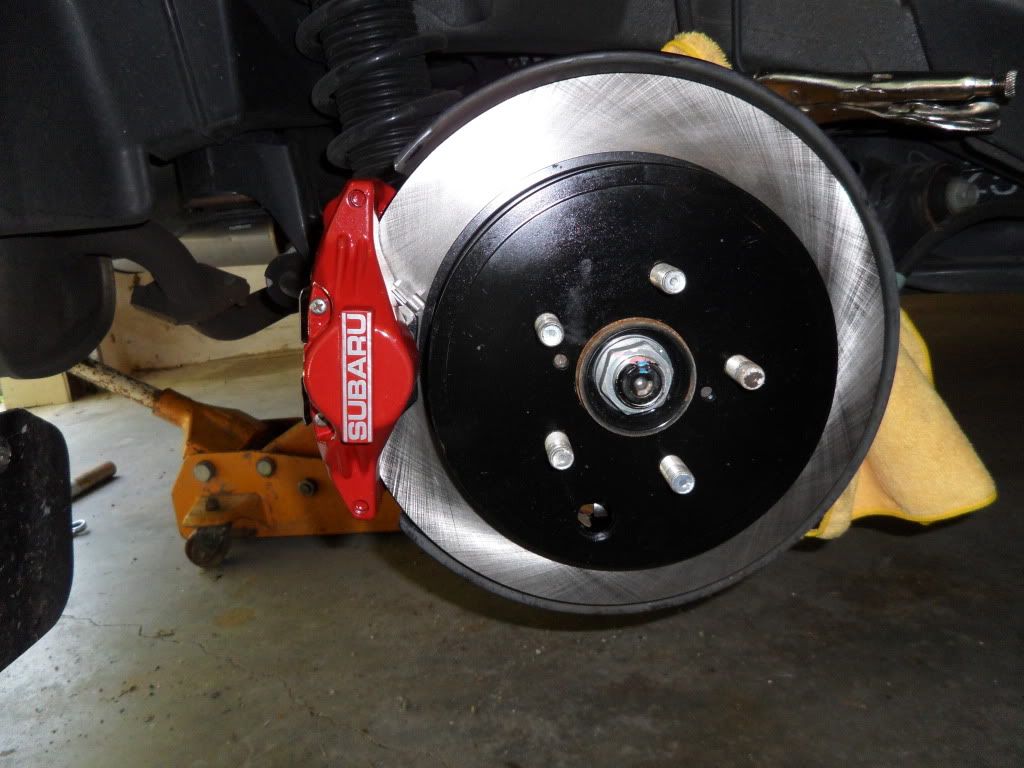
KNS adapter installed
new legacy GT rear rotor
caliper on the rear
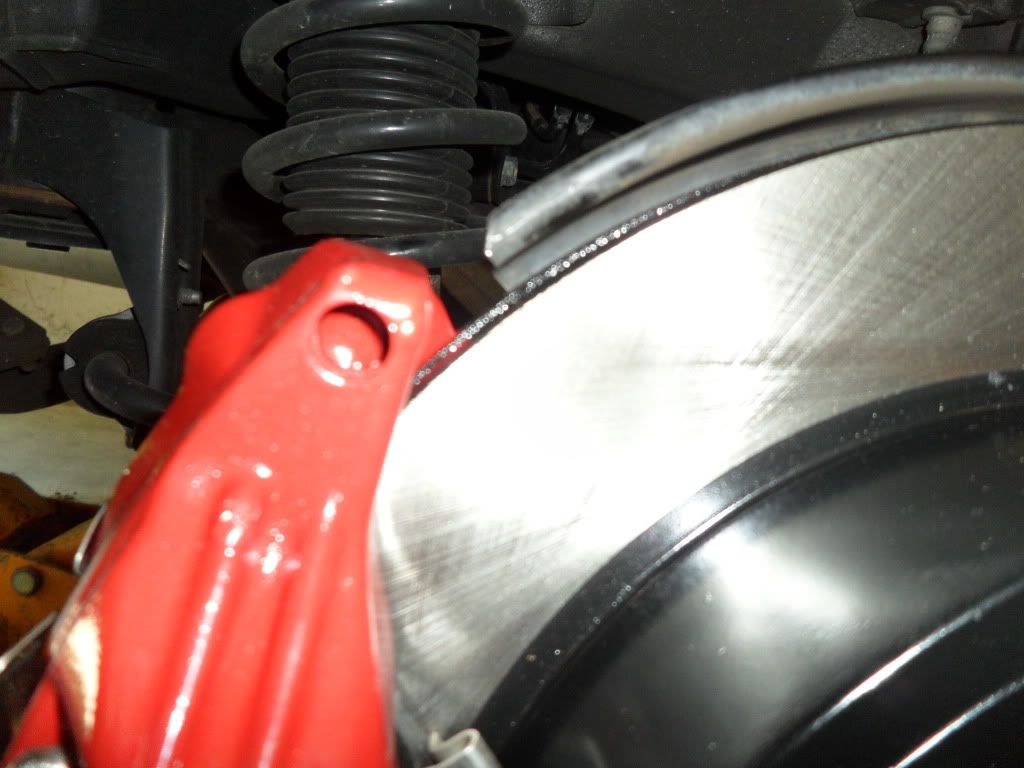
notice it clears the dust shield by like a mile
now you can continue on with the other side and it will go much smoother since you know what to do. once the calipers are all full with brake fluid you will just need to bleed them. I flushed the entire brake system out and put new dot 4 brake fluid in it. some guys use fancy high tech stuff but I didnt. just regular valvoline dot 4 fluid works just fine. the order you will bleed the brakes is:
passenger side front
driver side rear
driver front
passenger rear
then you are done! no clearance issues! just put your wheels on and be sure to crank your lugs when the car is back on the grond! the whole process only took me and my dad about 3 hours.
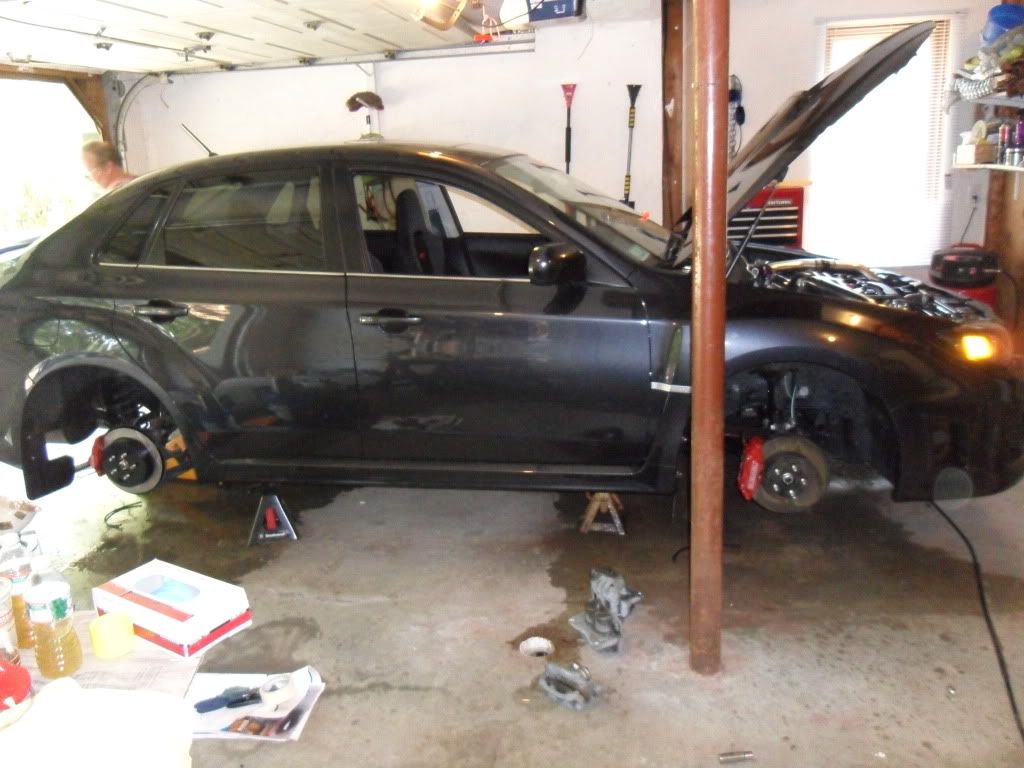
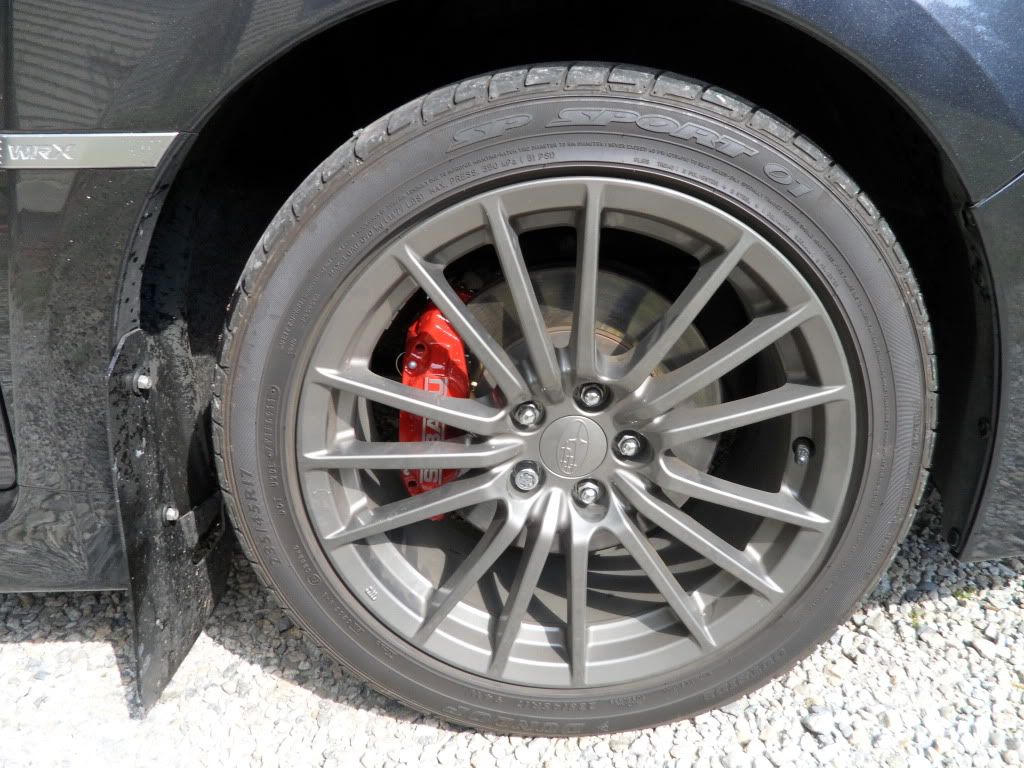
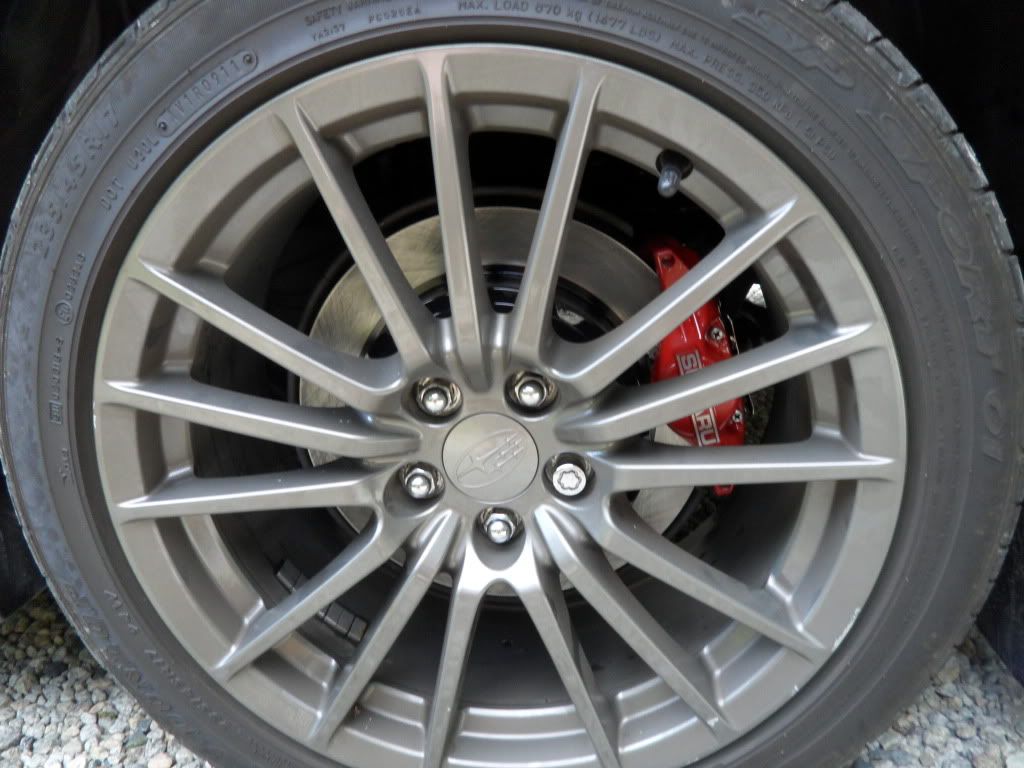
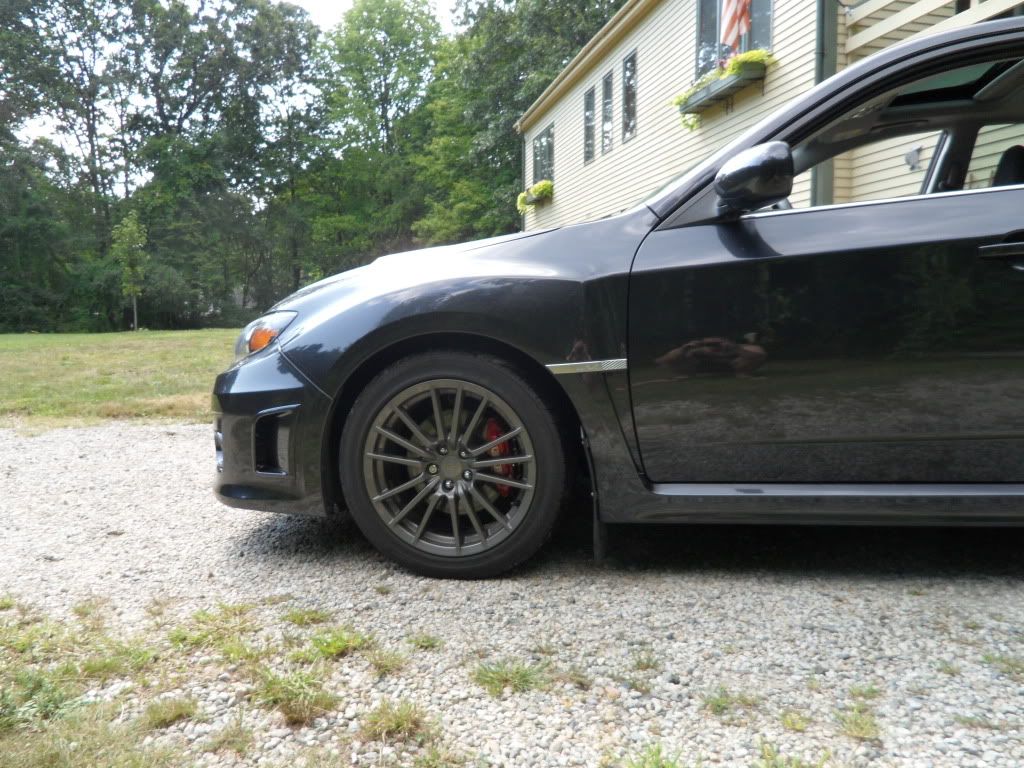
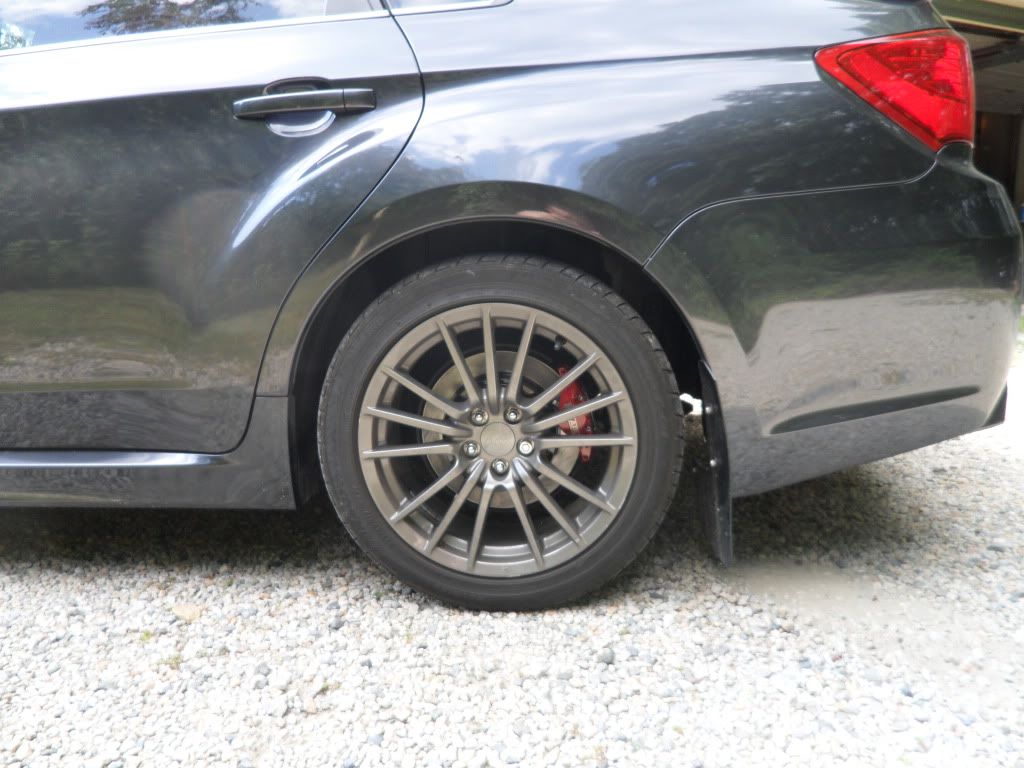
If you guys do this upgrade you can pm me with any questions. Hope this helps someone out!
The hardest part of this is going to be figuring out where to start. Just break your lugs free and jack the car up completely off the ground and put it on jackstands. I started with the passenger front caliper and made my way around the car. Take all of your wheels off and get all your parts lined up and ready to go.
turn your wheel so you can easily access the caliper and remove the bolts holding it in place. there should be two of them and they will be easily identifiable to you. Crimp your brake line off with a vice grip or something of that nature. I used a towel over the brake line and a vice grip so I didnt accidentally tear the rubber line.


Next you will remove the banjo bolt from the back of the caliper and the two bolts holding the caliper in place. then slide it off. rear caliper just to show it off the car.

Then you simply reverse the process with the new caliper. It can go on the car with the pads and all the hardware already in it. If you need to know how to assemble the caliper and pads google it.
new caliper bolted up.

Once the caliper is bolted into place and the banjo bolt on the brake line is re attached to the caliper you will need to put a dish under the caliper and run a line off of the bleeder. crack the bleeder and let the caliper fill up with brake fluid until it starts to drip. then close the bleeder. if you get any brake fluid on the caliper immediately pour water on it. brake fluid eats paint and water neutralizes it.
move onto the rear and do the same as the front. once you get the caliper free and off the rotor You will need two bolts that thread into the rotor to pull it off the hub. I forget what size they are but you can get them at any hardware store. your new rotor will be a vented rotor from a 2010+ legacy GT. It will fit in the dust shield. some guys say you need to trim it but I did not have to.
take your adapter bracket from KNS and put it on. It will not bolt right up immediately. it is a black bracket and once you try to thread the bolts through it and realize it is not going to work you can take it off and look at the inside of it. you will see some points where it is rubbing and that is where you will need to take a dremel to the hub. no big deal it is hardly any material just do it.
stock rear caliper and rotor.

two bolts I was talking about

what needs to be ground off

KNS adapter installed

new legacy GT rear rotor

caliper on the rear

notice it clears the dust shield by like a mile

now you can continue on with the other side and it will go much smoother since you know what to do. once the calipers are all full with brake fluid you will just need to bleed them. I flushed the entire brake system out and put new dot 4 brake fluid in it. some guys use fancy high tech stuff but I didnt. just regular valvoline dot 4 fluid works just fine. the order you will bleed the brakes is:
passenger side front
driver side rear
driver front
passenger rear
then you are done! no clearance issues! just put your wheels on and be sure to crank your lugs when the car is back on the grond! the whole process only took me and my dad about 3 hours.


If you guys do this upgrade you can pm me with any questions. Hope this helps someone out!


