

Hey folks! I haven't been around in a while but I've had a couple requests for information on installing Hellas since I posted on another thread that I had done the install. Full disclosure: my dad was an Electronic Materials Officer in the Navy for 30 years so I had quality help on my side which made this much easier for me. Hopefully I can give you guys some helpful information.
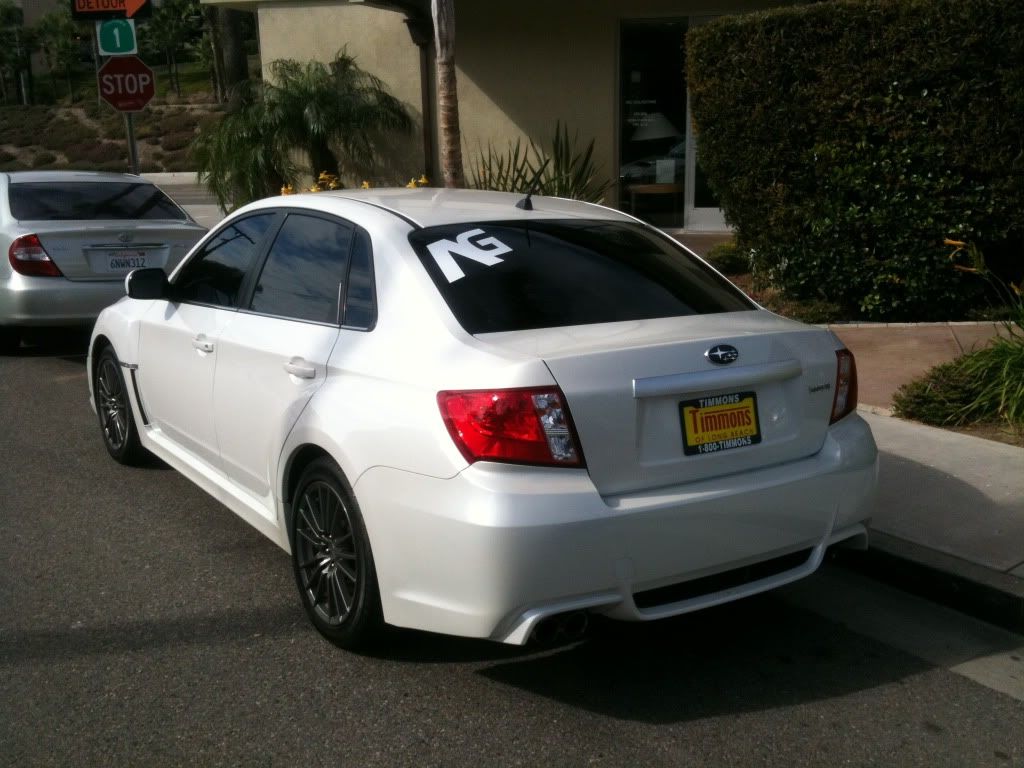
But first...update photos of my Subie! I don't think I've posted since I tinted and added my only sticker so....
![Image]()
my initials")
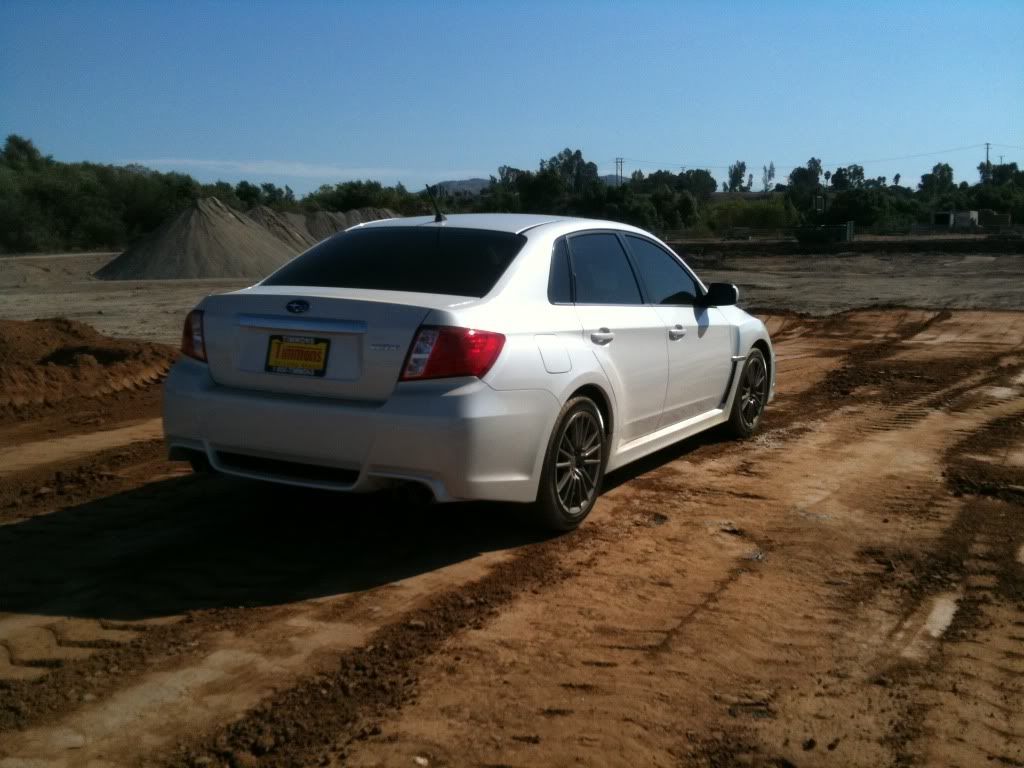
![Image]()
Dirt!
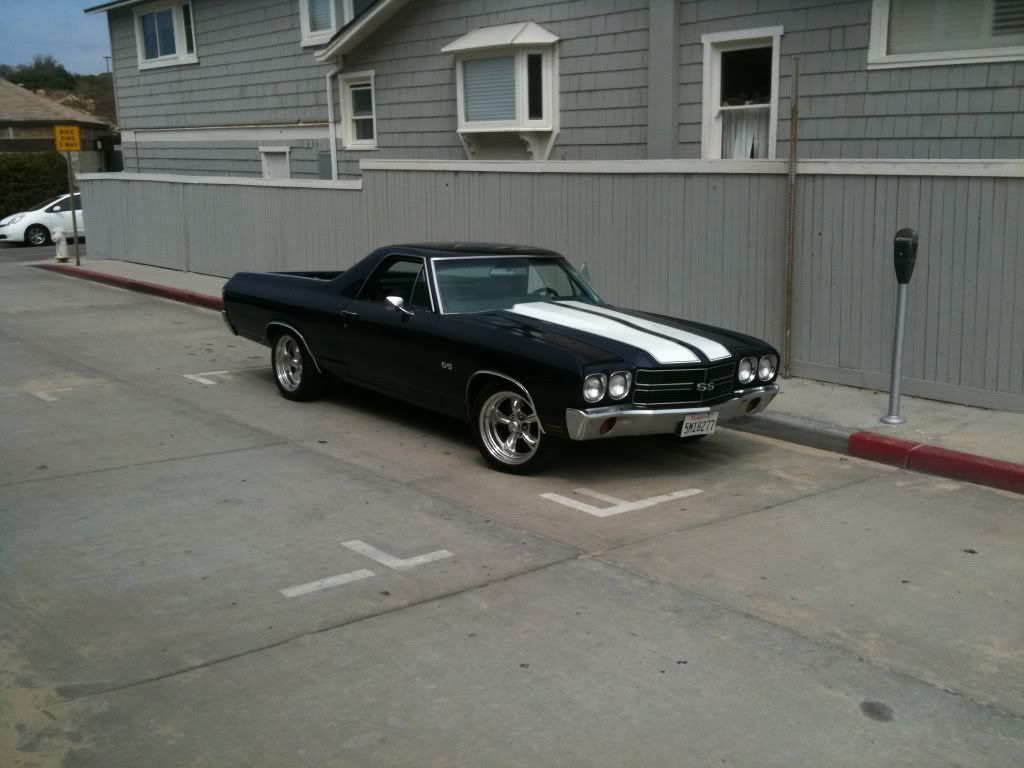
And Also I don't think I've ever posted pictures of my other baby so, while I'm being a show off...
![Image]()
![Image]()
Someday I'll get the two cars together for a photoshoot...the problem is that I never let anybody else drive either of my cars :rotfl:
Ok...for what most of you reading this post probably want. The install was a pain for a few reasons, but in general is a pretty intermediate job. I wish I had taken pictures during the install, but instead all I have is a bunch of crappy iPhone photos in a dark garage using an LED lamp as a flash. If anyone wants to see anything more clearly I can try to get some pictures in daylight, but work makes that tough. More info on the install can be found here: Installing Hella Supertones in a WRX
I bought my horns on amazon for something like $55 with mounting brackets (but not hardware) and the relay included. The purpose of the relay is just to allow you to use your stock horn wiring to trigger the horn while also being able to run heavier wire directly from the battery to supply the horns with more power.
![Image]()
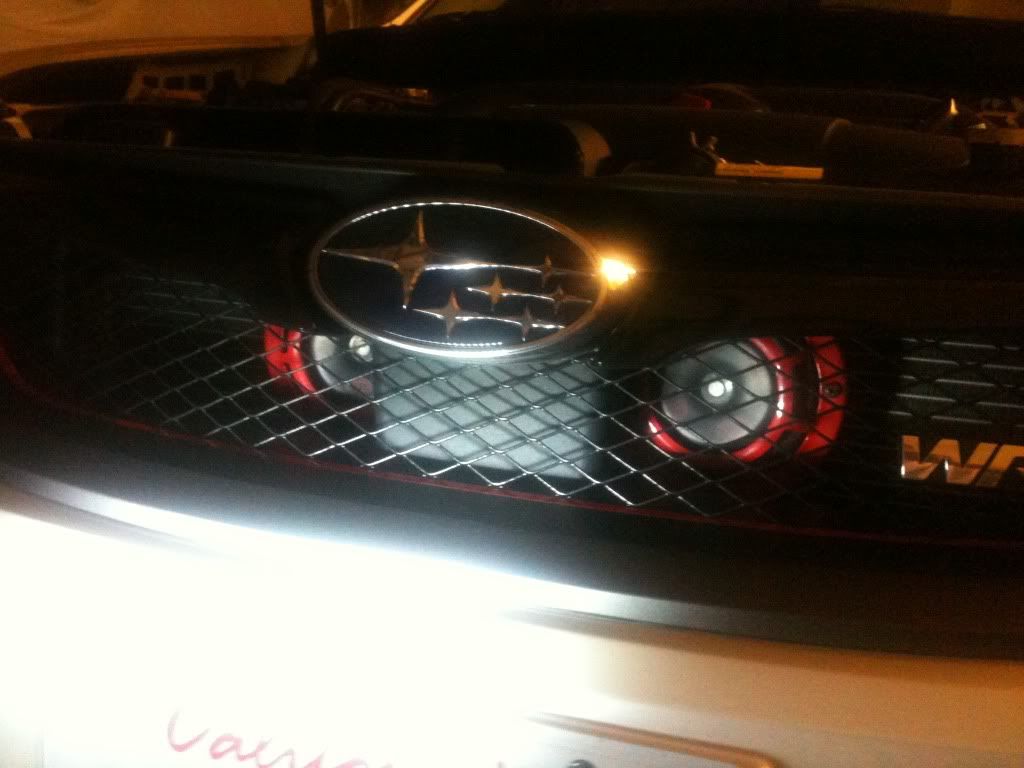
This is how the horns look mounted (again, sorry for the crap photos) on a 2011. You can see them extremely well in normal lighting conditions and definitely give the front end a meaner look. This is essentially a visual mod that I think goes pretty well with the "RA-R" pinstriping I did as well.
The first thing you should do is remove the grille. Some prefer to remove the entire front bumper which is entirely fine as well. It would probably give you more space, but I was paranoid of scratches and the such, so I chose to just remove the grille. This is accomplished by removing the plastic clips along the top of the grille along with four small screws on the backside of the grille. Watch this video for more information on the removal of the grille: YouTube - How To Remove Grill Subaru Impreza 2008, 2009, 2010
Once the grille is off, go ahead and remove the old horn. The wire for the stock horn is going to run to your relay once you mount it.
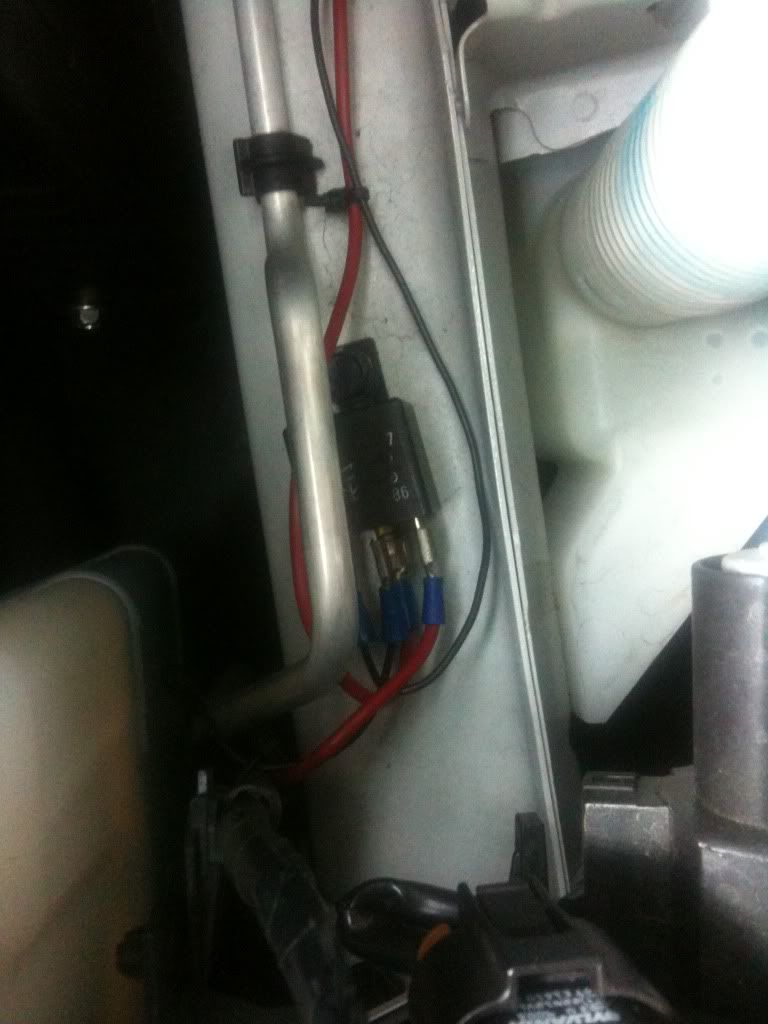
![Image]()
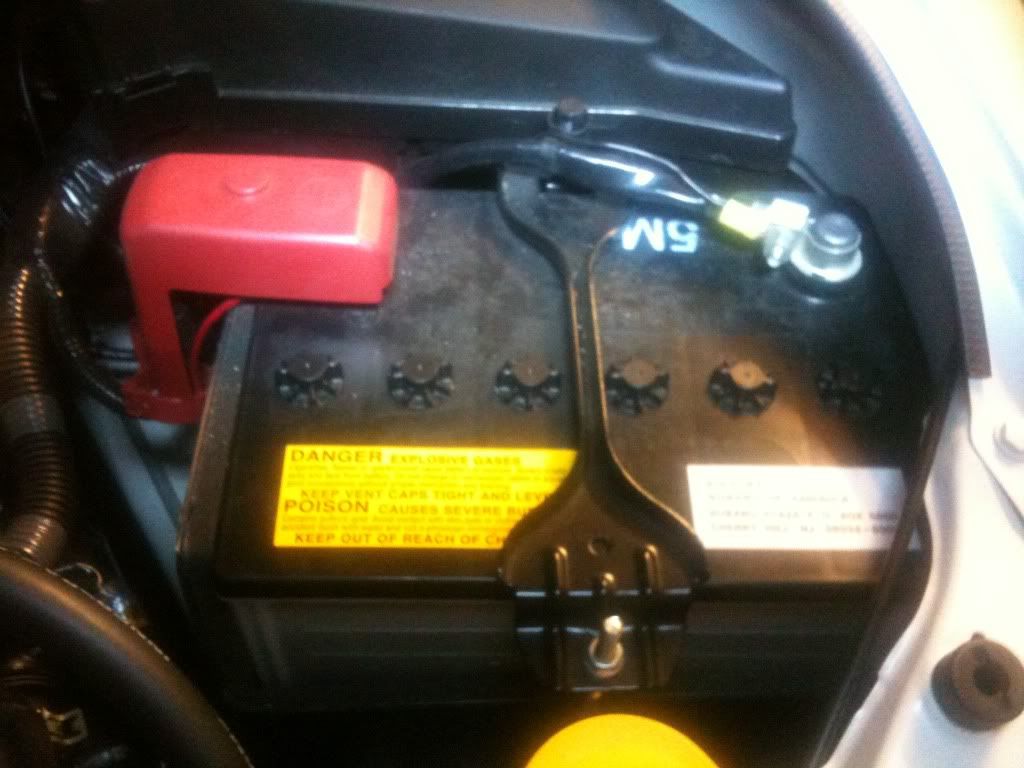
In this photo the black wire running "up" from the relay is going to the battery ground and the red wire running "up" from the relay is going to the positive battery terminal. You can see the wires on the battery in this photo:
![Image]()
The wires are tie-wrapped tightly, but you can see the thin red wire running to the positive terminal and the thin black wire running to the ground.
The black wire going "down" from the relay is running to the stock horn wiring (and ultimately to the horn button in your steering wheel), and the red wire running "down" from the relay is headed to the horns.
There aren't very many places to mount the relay, and I had a hell of time especially finding a spot that also offered a sufficient ground. I ended up mounting the relay just in front of the battery and ran a ground from the relay to the battery. If you can find a better spot to mount it that offers a sufficient ground, go ahead and put it there.
So, now that the relay is mounted and we know where the wires are running, we can set up the Hellas. I had a rough time trying to get photos in the dark with the grille on, but they should illustrate everything clearly enough. I would strongly recommend getting the horns wired up before mounting them, as there is VERY little room between the back of the horns and the radiator.
Remember the red wire running from the relay to the horns we showed earlier? As you may have guessed, we are going to need to splice that wire into two wires to run to the two horns (genius, eh?). I just exposed a section of the red wire, wrapped and soldered a new section of red wire to it, and wrapped the whole thing up tightly with some electrical tape. Now the single red wire running from the relay has split into two wires, with each end running to one of your horns. Pictures:
![Image]()
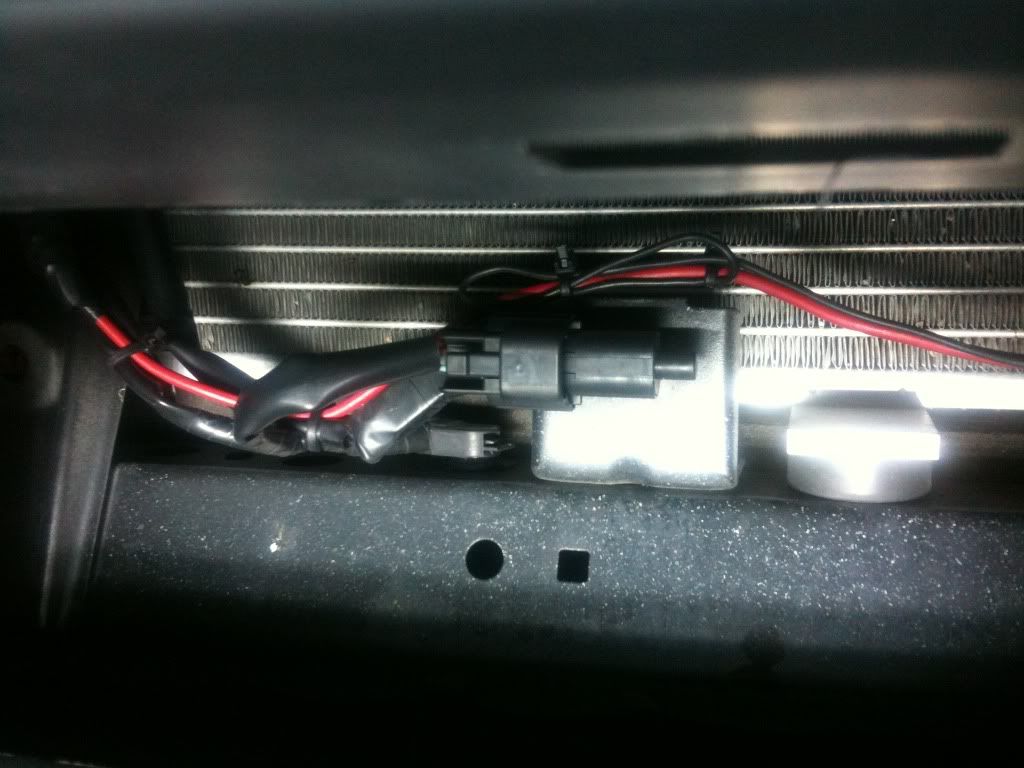
This photo is taken through the opening in the bumper below the grille. You can see at the very left of this picture the beginning electrical tape where I spliced the red wires. The electrical tape in the middle section is actually factory installed for the factory horn wires, and is connected to that thin black wire that loops around, is tie wrapped, and eventually runs to the relay (remember the thin black wire running from the stock horn wiring to the relay?) This all actually tucks almost entirely out of view in the bumper. I just pulled it up and out for the purpose of taking the photos.
![Image]()
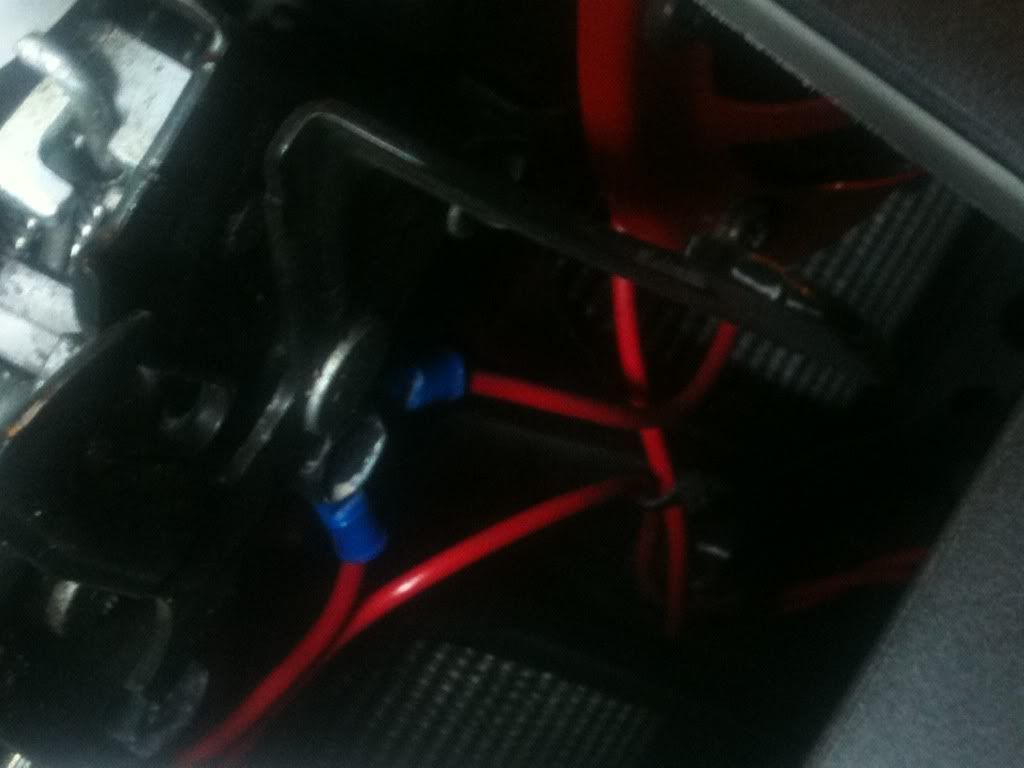
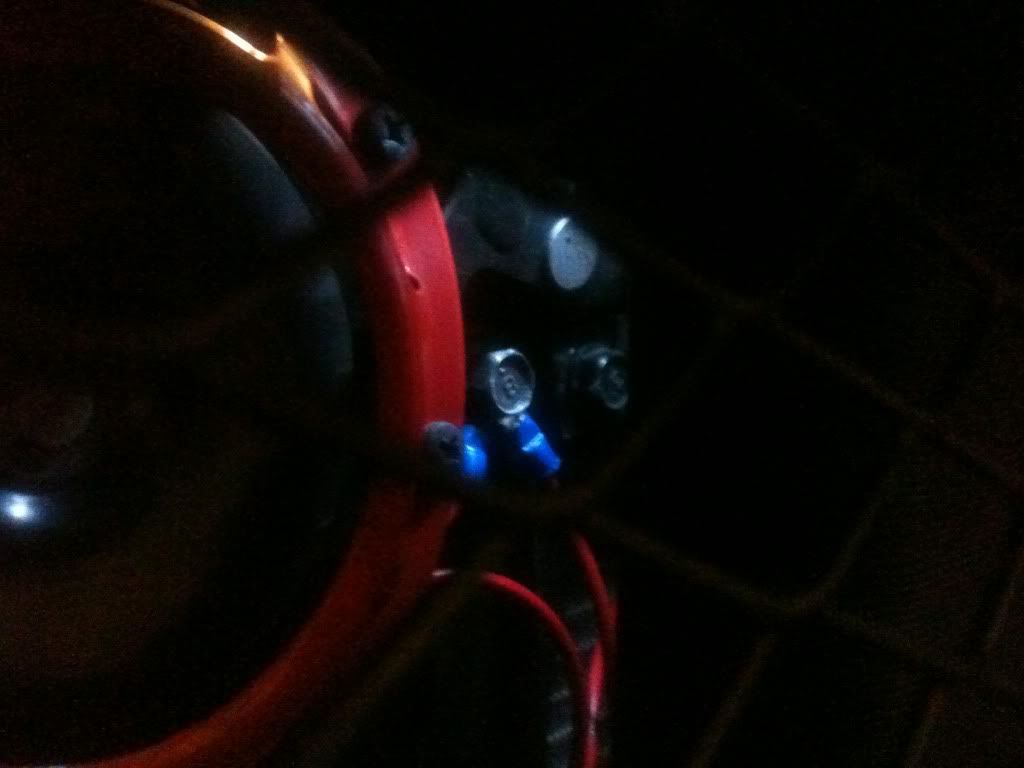
In this photo you can see the (now spliced) red wires running up the radiator support and splitting off to the two horns. Note that both horns are grounded to the center bolt on the radiator support.
![Image]()
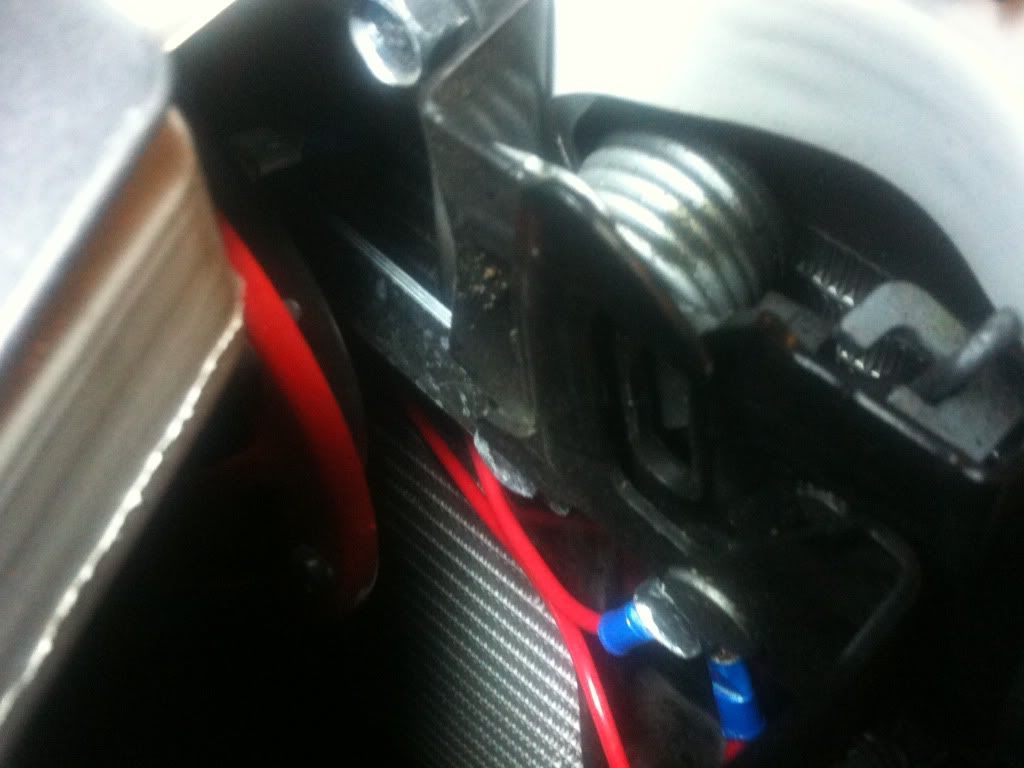
This photo shows the left (driver's side) horn mounted. The right (passenger side) horn is in the foreground. The bolt showing on the left is the center bolt on the radiator support whereas the furthest right bolt is where the driver's side horn bracket is mounted. The supplied mounting bracket is nothing more than a flat piece of metal with a hole in one end. There is already a threaded hole with a bolt in it on the driver's side of the radiator support as well. Mounting the left horn is as easy as running this existing bolt through the bracket and tightening. Then, as the photo shows, run a ground from the horn to the pre-existing bolt at the center of the radiator support.
Almost done! Now all that's left is mounting the right (passenger side) horn, which happens to be the biggest PITA of this install. There is a hole on the passenger side of the radiator support, but you'll find that the hole is not threaded and does not come with bolt. I mounted the horn using a bolt, nut, and lock-washer I happened to have laying around. If you don't have such hardware laying around, you're probably going to need to make a trip to the hardware store.
Once you have the hardware, you'll find the difficult part is actually getting the nut and washer on the bolt. There is VERY little room between the radiator support and the radiator, and it is very easy to bend and flatten the radiator. The best solution I found was to get a wrench on the bolt and then screw the bolt into it from the front with another wrench. It's very tedious work and chances are you'll slightly bend the radiator in a few places, but the horn will at least cover it up so you won't see it.
![Image]()
This is a photo of the passenger side horn after it has been mounted. Again, note that both horns are grounded to the center bolt on the radiator support.
![Image]()
So there you have it! My Official Hella Supertones Install on a 2011 WRX thread. Apologies for the grammar; I'll try to do better next time I post a 6 page write-up. I'll also try to get some better pictures of how the horns look in the next couple of days. We've just had awful weather in SoCal the last month (i know...i know...we're a bunch of babies who cry every time it sprinkles) and I've had almost no time in the daylight hours to take photos.
By no means do I claim to be an electronics expert, but feel free to ask any questions you have in this thread and I'll do my best to answer them.
But first...update photos of my Subie! I don't think I've posted since I tinted and added my only sticker so....
my initials
Dirt!
And Also I don't think I've ever posted pictures of my other baby so, while I'm being a show off...

Someday I'll get the two cars together for a photoshoot...the problem is that I never let anybody else drive either of my cars :rotfl:
Ok...for what most of you reading this post probably want. The install was a pain for a few reasons, but in general is a pretty intermediate job. I wish I had taken pictures during the install, but instead all I have is a bunch of crappy iPhone photos in a dark garage using an LED lamp as a flash. If anyone wants to see anything more clearly I can try to get some pictures in daylight, but work makes that tough. More info on the install can be found here: Installing Hella Supertones in a WRX
I bought my horns on amazon for something like $55 with mounting brackets (but not hardware) and the relay included. The purpose of the relay is just to allow you to use your stock horn wiring to trigger the horn while also being able to run heavier wire directly from the battery to supply the horns with more power.
This is how the horns look mounted (again, sorry for the crap photos) on a 2011. You can see them extremely well in normal lighting conditions and definitely give the front end a meaner look. This is essentially a visual mod that I think goes pretty well with the "RA-R" pinstriping I did as well.
The first thing you should do is remove the grille. Some prefer to remove the entire front bumper which is entirely fine as well. It would probably give you more space, but I was paranoid of scratches and the such, so I chose to just remove the grille. This is accomplished by removing the plastic clips along the top of the grille along with four small screws on the backside of the grille. Watch this video for more information on the removal of the grille: YouTube - How To Remove Grill Subaru Impreza 2008, 2009, 2010
Once the grille is off, go ahead and remove the old horn. The wire for the stock horn is going to run to your relay once you mount it.
In this photo the black wire running "up" from the relay is going to the battery ground and the red wire running "up" from the relay is going to the positive battery terminal. You can see the wires on the battery in this photo:
The wires are tie-wrapped tightly, but you can see the thin red wire running to the positive terminal and the thin black wire running to the ground.
The black wire going "down" from the relay is running to the stock horn wiring (and ultimately to the horn button in your steering wheel), and the red wire running "down" from the relay is headed to the horns.
There aren't very many places to mount the relay, and I had a hell of time especially finding a spot that also offered a sufficient ground. I ended up mounting the relay just in front of the battery and ran a ground from the relay to the battery. If you can find a better spot to mount it that offers a sufficient ground, go ahead and put it there.
So, now that the relay is mounted and we know where the wires are running, we can set up the Hellas. I had a rough time trying to get photos in the dark with the grille on, but they should illustrate everything clearly enough. I would strongly recommend getting the horns wired up before mounting them, as there is VERY little room between the back of the horns and the radiator.
Remember the red wire running from the relay to the horns we showed earlier? As you may have guessed, we are going to need to splice that wire into two wires to run to the two horns (genius, eh?). I just exposed a section of the red wire, wrapped and soldered a new section of red wire to it, and wrapped the whole thing up tightly with some electrical tape. Now the single red wire running from the relay has split into two wires, with each end running to one of your horns. Pictures:
This photo is taken through the opening in the bumper below the grille. You can see at the very left of this picture the beginning electrical tape where I spliced the red wires. The electrical tape in the middle section is actually factory installed for the factory horn wires, and is connected to that thin black wire that loops around, is tie wrapped, and eventually runs to the relay (remember the thin black wire running from the stock horn wiring to the relay?) This all actually tucks almost entirely out of view in the bumper. I just pulled it up and out for the purpose of taking the photos.
In this photo you can see the (now spliced) red wires running up the radiator support and splitting off to the two horns. Note that both horns are grounded to the center bolt on the radiator support.
This photo shows the left (driver's side) horn mounted. The right (passenger side) horn is in the foreground. The bolt showing on the left is the center bolt on the radiator support whereas the furthest right bolt is where the driver's side horn bracket is mounted. The supplied mounting bracket is nothing more than a flat piece of metal with a hole in one end. There is already a threaded hole with a bolt in it on the driver's side of the radiator support as well. Mounting the left horn is as easy as running this existing bolt through the bracket and tightening. Then, as the photo shows, run a ground from the horn to the pre-existing bolt at the center of the radiator support.
Almost done! Now all that's left is mounting the right (passenger side) horn, which happens to be the biggest PITA of this install. There is a hole on the passenger side of the radiator support, but you'll find that the hole is not threaded and does not come with bolt. I mounted the horn using a bolt, nut, and lock-washer I happened to have laying around. If you don't have such hardware laying around, you're probably going to need to make a trip to the hardware store.
Once you have the hardware, you'll find the difficult part is actually getting the nut and washer on the bolt. There is VERY little room between the radiator support and the radiator, and it is very easy to bend and flatten the radiator. The best solution I found was to get a wrench on the bolt and then screw the bolt into it from the front with another wrench. It's very tedious work and chances are you'll slightly bend the radiator in a few places, but the horn will at least cover it up so you won't see it.
This is a photo of the passenger side horn after it has been mounted. Again, note that both horns are grounded to the center bolt on the radiator support.
So there you have it! My Official Hella Supertones Install on a 2011 WRX thread. Apologies for the grammar; I'll try to do better next time I post a 6 page write-up. I'll also try to get some better pictures of how the horns look in the next couple of days. We've just had awful weather in SoCal the last month (i know...i know...we're a bunch of babies who cry every time it sprinkles) and I've had almost no time in the daylight hours to take photos.
By no means do I claim to be an electronics expert, but feel free to ask any questions you have in this thread and I'll do my best to answer them.


