
Firstly, if you'd like to keep up to date on my build...
Follow me on YouTube
https://www.youtube.com/user/SubieRumble
AND
Follow me on Instagram
https://instagram.com/datsubierumble/
So let's begin.
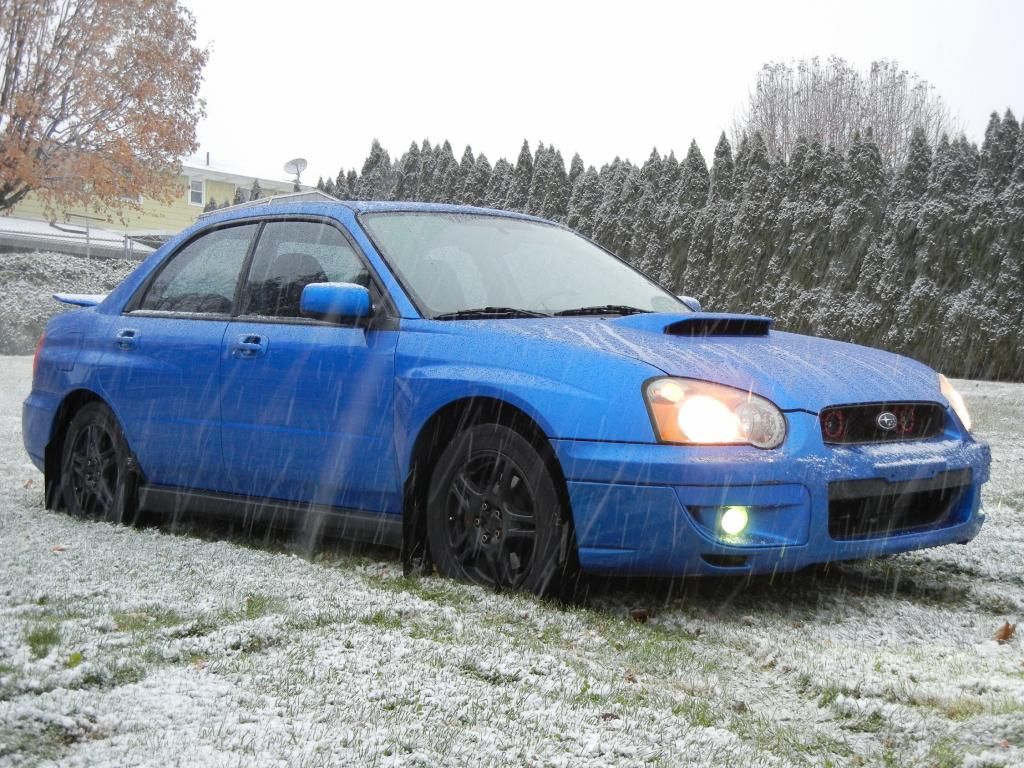
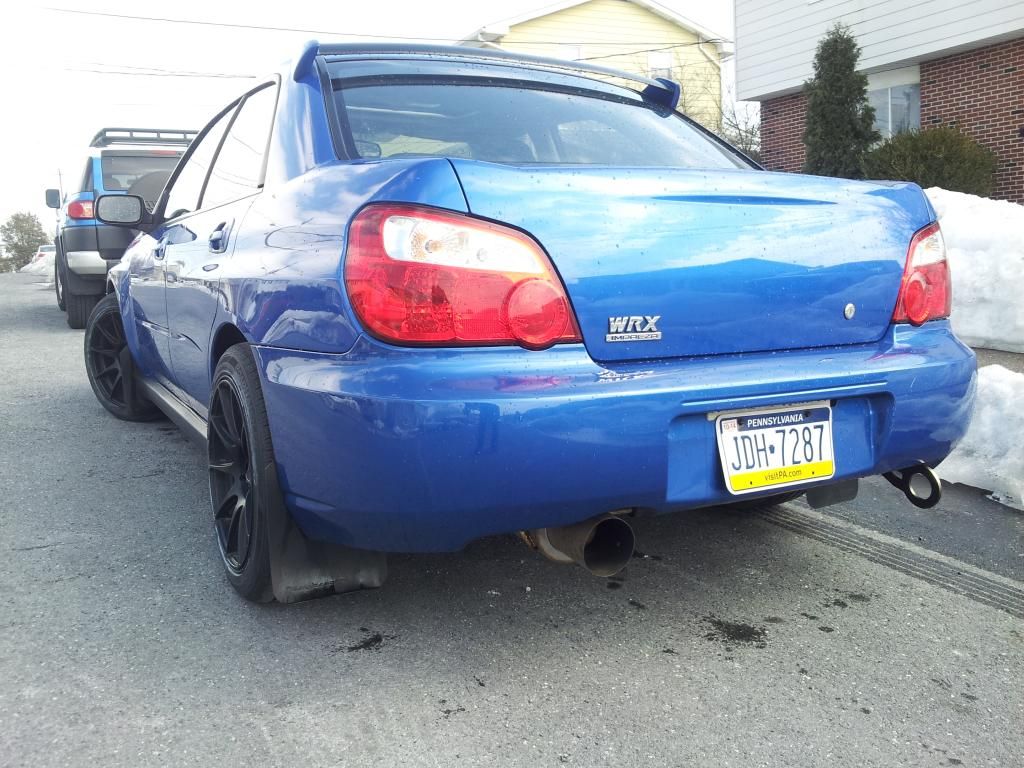
I bought my car in October of 2012. It had 119,000 miles on it & I am the 3rd owner. The car was 100% stock except for black powder coated wheels, cheap mud flaps, Hella horns & some cheap ebay HIDs for the foglights. Yah know... The usual lol
![Image]()
I kept the car stock for quite a bit, almost a year. I bought Rally Armor mud flaps, cleared up the headlights & quickly & I mean QUICKLY became addicted to modifying my car. Yes, I know mud flaps & clearing up headlights don't necassarily qualify as 'modding' but that's all it took for me to realize that I love working on cars.
*Past thoughts to self*
"car needs to be lowered a bit, I mean look how the rear sags so low compared to the front... ewww."
So I bought EMUSA coilovers.
![Image]()
Yes. eBay, cheap, Chinese made... Nothing special, but they were ride height & camber adjustable & only $450 shipped. After 2 years of owning them, they served their purpose & are still going strong. I don't track my car so performance wasn't too much of a concern. Say what you will & of course you get what you pay for. In my opinion. I got more than what I payed for, they're still going strong!
*Past thoughts to self*
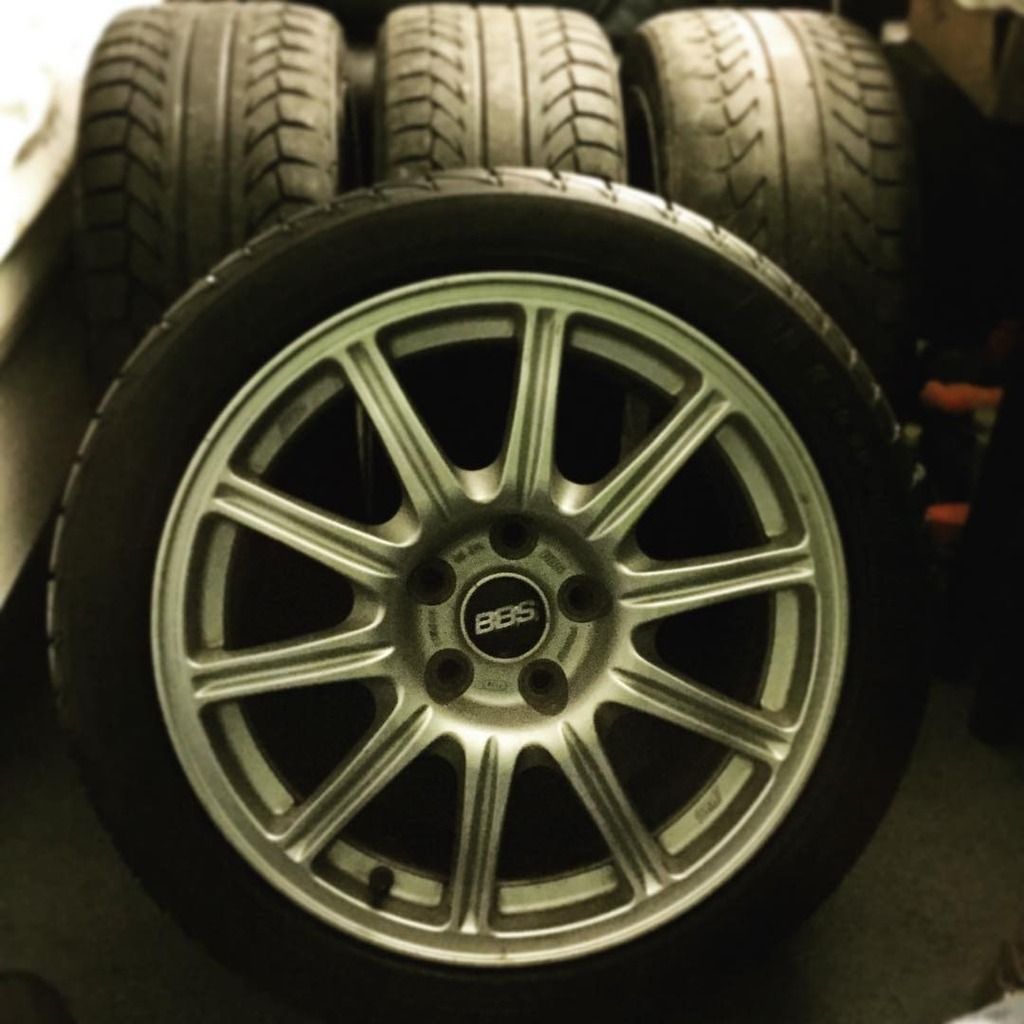
"damn those stock wheels are so small, narrow, & boring"
So I bought XXR 527s. 17x8.25 with a +25 offset wrapped in 225/45r17 hankooks.
![Image]()
Yes. Ebay, cheap, Chinese made & extremely common... Nothing special. However I like the looks & again, after 2 years of owning them, 0 issues. I got my money's worth.
Here's a list of all handling related mods
XXR Wheels 17"x8.25" +25 Offset
Hankook 225/45r17 all-season tires
EMUSA Ride Height & Camber Adjustable Coilovers
eBay Front & Rear Upper Strut Tower Brace
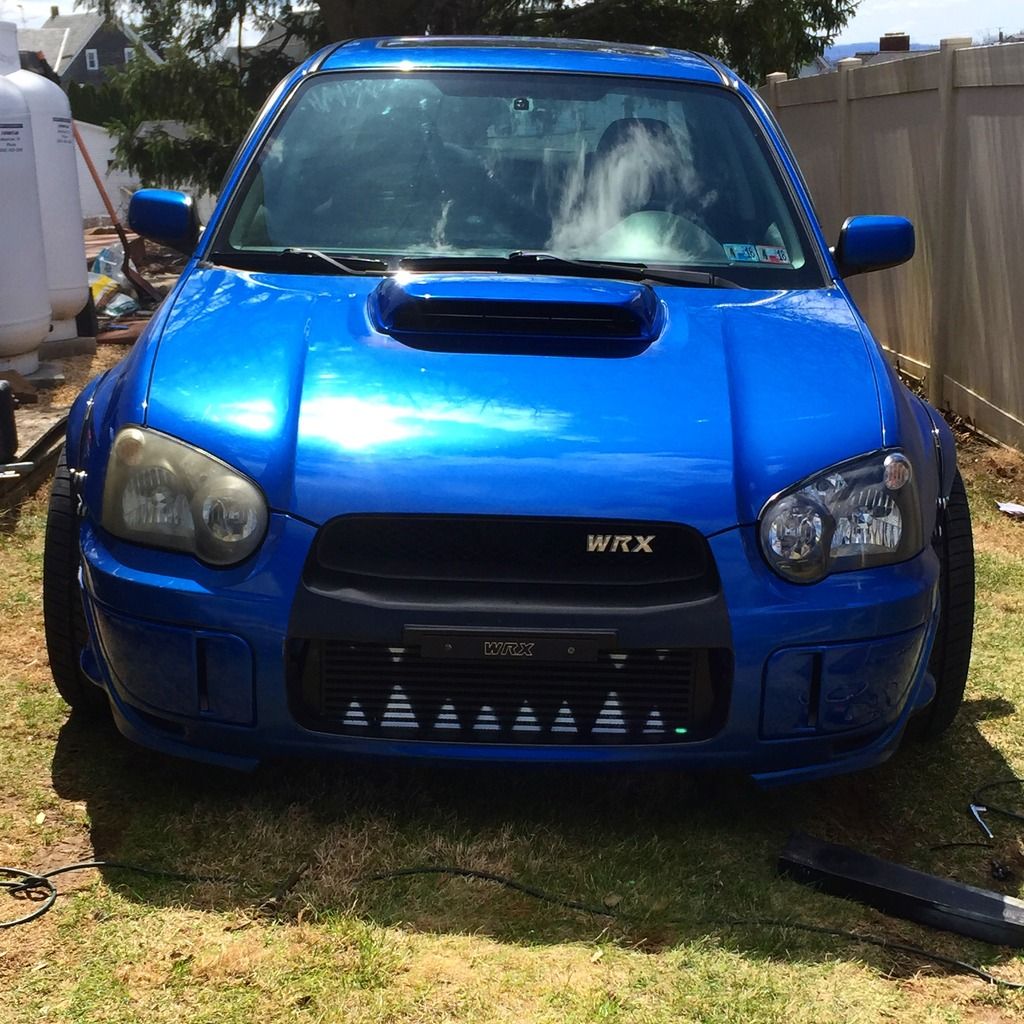
Next up I decided to work on the bland appearance of my car. At this point I had just another World Rally Blue (WRB) WRX like every other kid with WRX it seemed lol. I wanted to make up something that made it look better but not be too flashy. I wanted that subtle, good looking WRX. Nothing ricey & nothing boring.
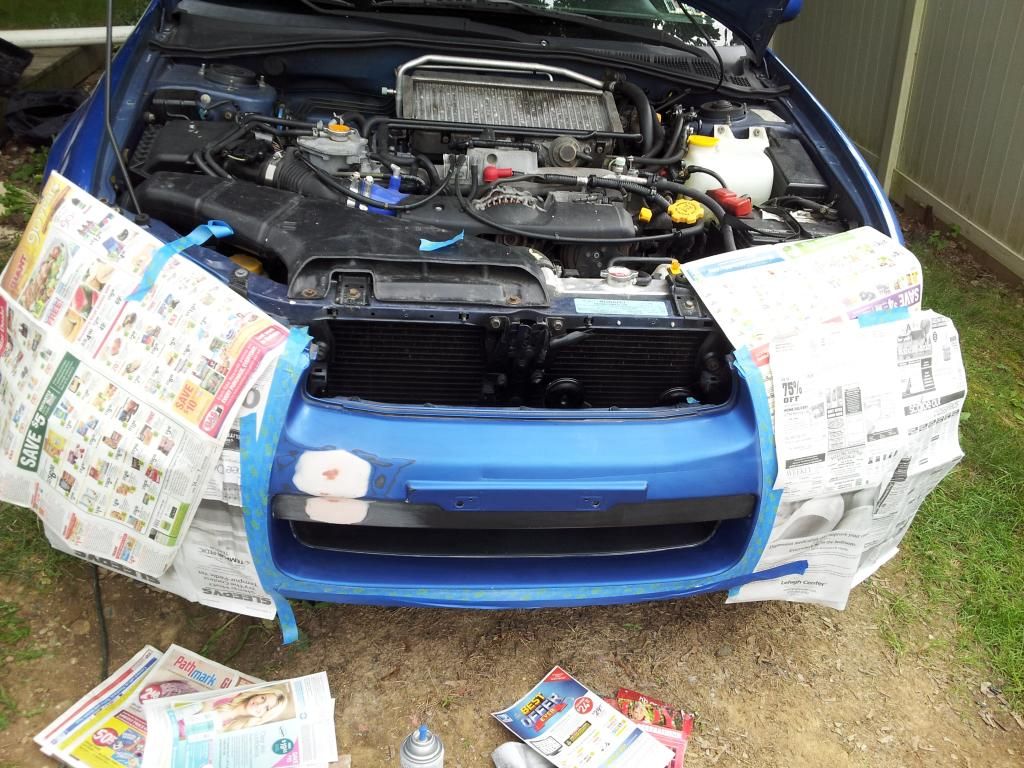
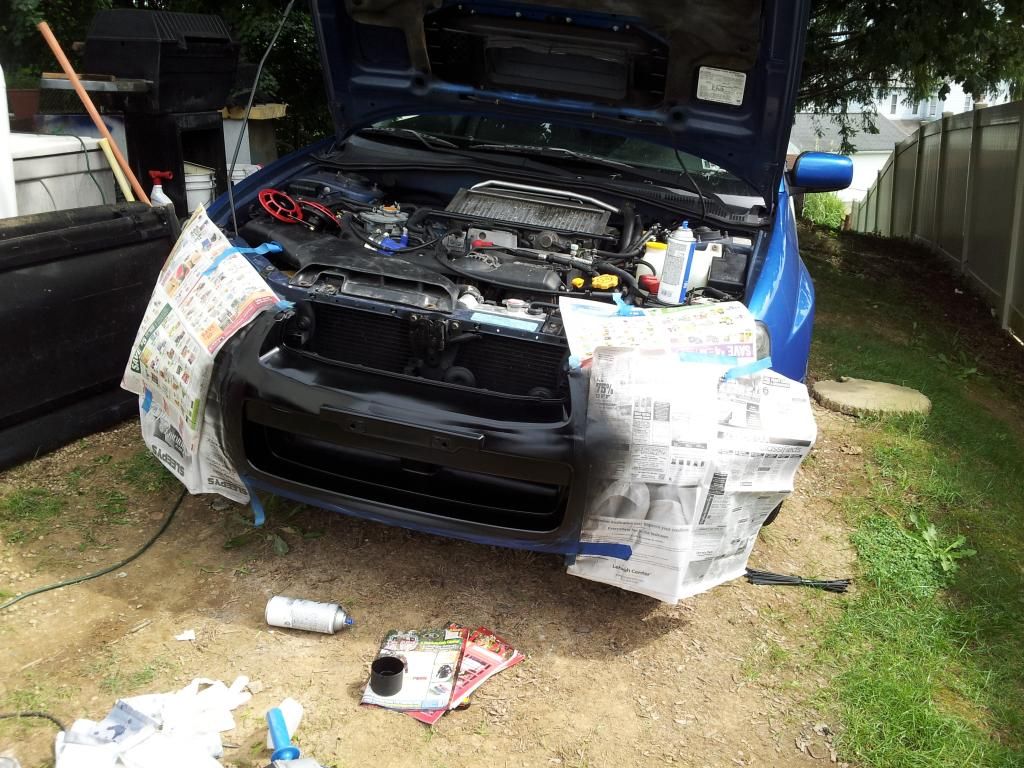
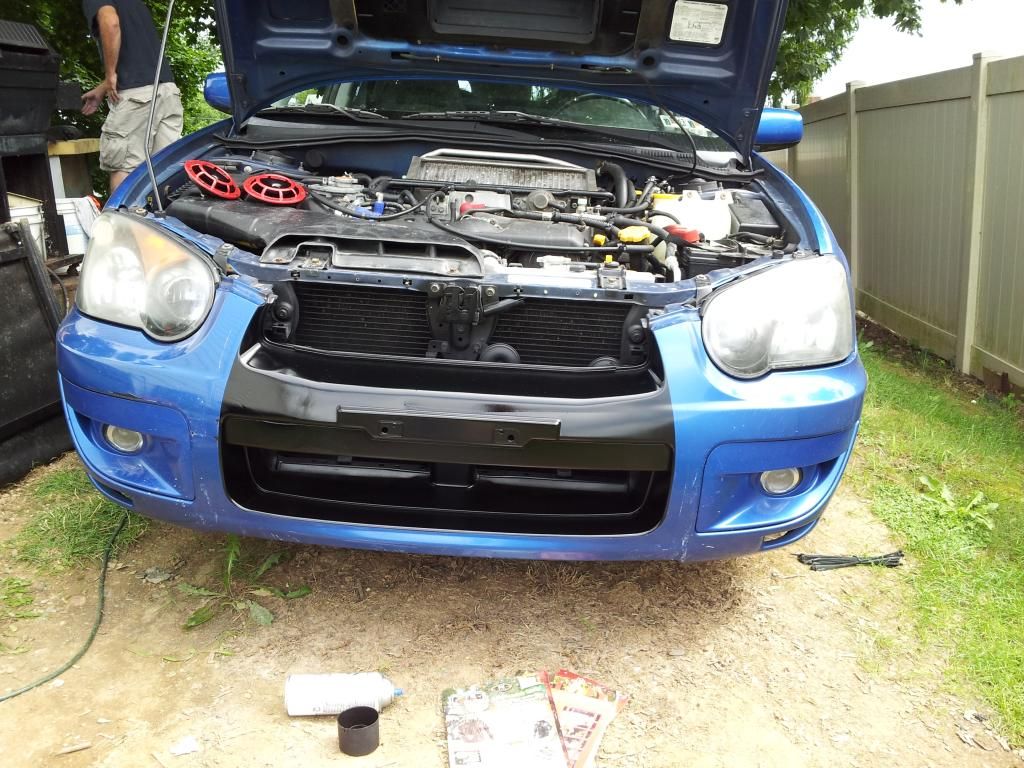
For the front end, I did the 'black nose' mod as I like to call it. It's similar to the newer GTR or Evo look
I masked off the area that needed to be black (& fixed a small dent caused by the previous owner)
![Image]()
![Image]()
![Image]()
Whether it's your cup of tea or not is irrelevant to me, it's something that most Subaru's (at least in my area) don't have, so my car definitely stock out of the bunch more after this.
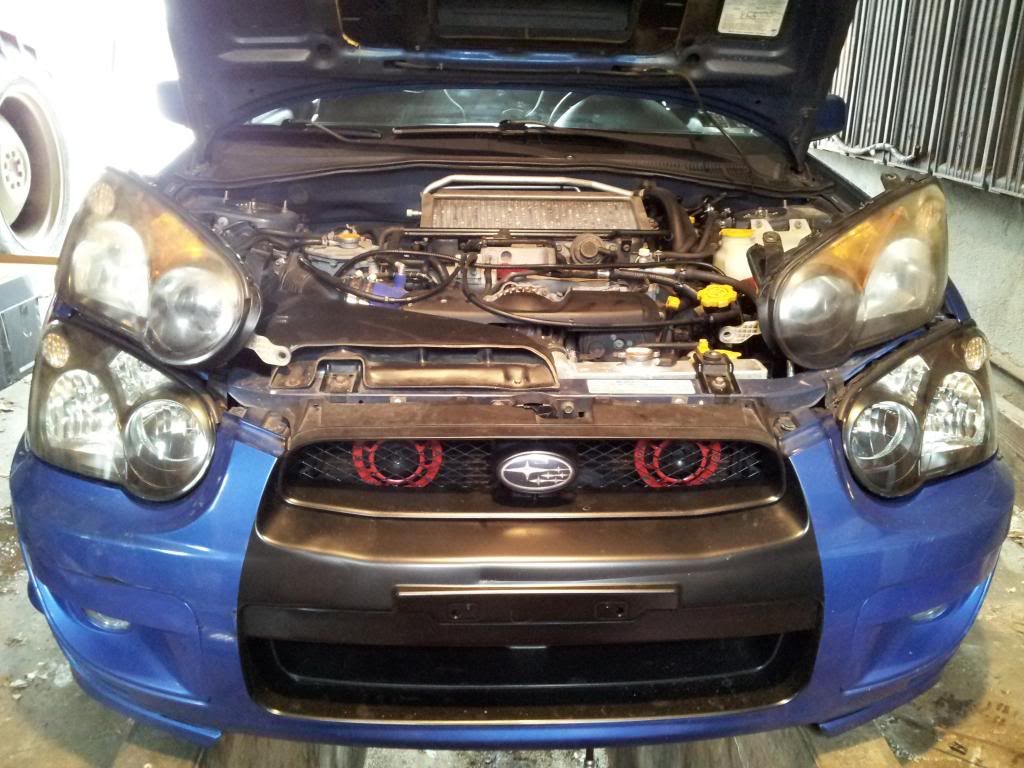
Next up was clearing up those disgusting, fugly headlights. It turns out the plastic lenses were shot & the headlight was leaking like crazy. So instead of fixing them myself, I just trashed 'em & upgraded to '05 STi headlights. Now if you don't know, '05 STi headlights use HID bulbs which conflicted with my wiring harness so good 'ol lightwerks hooked me up with a conversion cable
(here's the link if you're planning on doing this)
OEM STi HID Wiring Harness -- HID Projector Headlight Retrofit for Subaru, Honda, BMW, Scion and More | LightWerkz.net
This simple upgrade made my car look SO much better. I blacked out the inner housing as well.
![Image]()
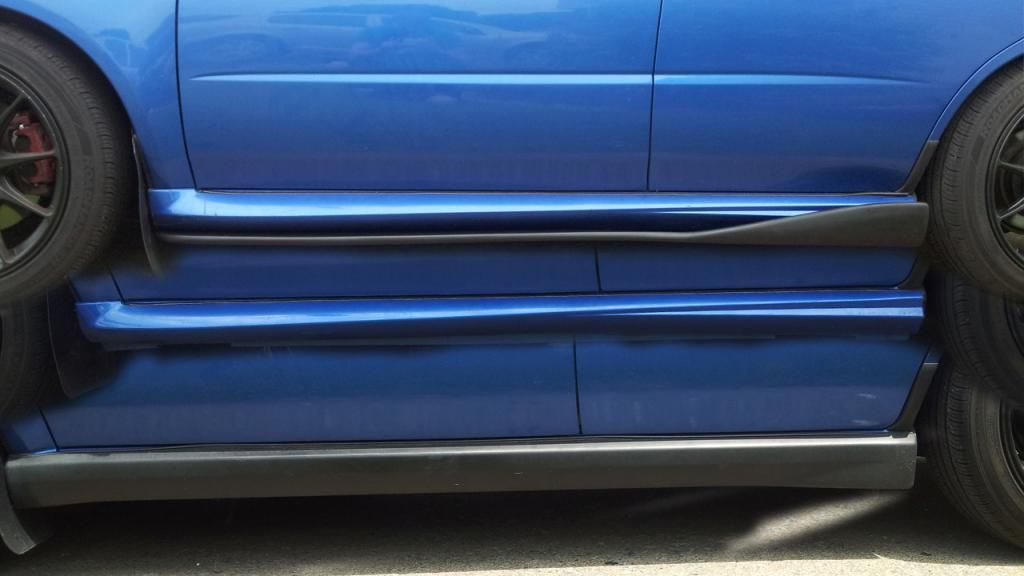
I added STi side skirts & then added on to them, Duraflex C-Speed Side Skirts.
(don't be jealous of my photoshop skills)
![Image]()
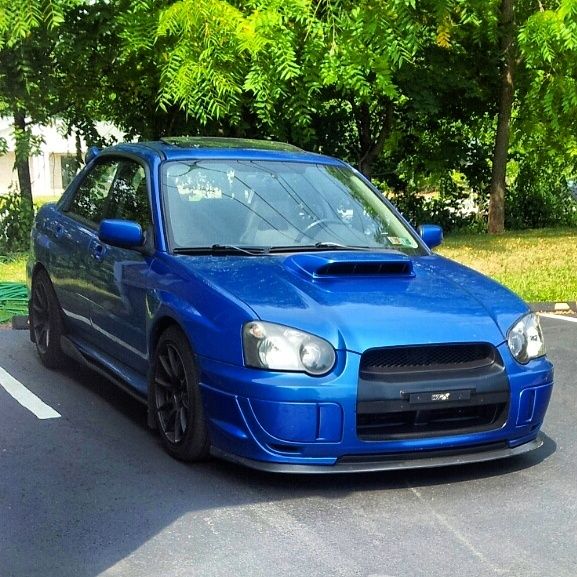
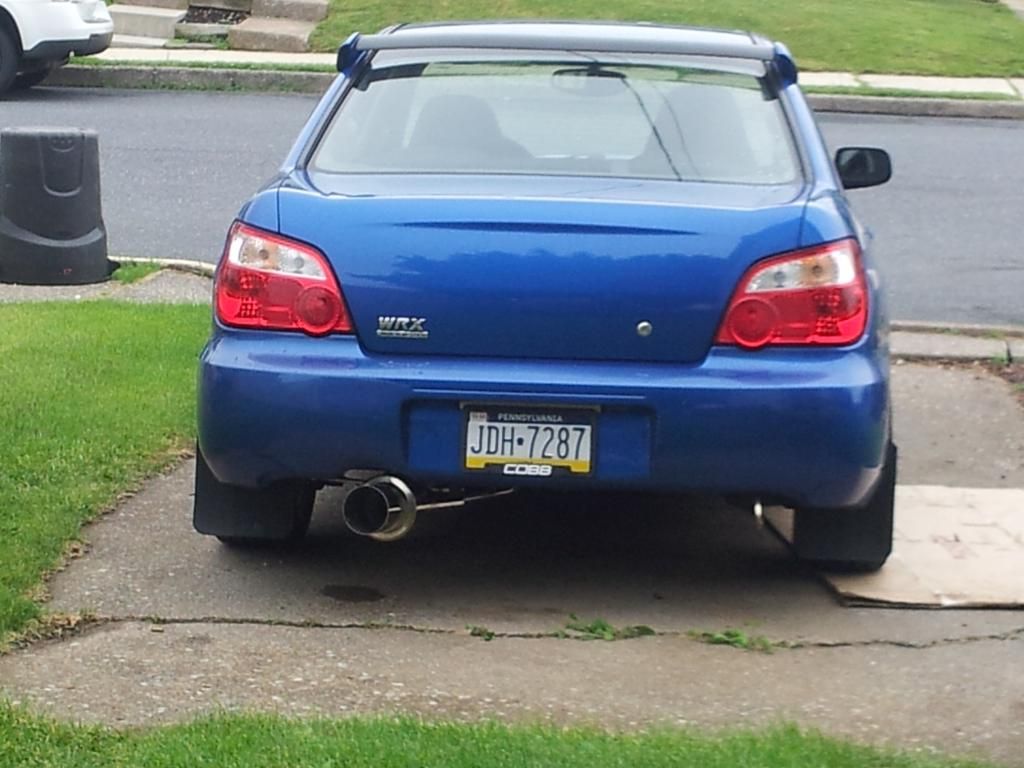
I thought that the WRX wing was pretty ugly & since I thought the STi wing (as awesome as it is) wasn't right for me since my car wasn't an STi, I decided to go wingless. I also added the 06-07 STi vortex generator, roof vane, whatever-tf you want to call it.
![Image]()
Here's how it looked after I was settled for a while with modding the exterior. This is before I started engine modifications (I'm talking more than just stage 2)
![Image]()
Now for some real modding. I became bored with stage 2 & wanted something a bit more fun. I actually contemplated on selling the WRX for an STi a few times back when I was bored with the power. Instead, i decided to keep upgrading parts. It was time for Stage 3! :domo:
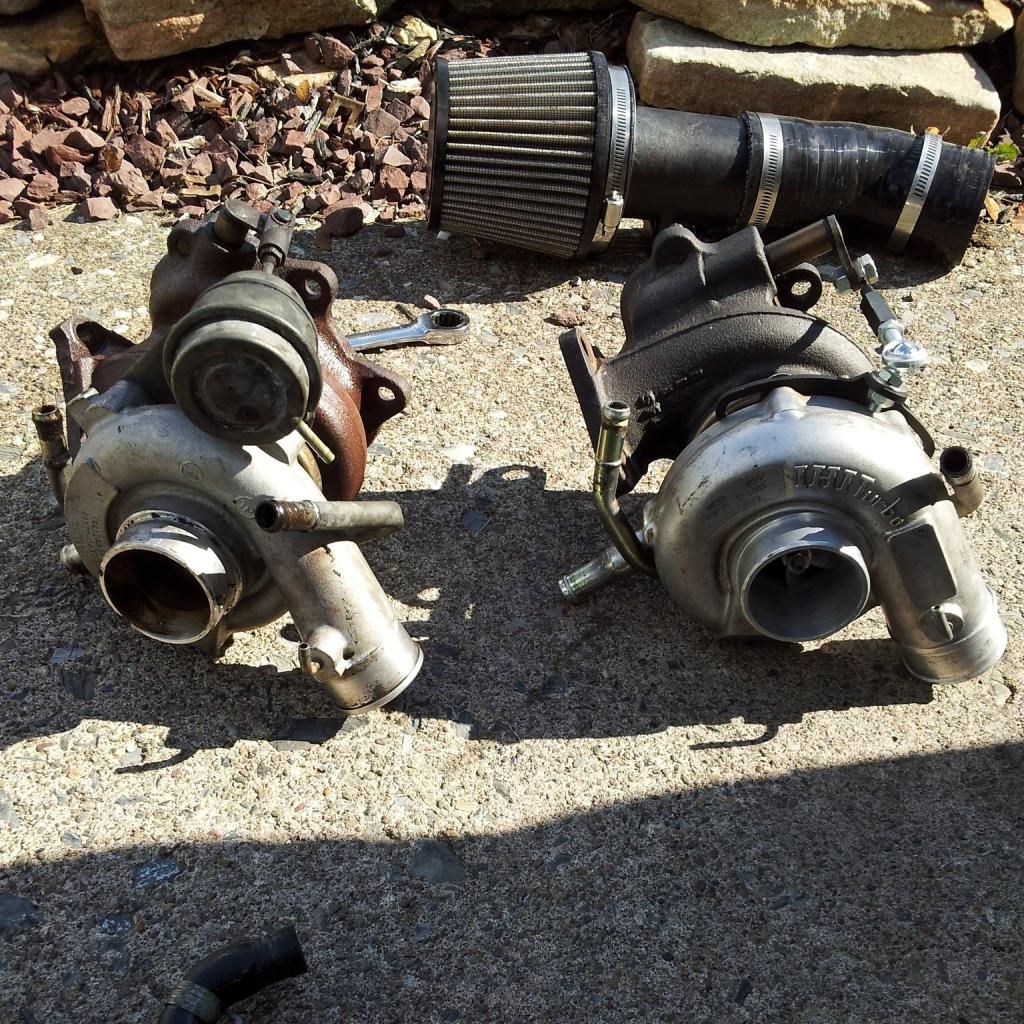
The WRX TD04 turbo was simply not cutting it, so I upgraded to the VF39 out of an STi with only 50,000 miles on it.
![Image]()
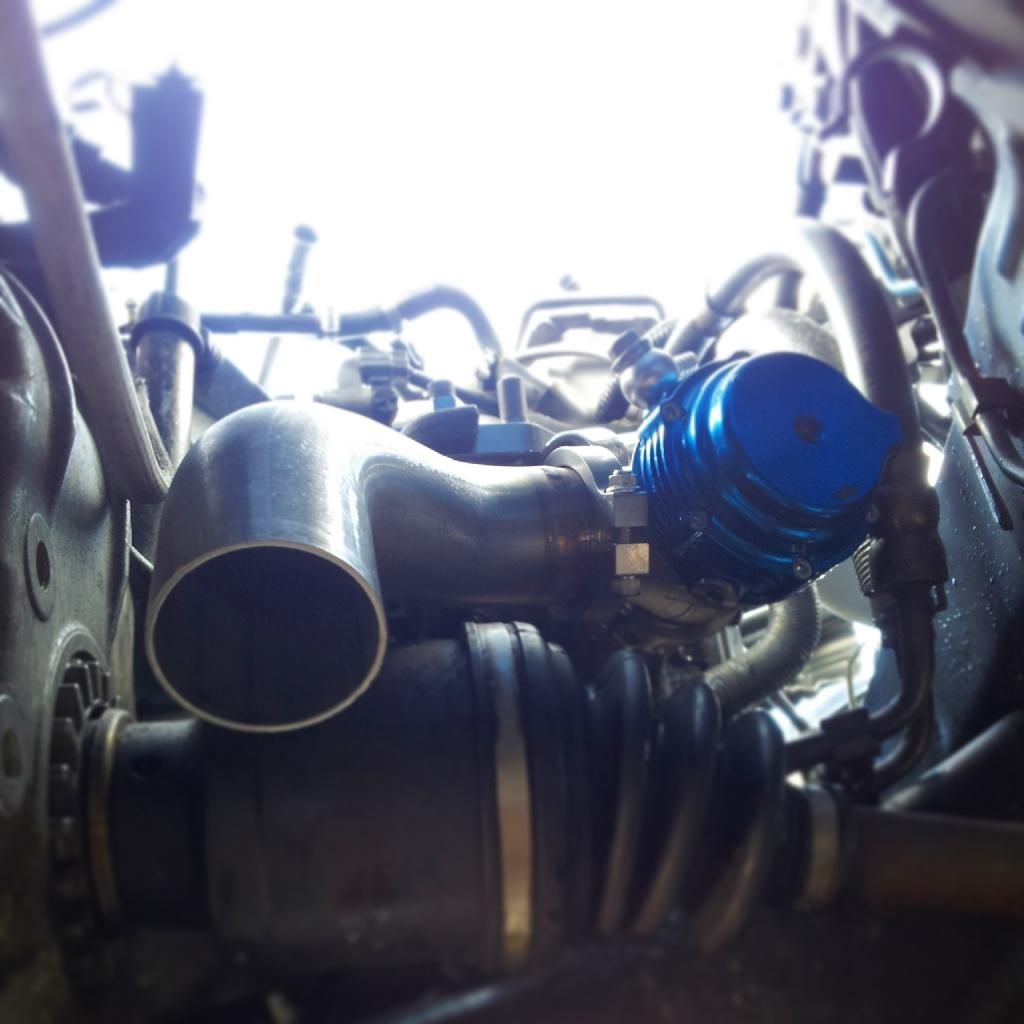
I then added TiAL's 38mm External Wastegate (EWG). THIS THING SCREAMS!!!!
![Image]()
WATCH this video I made of my EWG going through tunnels, IT'S SO FRIGGIN LOUD!
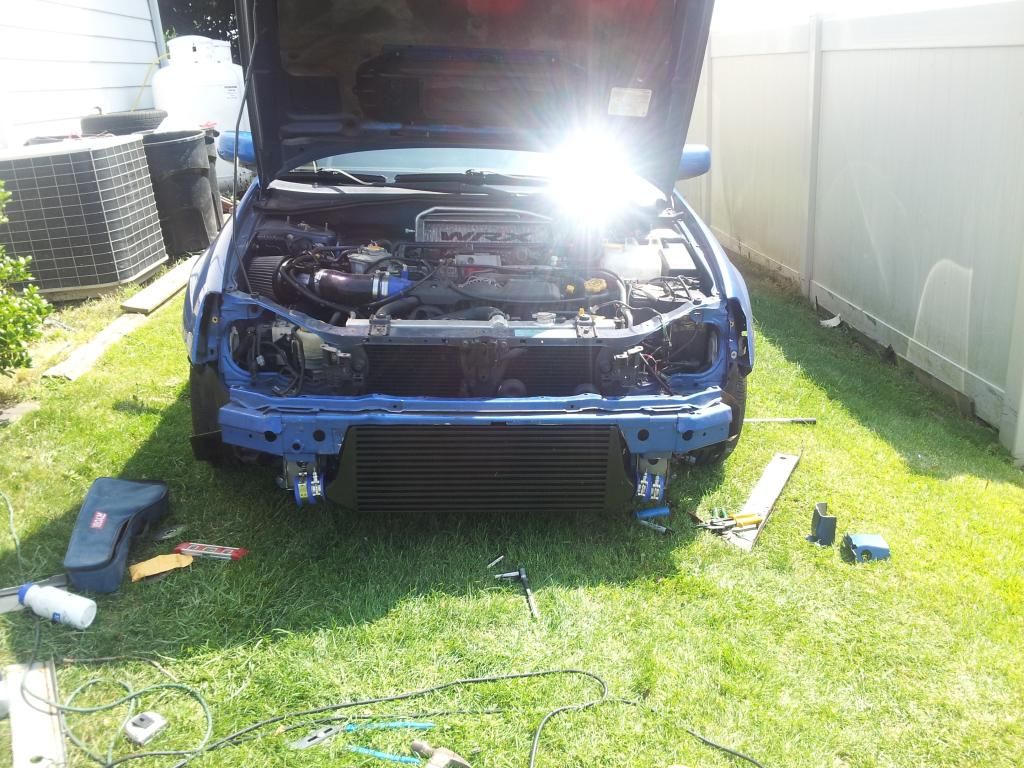
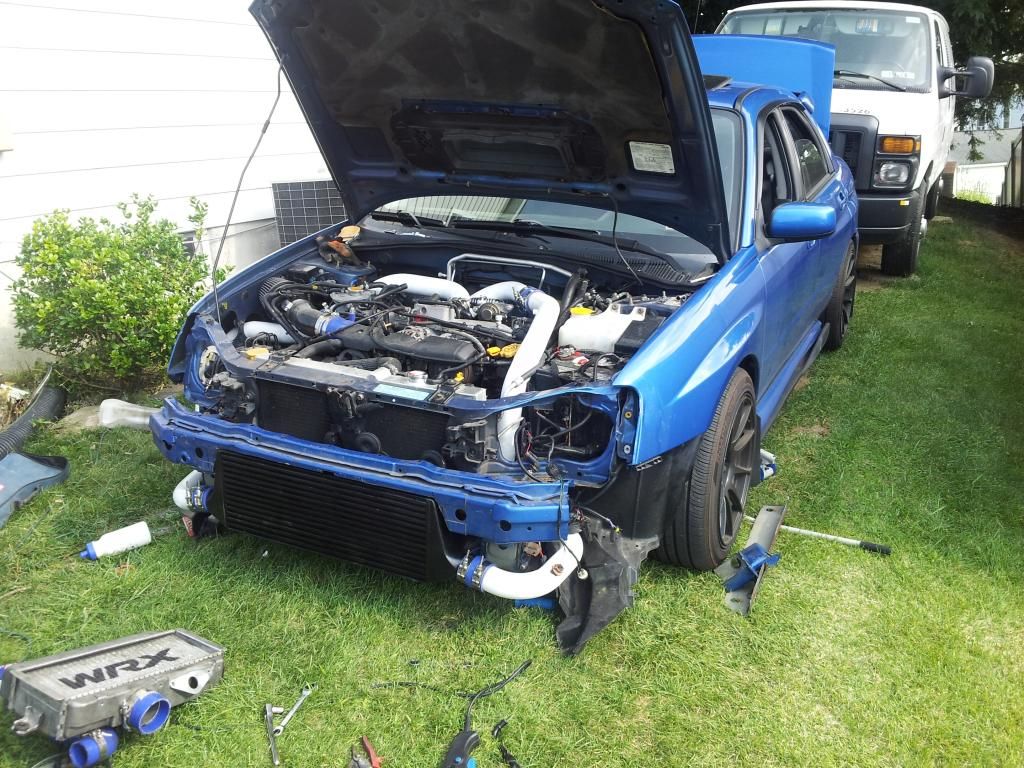
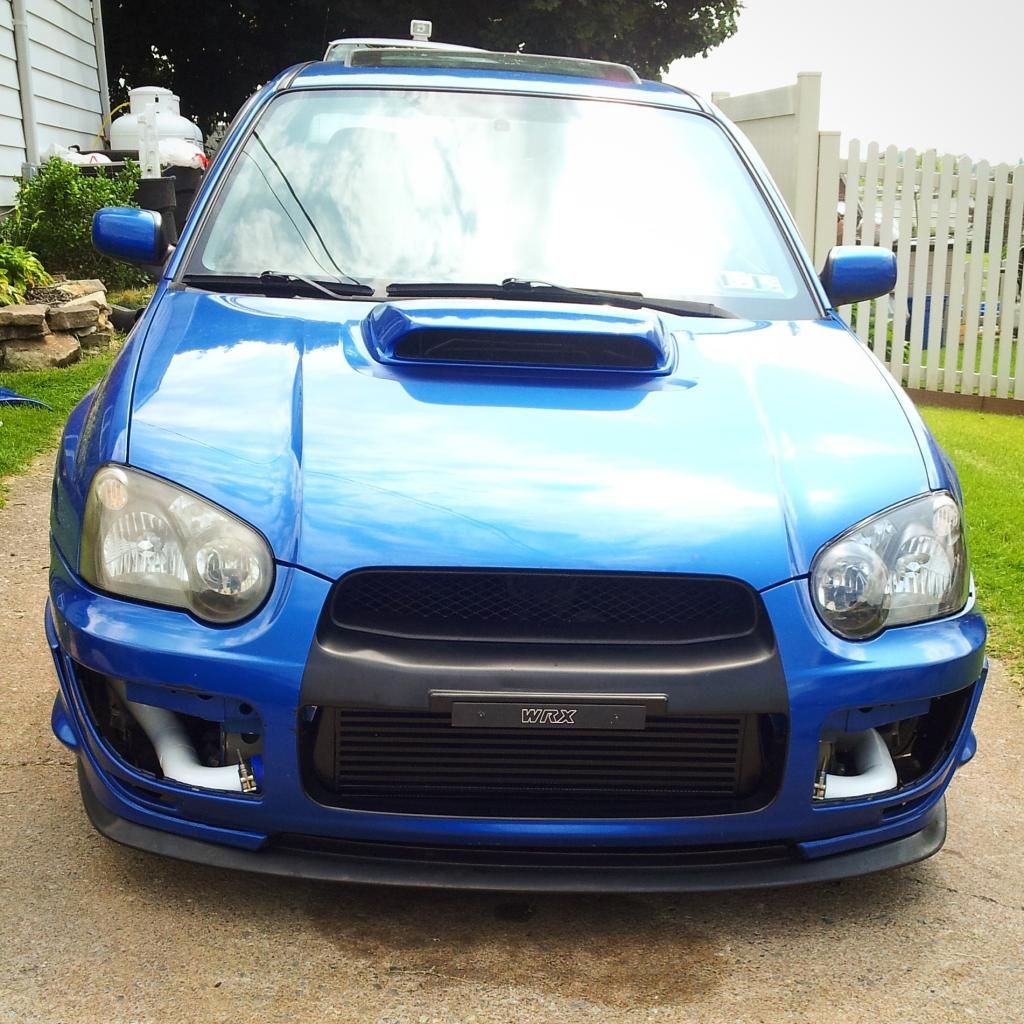
I then installed a TurboXS Front Mount Intercooler (FMIC) while retaining the OEM BPV. I KNOW the popular opinon of this mod is 'unnecessary' but I found this FMIC used for $400 which is a steal & with the Cobb AP my intake temps lowered by A LOT. Turbo lag & throttle response seemed the same to me. This required modification (cutting) of the Front crash beam. I could have removed it all together like most do, but I'd prefer not to have my EJ205 in my lap if I ever get into a head on collision (God forbid).
![Image]()
![Image]()
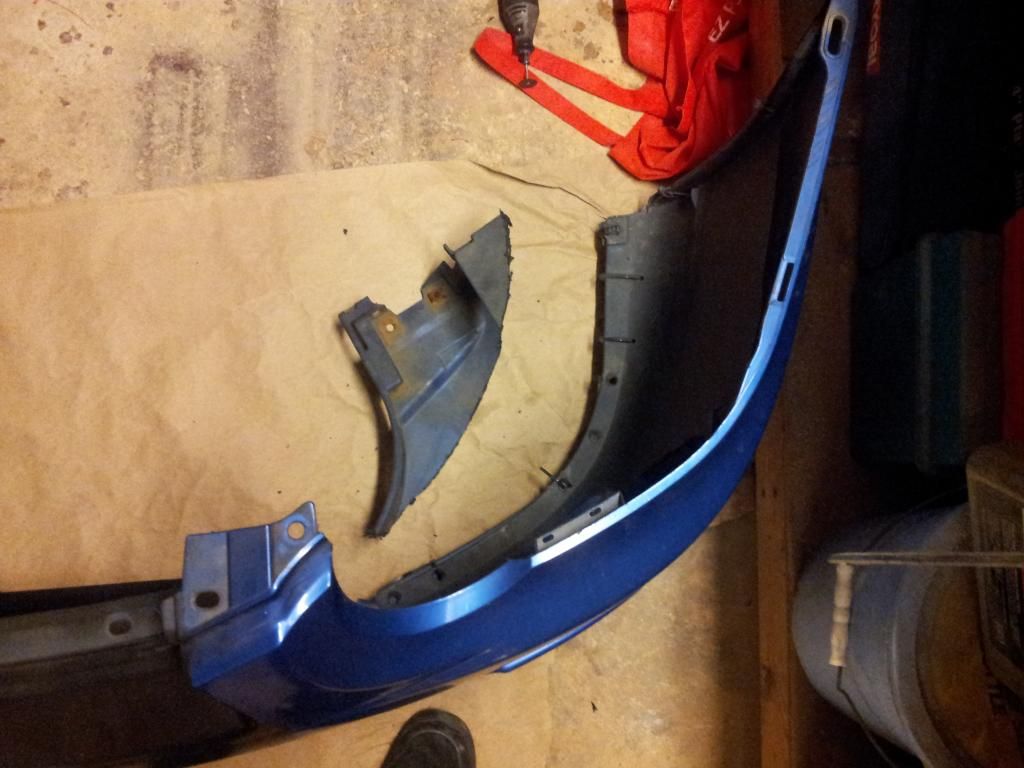
This also required a lot of cutting of the front bumper, I also removed the fog lights and mounts altogether.
![Image]()
![Image]()
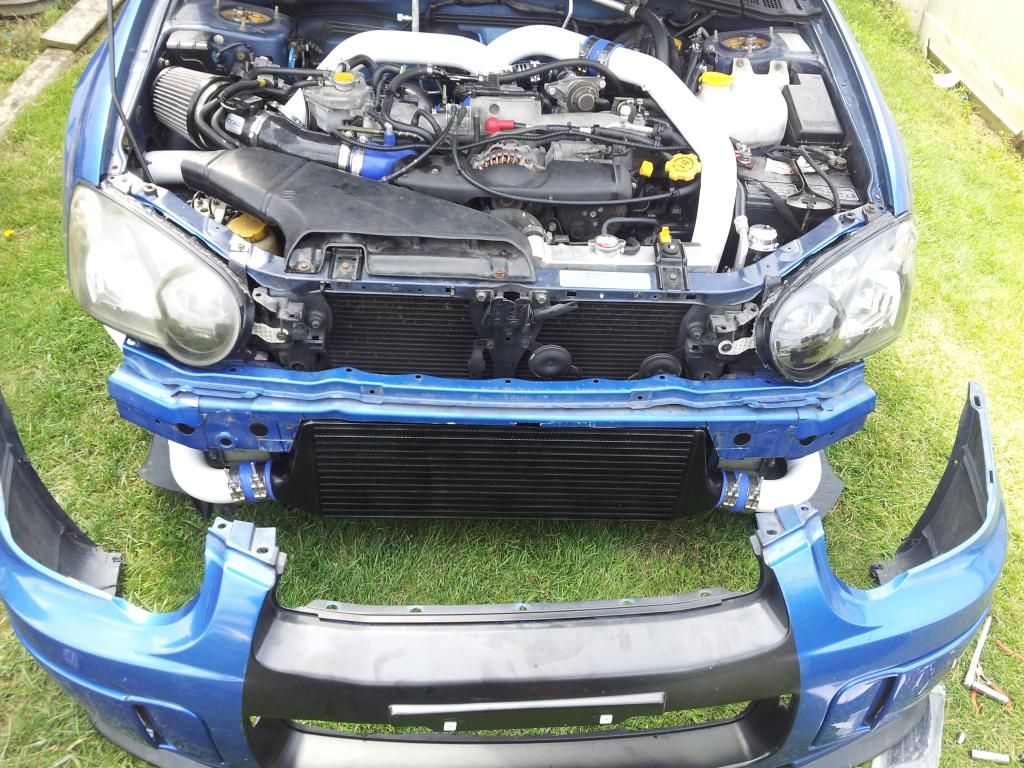
Here's how it looked after everything was all mounted up correctly
![Image]()
I then upgraded my ebay turbo back with a Tsudo Turbo back. It's puuurty
![Image]()
These were all the pretty mods of the Stage 3 build. I obviously needed supporting mods such as...
Injector Dynamics 1000cc fuel injectors (DON'T get Deatschwerks, they gave me SOO many issues)
Once everything was all installed & ready to go I then needed a tune! I decided on trying something different. I dove into the world of e-tuning. E-tuning is where a tuner from a far away land (lol) makes a map for your car, you drive your car, log your driving (with the Cobb Accessport), send your tuner the data logged & he sends a new map until the data logged is good (good AFRs, etc ,etc) This process repeats until your tuner is happy with the way your car is running.
I chose Clark Turner Tuning
Clark Turner - EFI Calibrator
https://www.facebook.com/clarkturnertuning
My honest review of his services is positive. The guy knows what he's doing & is very helpful. In my opinion though, he could work on his customer service skills. He comes off as very blunt & to the point (whether he meens to or not idk). But it's pretty simple, he's VERY good at what he does.
After the tune I had my car dyno'd just to see what it was making & it made 289whp/274wtq @ 19psi. Good number for a 2004 WRX with a stock EJ205 & 5 speed with 137,000 miles. That was more than enough power for me & DID YOU WATCH THAT VIDEO?! The car screams & pulls enough to put a smile on my face
No it's not the round # 300whp but you know what, this car makes me smile & it makes people's heads turn (passengers included) which is enough for me !!
Here's the list of ALL my engine mods so far.
IHI VF39 Turbo
Thermal Solutions Turbo Blanket
Blouch Oil Feed Line
TiAL 38mm External Wastegate (EWG) w/ 14.5 psi (1 bar) spring
Cobb Interal Wastegate (IWG) Bracket for EWG setup
Cobb 3-port Electronic Boost Controller (EBCS)
Cobb EBCS 1/4 Inch EWG Fitting & Hose Kit
Cobb Short Air SF Intake
TurboXS Front Mount Intercooler (FMIC) w/ Stock BPV
Injector Dynamics Fuel Injectors 1000cc (Top Feed)
Injector Dynamics Fuel Injector PnP Adapters USCAR to Denso
NGK Iridium Spark Plugs One Step Colder 2667
Walbro 255 LPH Fuel Pump
eBay Post MAF Rubber Hose
Godspeed Silicone turbo Inlet Hose
Grimmspeed Catless Up pipe w/ Flex Section, 38mm Wastegate Flange & Dump Tube
eBay 3" Bellmouth Catless Down Pipe
Tsudo 3" N1 Catback Exhaust
Mishimoto Aluminum Coolant Reservoir
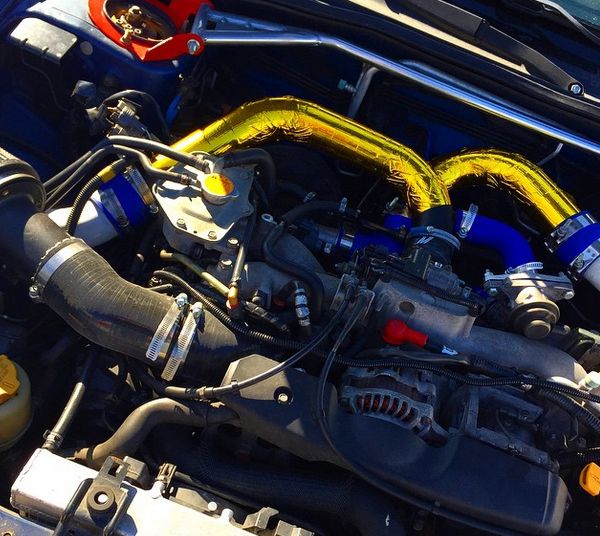
Mishimoto Heat Tape for the IC pipes
Cobb AP V3 on Custom Map by Clark Turner Tuning
Dyno Results - 289whp / 274tq @ 19 psi on 93 Octane
Here's my fugly EJ205's engine bay. I'll work on color matching & cleaning it up this Summer, but for now I'm just happy with the way it's running!
![Image]()
Follow me on YouTube
https://www.youtube.com/user/SubieRumble
AND
Follow me on Instagram
https://instagram.com/datsubierumble/
So let's begin.
I bought my car in October of 2012. It had 119,000 miles on it & I am the 3rd owner. The car was 100% stock except for black powder coated wheels, cheap mud flaps, Hella horns & some cheap ebay HIDs for the foglights. Yah know... The usual lol
I kept the car stock for quite a bit, almost a year. I bought Rally Armor mud flaps, cleared up the headlights & quickly & I mean QUICKLY became addicted to modifying my car. Yes, I know mud flaps & clearing up headlights don't necassarily qualify as 'modding' but that's all it took for me to realize that I love working on cars.
*Past thoughts to self*
"car needs to be lowered a bit, I mean look how the rear sags so low compared to the front... ewww."
So I bought EMUSA coilovers.
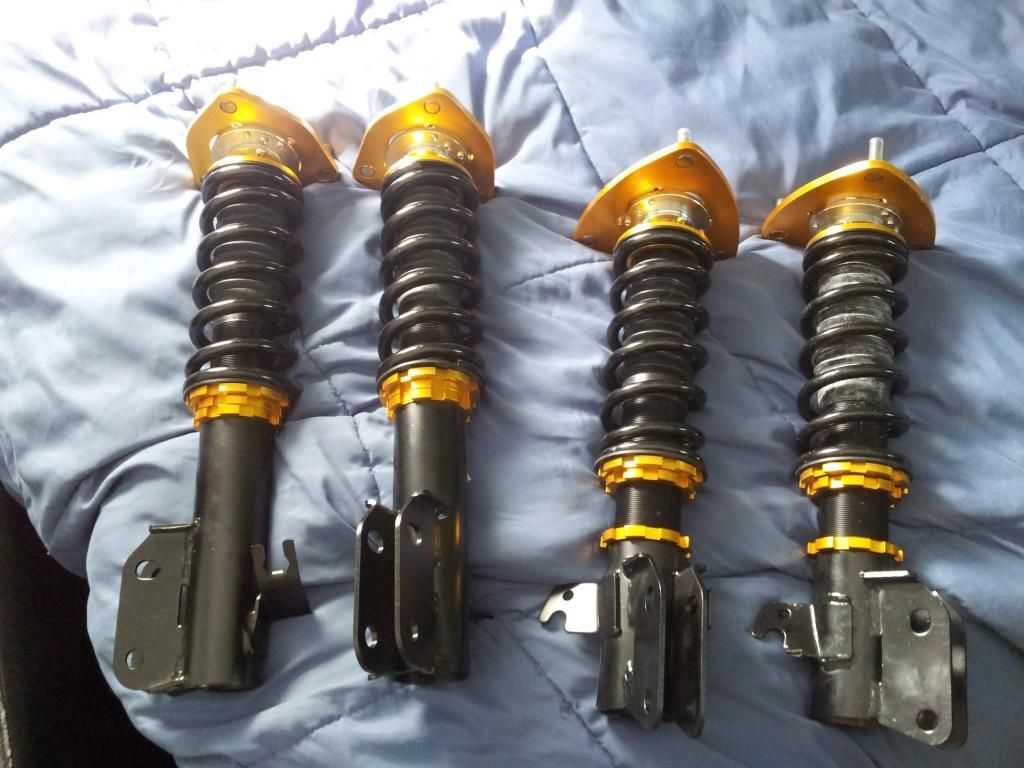
Yes. eBay, cheap, Chinese made... Nothing special, but they were ride height & camber adjustable & only $450 shipped. After 2 years of owning them, they served their purpose & are still going strong. I don't track my car so performance wasn't too much of a concern. Say what you will & of course you get what you pay for. In my opinion. I got more than what I payed for, they're still going strong!
*Past thoughts to self*
"damn those stock wheels are so small, narrow, & boring"
So I bought XXR 527s. 17x8.25 with a +25 offset wrapped in 225/45r17 hankooks.
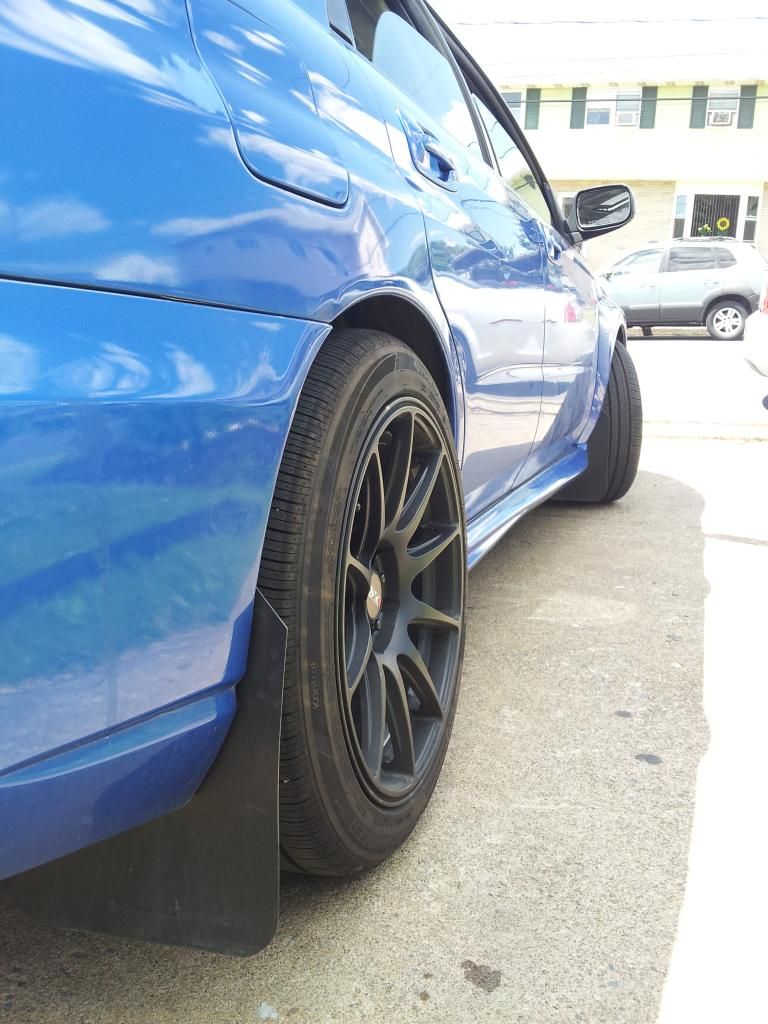
Yes. Ebay, cheap, Chinese made & extremely common... Nothing special. However I like the looks & again, after 2 years of owning them, 0 issues. I got my money's worth.
Here's a list of all handling related mods
XXR Wheels 17"x8.25" +25 Offset
Hankook 225/45r17 all-season tires
EMUSA Ride Height & Camber Adjustable Coilovers
eBay Front & Rear Upper Strut Tower Brace
Next up I decided to work on the bland appearance of my car. At this point I had just another World Rally Blue (WRB) WRX like every other kid with WRX it seemed lol. I wanted to make up something that made it look better but not be too flashy. I wanted that subtle, good looking WRX. Nothing ricey & nothing boring.
For the front end, I did the 'black nose' mod as I like to call it. It's similar to the newer GTR or Evo look
I masked off the area that needed to be black (& fixed a small dent caused by the previous owner)
Whether it's your cup of tea or not is irrelevant to me, it's something that most Subaru's (at least in my area) don't have, so my car definitely stock out of the bunch more after this.
Next up was clearing up those disgusting, fugly headlights. It turns out the plastic lenses were shot & the headlight was leaking like crazy. So instead of fixing them myself, I just trashed 'em & upgraded to '05 STi headlights. Now if you don't know, '05 STi headlights use HID bulbs which conflicted with my wiring harness so good 'ol lightwerks hooked me up with a conversion cable
(here's the link if you're planning on doing this)
OEM STi HID Wiring Harness -- HID Projector Headlight Retrofit for Subaru, Honda, BMW, Scion and More | LightWerkz.net
This simple upgrade made my car look SO much better. I blacked out the inner housing as well.
I added STi side skirts & then added on to them, Duraflex C-Speed Side Skirts.
(don't be jealous of my photoshop skills)
I thought that the WRX wing was pretty ugly & since I thought the STi wing (as awesome as it is) wasn't right for me since my car wasn't an STi, I decided to go wingless. I also added the 06-07 STi vortex generator, roof vane, whatever-tf you want to call it.
Here's how it looked after I was settled for a while with modding the exterior. This is before I started engine modifications (I'm talking more than just stage 2)
Now for some real modding. I became bored with stage 2 & wanted something a bit more fun. I actually contemplated on selling the WRX for an STi a few times back when I was bored with the power. Instead, i decided to keep upgrading parts. It was time for Stage 3! :domo:
The WRX TD04 turbo was simply not cutting it, so I upgraded to the VF39 out of an STi with only 50,000 miles on it.
I then added TiAL's 38mm External Wastegate (EWG). THIS THING SCREAMS!!!!
WATCH this video I made of my EWG going through tunnels, IT'S SO FRIGGIN LOUD!
I then installed a TurboXS Front Mount Intercooler (FMIC) while retaining the OEM BPV. I KNOW the popular opinon of this mod is 'unnecessary' but I found this FMIC used for $400 which is a steal & with the Cobb AP my intake temps lowered by A LOT. Turbo lag & throttle response seemed the same to me. This required modification (cutting) of the Front crash beam. I could have removed it all together like most do, but I'd prefer not to have my EJ205 in my lap if I ever get into a head on collision (God forbid).
This also required a lot of cutting of the front bumper, I also removed the fog lights and mounts altogether.
Here's how it looked after everything was all mounted up correctly
I then upgraded my ebay turbo back with a Tsudo Turbo back. It's puuurty
These were all the pretty mods of the Stage 3 build. I obviously needed supporting mods such as...
Injector Dynamics 1000cc fuel injectors (DON'T get Deatschwerks, they gave me SOO many issues)
Once everything was all installed & ready to go I then needed a tune! I decided on trying something different. I dove into the world of e-tuning. E-tuning is where a tuner from a far away land (lol) makes a map for your car, you drive your car, log your driving (with the Cobb Accessport), send your tuner the data logged & he sends a new map until the data logged is good (good AFRs, etc ,etc) This process repeats until your tuner is happy with the way your car is running.
I chose Clark Turner Tuning
Clark Turner - EFI Calibrator
https://www.facebook.com/clarkturnertuning
My honest review of his services is positive. The guy knows what he's doing & is very helpful. In my opinion though, he could work on his customer service skills. He comes off as very blunt & to the point (whether he meens to or not idk). But it's pretty simple, he's VERY good at what he does.
After the tune I had my car dyno'd just to see what it was making & it made 289whp/274wtq @ 19psi. Good number for a 2004 WRX with a stock EJ205 & 5 speed with 137,000 miles. That was more than enough power for me & DID YOU WATCH THAT VIDEO?! The car screams & pulls enough to put a smile on my face
No it's not the round # 300whp but you know what, this car makes me smile & it makes people's heads turn (passengers included) which is enough for me !!
Here's the list of ALL my engine mods so far.
IHI VF39 Turbo
Thermal Solutions Turbo Blanket
Blouch Oil Feed Line
TiAL 38mm External Wastegate (EWG) w/ 14.5 psi (1 bar) spring
Cobb Interal Wastegate (IWG) Bracket for EWG setup
Cobb 3-port Electronic Boost Controller (EBCS)
Cobb EBCS 1/4 Inch EWG Fitting & Hose Kit
Cobb Short Air SF Intake
TurboXS Front Mount Intercooler (FMIC) w/ Stock BPV
Injector Dynamics Fuel Injectors 1000cc (Top Feed)
Injector Dynamics Fuel Injector PnP Adapters USCAR to Denso
NGK Iridium Spark Plugs One Step Colder 2667
Walbro 255 LPH Fuel Pump
eBay Post MAF Rubber Hose
Godspeed Silicone turbo Inlet Hose
Grimmspeed Catless Up pipe w/ Flex Section, 38mm Wastegate Flange & Dump Tube
eBay 3" Bellmouth Catless Down Pipe
Tsudo 3" N1 Catback Exhaust
Mishimoto Aluminum Coolant Reservoir
Mishimoto Heat Tape for the IC pipes
Cobb AP V3 on Custom Map by Clark Turner Tuning
Dyno Results - 289whp / 274tq @ 19 psi on 93 Octane
Here's my fugly EJ205's engine bay. I'll work on color matching & cleaning it up this Summer, but for now I'm just happy with the way it's running!