Subaru WRX Forum banner

ShadowPR gets a new hobby and learns a few things

17K views 76 replies 17 participants last post by  Heide264 
#1 · (Edited)
ShadowPR's build thread

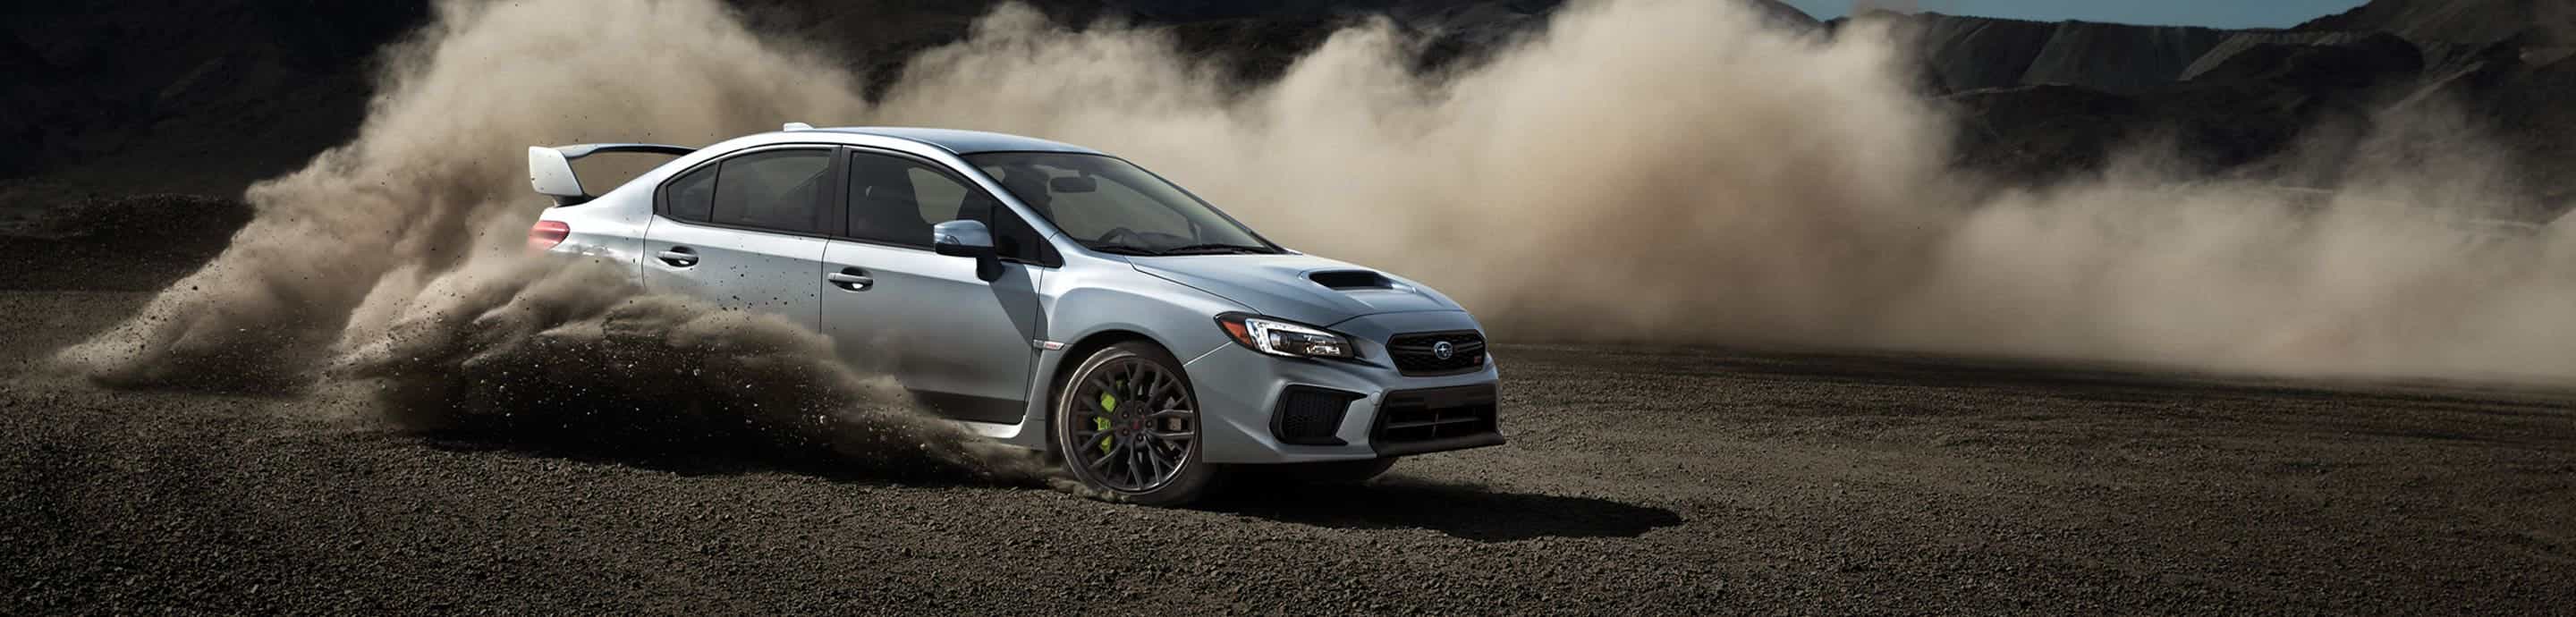
I bought my 2009 WRX in July of 09. She's been stock until now. Last month I decided to install the STI short throw. That was the beginning of my new hobby. This is my DD, and I have no real plans on ever bringing her onto a track, but I might want to try a lap or two once just to see what she can really do if allowed.

A little background. I know nothing about cars, except how to drive them. My last three cars were a 97 Pontiac Sunfire, 01 Hyundai Elantra, and then a 03 Mazda Protege. All three died in crashes. I installed my own headunits and speakers on them, and maybe changed a few light bulbs. I never had the chance to do any mods.

Now back to the present. After doing the short throw, I felt good and proud. I wanted to do more. I joined this site, and I knew it was on.

I decided to break up all the mods I want to do into "phases" in order to make things easier.

Phase 1: Bushings, swaybars, endlinks.
Phase 2: shocks, springs, calipers, brake lines
Phase 3: Wheels and tires
Phase 4: After warranty is up, CAI, and TBE followed by a tune.

Phase 1:
I've had the car on jack stands for a week so far. I'm going slow because I'm only working n it a few hours a day, and it's been cold.

This is what I ordered and have/will be installing:
Whiteline 22/24 R/F swaybars: done
Kartboy f/r endlinks: done
Group N engine mounts: done
kartboy pitch stop: done
Group N trans mount: done
TiC crossmember bushings: done
5mt holy shift kit: done
whiteline subframe inserts: done
whiteline rear diff inserts: DONE
WL front control arm bushing: done
wl rear trailing arm bushing: done
wh steering rack bushing: done
TiC rear lower control arm innner bushing: done
WL alk: done
wl front roll center adjustment: done
wl rear camber adjustment: done
wl rear shock lower bushing: done
Flapatax mud flaps: done
Black caliper paint: phase 2.

I did take a few pics of the parts and the car, but not too many. It was too cold, and I was busy with the car.

I'll update this first post with what else I manage to do to my baby. It's been frustrating, and fun along the way. Probably would have gone faster and smoother if mother nature decided to cooperate, but what can you do.

My next posts will talk about what I thought/remember about installing each part. Might help out someone else.
 
See less See more
#2 · (Edited)
Whiteline 22/24 R/F swaybars: removing the old ones went very smoothly. no trouble at all. i put the new ones up just to see, and they were easy as well.

Kartboy f/r endlinks: old ones came off easily. new ones seem to be straight forward. Only real issue I saw was trying to figure out where to put the big and small spacer for the rear endlink. Also make sure the rear tires are under load when doing this. I'm using a jack for that since the car is on jack stands.

Group N engine mounts: might let a shop do them because i honestly don't know where they are. depending on how things go the next few days, I might have to do these cause the local garage shops here charge a lot.

kartboy pitch stop: very simple. just remove a few bolts to get the tmic off and twist it out of the rubber hose.

wh steering rack bushing: very easy. the provided instruction made it simple.

Group N trans mount: was simple. hardest part was removing everything else to get to it, but works out since i did the cross member bushings.

TiC crossmember bushings: simple as well. once you remove the whole brace that holds the transmission up (use a jack to hold it up in place of the brace), you can take it apart, and just swap them out.

5mt holy shift kit: Since I already installed the sti short throw, i knew I could do this. I did this after taking the trans crossbember brace out so i had more room to work with. Everything was easy to take out, except to get that little pin out. I used an old thin bolt to bang it out. then I used a bigger bolt to get the second larger pin out. after that, changing out the bushings was easy. only problem was getting 1 bolt back in for the rear bushing. It went sideways. Impact gun got it in though.

whiteline subframe inserts: after undoing all the bolts and letting the subframe drop down, I was able to install the inserts into the front two easily. I had my dad use a large screw driver to get leverage and lower the rear of the subframe a bit more so I could get the rear inserts in. After that, I jacked it back up and put the bolts back in. With help, I got all the holes to line up. One bolt still didn't want to go in straight. Had to use a impact gun to get it all the way in.

whiteline rear diff inserts: the two rear ones are easy. the one that is a bit further towards the front of the car has been a nightmare. I can't get that nut to break loose. I've tried breaker bars, impact guns, pb blaster, cursing, begging. nothing has worked so far. I'm either going to let a shop do this one, or use a torch to try again, or break the nut and go buy a new one.


WL front control arm bushing: removed the front control arms. trying to figure out how to remove teh bushing. shops want too much. I may just drill it out. then might try to use c-clamps to put the new ones in.

WL alk: removed the front control arms. trying to figure out how to remove teh bushing. shops want too much. I may just drill it out. then might try to use c-clamps to put the new ones in.

wl front roll center adjustment: removed the front control arms. trying to figure out how to remove teh bushing. shops want too much. I may just drill it out. then might try to use c-clamps to put the new ones in. also need to see what else i need to do as far as taking the ball joints out.

wl rear trailing arm bushing: removed the rear trailing arm. same situation with teh bushings as above.

TiC rear lower control arm innner bushing: might let a shop do it, cause i don't want to remove the lower control arm and deal with the shock and spring.

wl rear camber adjustment: currently trying to remove the rear upper control arm. have one nut that is stuck.

wl rear shock lower bushing: might let a shop do it, cause i don't want to remove the lower control arm and deal with the shock and spring.


doing all this I learned a few valuable lessons. First is, the cold sucks. Second is to always make sure you grease bushings. You also want to make sure you don't tighten anything up untill you have all the bolts in at least part way. That will help with making sure everything is lined up properly.

Another valuable lesson is to make a game plan on what you want to work on first and get the order down. Try to have it flow.

Next lesson, this is fun. This site is awesome and full of information. This site will also cost me a lot of time and money.

Hopefully I can get this all done before the March 5th Victory meet.
 
#3 ·
So...its your build thread...sounds like you're putting in hard work! Goodluck!

oh yeah and....:needpics:
 
#4 ·
Sounds like some good work. I'd imagine your car will feel entirely new to you when you're done this phase, and will be quicker all around; more power to the ground and improved handling. Kudos for your excellent game plan, and discipline.

I've fallen in love with the bushing, "cheap", relatively easy to install, and awesome bang/buck. They end up being so bloody expensive in the end however since there are sooooo many. They make up for their inexpensiveness by force of volume.
 
#5 ·
Well put...all I think about before I want to do bushings is just how many there are and which ones I'd actually get to. I also imagine it'd really change my car up because having an 05, some of the stock bushings are probably wearing down a bit.
 
#6 ·
mudferret said:
I've fallen in love with the bushing, "cheap", relatively easy to install, and awesome bang/buck. They end up being so bloody expensive in the end however since there are sooooo many. They make up for their inexpensiveness by force of volume.
Just means you do a few of them at a time, which gives you the chance to see changes each make.

Sent from my Droid using Tapatalk
 
#7 · (Edited)
I started out only wanting to do swaybars and a few bushings. After a while though, it turned into "well while I'm there, I might as well change those too so I don't have to take it apart again"

Bushings get expensive, real quick.


EDIT: finally got that last nut for the rear diff inserts to break loose. So that is officially done. I also removed the rear upper control arms.

Just need to figure out how to get the bushings pressed out of everything, and get the new ones in so I can put my baby back together and see what she feels like.

And figure out how to change the front tie rod.
 
#8 ·
I finished everything that I had planned for the first phase.

I moved on the second phase. I already ordered:

Goodridge SS brakelines
Stoptech brake pads
ATE super blue brake fluid
Grimspeed MCB
RCE Yellows
Koni Yellows
Whiteline Camber bolt for the front. Did this since the strut tops won't work with my setup, and didn't feel like getting coilovers. Hard to justify them when I have no job.

I'm jut waiting for everything to get here.

In the mean time, I'm working on some appearance items. Plan on painting both the rear and front badge. Ordered a perrin shorty antenna. Will paint my headlights. I also debadged the rear. I will eventually get some carbon fiber covers for the rear trunk trim, and the b pillars. I also plan on painting the chrome under the windows. To keep with the carbon fiber theme, I will be getting a carbon fiber grill soon, and still looking for a cf rear diffuser.

Pics will be linked to soon.
 
#9 ·
Buddy ya killin me with the bushings..lol you need a arbor press to do them properly though I've removed many a bushing with a socket and a two jaw puller. You just have to be very careful with aligning the puller with the suspension part you want to separate the bushing from.

Bushings ARE cheap.. as long as you can do the labor yourself.

You could also use the big socket/little socket and bench vice trick (or two pieces of 1/4" thick steel pipe in respective diameters along with said bench vice.

See if you can locate someone who has a press or worse off, buy one. If you work on anything long enough you'll need it again and they're not that expensive.

Google search for arbor press

and please please please if a bolt doesn't want to go in straight, dont force it ITS CROSS THREADING! Thats bad, and if you ever have to remove that bolt again you're going to have a hell of a time. Best to keep messing with it until you can get it straight and smoothly threaded. Try putting a small dab of grease on the ends of the bolt threads before you start them. It does help. That and dont tighten one before the others. Get all started first and then tighten them down. ;)
 
#10 ·
lol

I'm done with bushings for a good while. I figure I changed just about all of them, so they better last me.

As for the bolts, whoops. I know the rear bushing one is messed up. It's in there, but no where near straight. Thankfully, I won't be having to deal with that one again.

The only other problem I had was with a subframe bolt. It went in part way, and then just started spinning. Can't get it to go anymore. It's in there good though. I can't spin it freely, need a breaker bar or impact gun.

Only issue I've had in the past several hundred miles since I finished everything is a knocking/rubbing/annoying sound coming from the rear passanger side. I have another thread about it.
 
This post has been deleted
#12 ·
The only other problem I had was with a subframe bolt. It went in part way, and then just started spinning. Can't get it to go anymore. It's in there good though. I can't spin it freely, need a breaker bar or impact gun.
I will be doing the subframe bushings next week.Did you get the bolt back in?how much torque?From everywhere I read ,everyone makes it sound easy.Do I you have to have the car in the air or can I use ramps?
 
#15 ·
Legit as in they won't affect warranty if there is a problem with the engine. I didn't ask a dealer if they were ok, but to me, they are safe mods that won't affect anything that I think will break on the car. My biggest concern would be the engine, turbo, or transmission. Thus I'm staying away from anything that will affect those. The mounts shouldn't affect them either.

I will be doing the subframe bushings next week.Did you get the bolt back in?how much torque?From everywhere I read ,everyone makes it sound easy.Do I you have to have the car in the air or can I use ramps?
I had my car up on jacks while I did all my mods. The whiteline subframe inserts have a top and bottom part, so I had to undo all the subframe bolts to get it low enough to slide the inserts in on the top. I did get all the bolts back in. Like mangostick said, just put them in a little bit each until they are all lined up. The bolt that gave me trouble and started to spin on me, is probably a fluke. I can't torque that one to spec since it keeps spinning, but the others are good.
 
#16 · (Edited)
factory manual states 106lbft.. I'd go with that vs the article. ;)
edit:
actually later in the article it mentions torquing them back to 100ftlbs or so.

I had my car up on jacks while I did all my mods. The whiteline subframe inserts have a top and bottom part, so I had to undo all the subframe bolts to get it low enough to slide the inserts in on the top. I did get all the bolts back in. Like mangostick said, just put them in a little bit each until they are all lined up. The bolt that gave me trouble and started to spin on me, is probably a fluke. I can't torque that one to spec since it keeps spinning, but the others are good.
I'ma gonna go out on a limb here but thats likely where your noise in the rear is coming from. These bolts thread into welded nutserts in the sheet metal of the body shell. If that welded nut breaks loose.. you get exactly what you describe. Spins but wont tighten down.

I didn't have to drop my subframe very far to get the kartboy inserts in.. just about a 1/2" and slid them in at the top in front.. and the rears go onto the bottom of the bushing so for those you dont need to drop anything aside of the bolt and gigantor washer/plate that interfaces the bushing. I did mine one at a time like the article states. I used all hand tools and only took me about 35min.
 
#18 ·
I dont have a link, but I did download it from somewhere in pdf. Let me see if I can track down the link. I'm on the work machine now so dont have all my nifty bookmarks available.
 
#25 ·
Once they find the subframe lockdown bushings you may have some trouble getting that covered under warranty.. though, never hurts to try.
 
#26 ·
I'd start by removing bushings that are located where bolts aren't able to be torqued to spec, it may feel plenty tight, but the loads and forces can make the bushing/bolt scream otherwise. It may help you diagnose the issue as well.
 
#27 ·
I seem to have developed the exact same problem.I installed the rear subframe bushings.Did everything by the book.Everything was fine untill I got to the last subframe bolt,the front one on the driver side.It didn't want to go in.I applied some grease,did not force it in,but it got in eventually,but I am not able to torque it to spec.It's in there but like I said not torqued to spec.
Shadowpr,what did you do to fix this?
 
#28 ·
I haven't started trying to fix it yet.

I got a new kid plate, and used it for a few days. When I went to take it off so I could make some sides to it, I noticed the nut on the lower rad support was coming out. Waiting on a part to hopefully fix that. Since I was in the frnt, I removed the front badge, and the headlights. Going to be painting them.

After those are done, then I'll get back to working on the rear noise. My plan is to first remove everything from the trunk, and ride like that to see if it's still there. Next will be to rip everything up and see if I can see where that bolt screws into.
 
#31 ·
Well I nstalled a Grimmspeed master cylinder brace. It was a straight forward install, just a little tight trying to squeeze it in to place and then getting the bolts started along.

I have successfully baked my headlights and have already applied my first coat of paint to the chrome. It will be black, and then will do a red tip on it.

As for the side reflectors, I want to paint them, but don't want to be illegal and not have any. So my compromise is to paint "WRX" into them. I will still have the reflectors, but it will display the model nicely and be unique (until someone steals my idea.)
 
#34 ·
Meh, it'd be a lot cleaner looking to just remove the reflectors IMO. But I digress, it is just my opinion :)
 
This is an older thread, you may not receive a response, and could be reviving an old thread. Please consider creating a new thread.
Top