

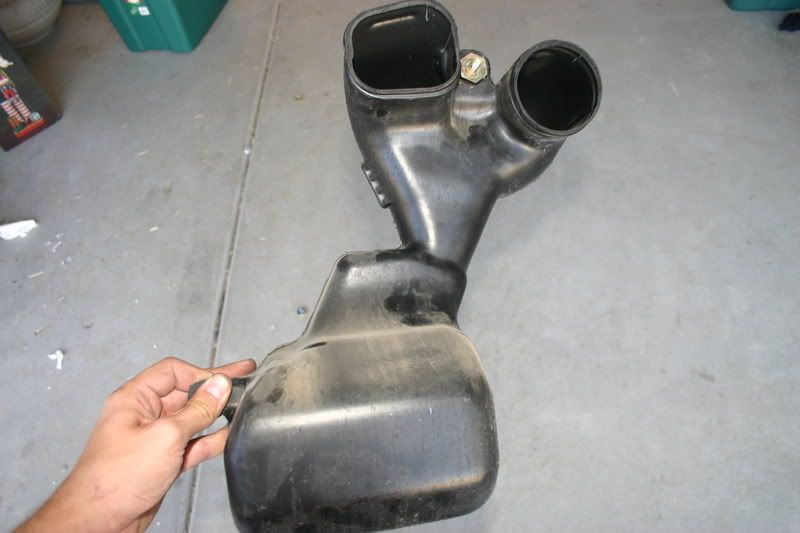
Ok, i have seen alot of questions regarding this free mod, so i thought i would post a how to on the matter: This procedure is being done on a 2003 WRX sedan. should be the same for most model years but i am not sure.
i have circled certain things with either red or yellow circles to indicate points of intrest.
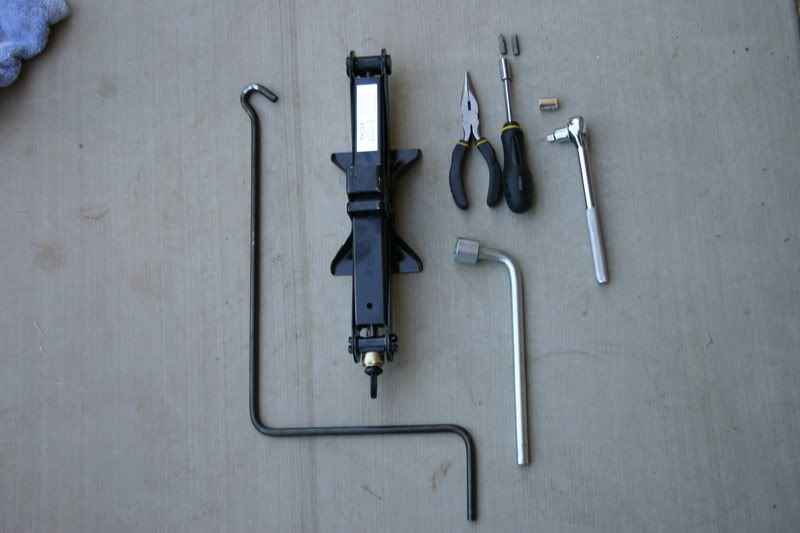
keep in mind there may be a slight different way to do this but this is the way i did it...first off you will need these tools as follows: flat head screwdriver, phillips head screwdriver, 3/8" socket wrench with 10mm socket, jack, tire iron.
![Image]()
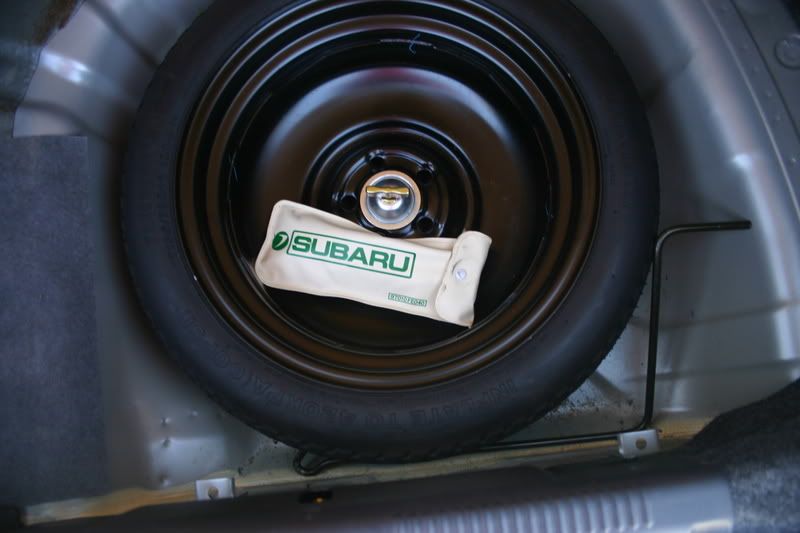
you can find the tire iron under your trunk floor cover where your spare is (its in the subaru sheath)
and while your at it grab that crank next to the tire.
![Image]()
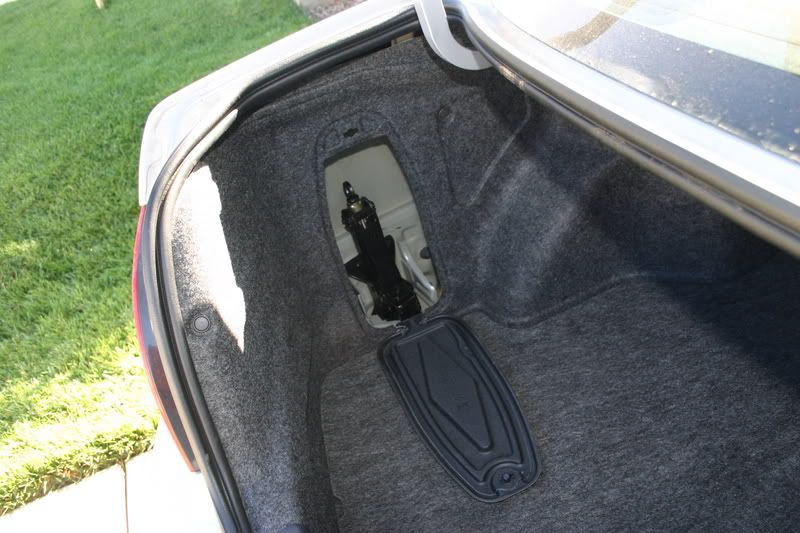
then you will need a jack, you can find the one that comes with the vehicle here on the left side of the inner trunk. Its held in place with a panel screw.
![Image]()
turn said screw 1/4 turn in either drection and panel will open revealing the jack.
![Image]()
Now you dont have to use the jack and iron that come with the wrx, you can use your own floor jack or what have you. i just went this route because not everyone has a floor jack. And if you do, it will be slightly easier but not by much. Same goes for the tire iron included with the wrx...some have have a different one or even air tools that they can use.
pull out the jack and take the crank i mentioned earlier, head to the passenger front side of the car. place your tools in the vacinity of the passenger side for easy access.
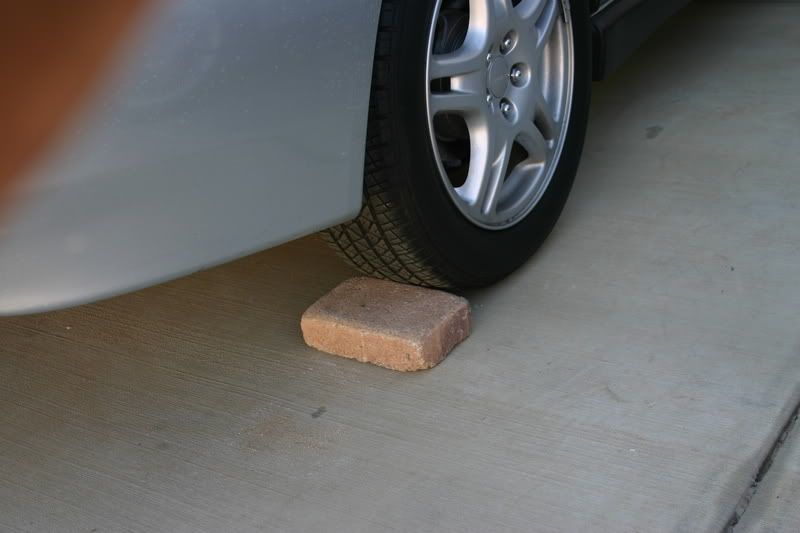
Next and probably most importantly try to do this on a level surface so the car does not want to roll safety is #1. I unfortunelty did this on a slight grade (driveway) but luckily had no issues. Next apply E-Brake, and then chuck the back tire with something to help prevent rolling as a just incase method...you can never be to careful. I used a paving stone...prefrebly find something a little bigger.
![Image]()
next place the jack under the jack point from the front passenger side, insert hook end of crank threw eye of jack and crank untill it meets with proper jack point, but stop after its snug against it.
![Image]()
if your unsure where the jack point is, refrence the owners manual it depicts a small image, and explanation.
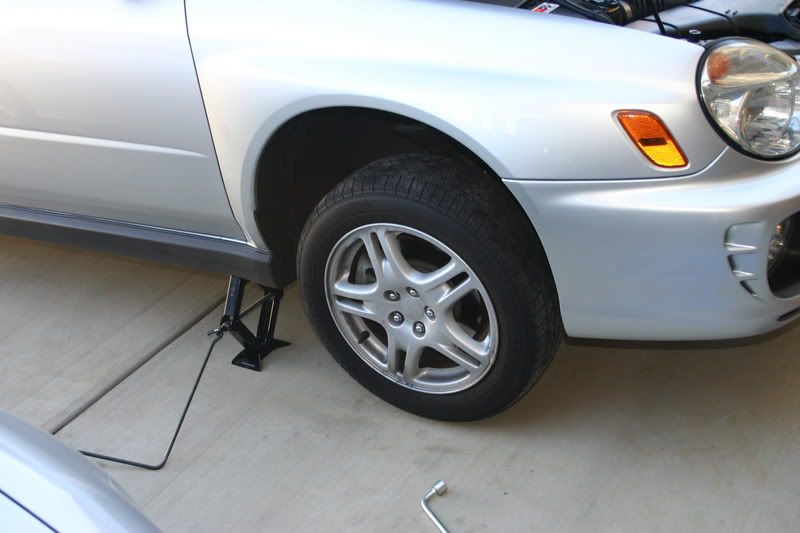
Next take the supplied tire iron and losen lug nuts on wheel but do not completly remove...
If your having a hard time getting them loose with the supplied lug wrench slip a breaker bar over it (a small 12-24" section of pipe) this will provide the neccessary leverage you may need. Once the nuts are loose turn the jack crank clockwise to raise the car. But do not jack up too high...jack up just enough so there is 1/4" clearence fron the tire to the asphalt/concrete.
![Image]()
i have circled certain things with either red or yellow circles to indicate points of intrest.
keep in mind there may be a slight different way to do this but this is the way i did it...first off you will need these tools as follows: flat head screwdriver, phillips head screwdriver, 3/8" socket wrench with 10mm socket, jack, tire iron.
you can find the tire iron under your trunk floor cover where your spare is (its in the subaru sheath)
and while your at it grab that crank next to the tire.
then you will need a jack, you can find the one that comes with the vehicle here on the left side of the inner trunk. Its held in place with a panel screw.
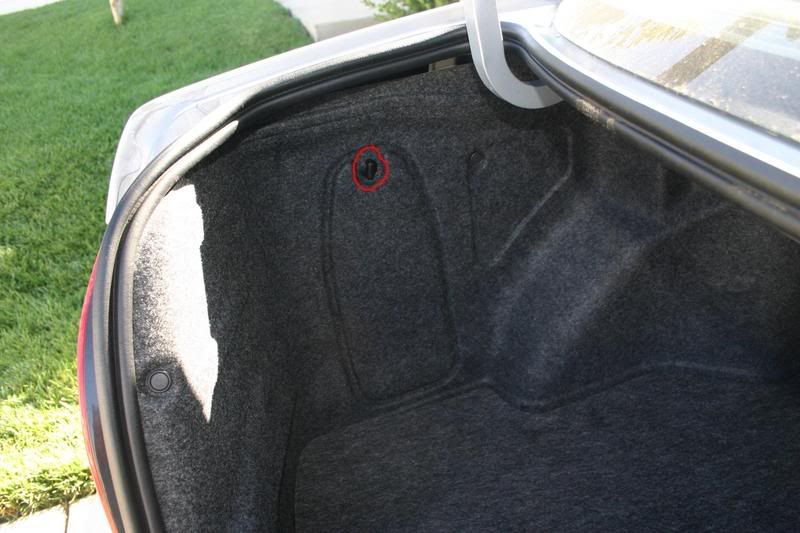
turn said screw 1/4 turn in either drection and panel will open revealing the jack.
Now you dont have to use the jack and iron that come with the wrx, you can use your own floor jack or what have you. i just went this route because not everyone has a floor jack. And if you do, it will be slightly easier but not by much. Same goes for the tire iron included with the wrx...some have have a different one or even air tools that they can use.
pull out the jack and take the crank i mentioned earlier, head to the passenger front side of the car. place your tools in the vacinity of the passenger side for easy access.
Next and probably most importantly try to do this on a level surface so the car does not want to roll safety is #1. I unfortunelty did this on a slight grade (driveway) but luckily had no issues. Next apply E-Brake, and then chuck the back tire with something to help prevent rolling as a just incase method...you can never be to careful. I used a paving stone...prefrebly find something a little bigger.
next place the jack under the jack point from the front passenger side, insert hook end of crank threw eye of jack and crank untill it meets with proper jack point, but stop after its snug against it.
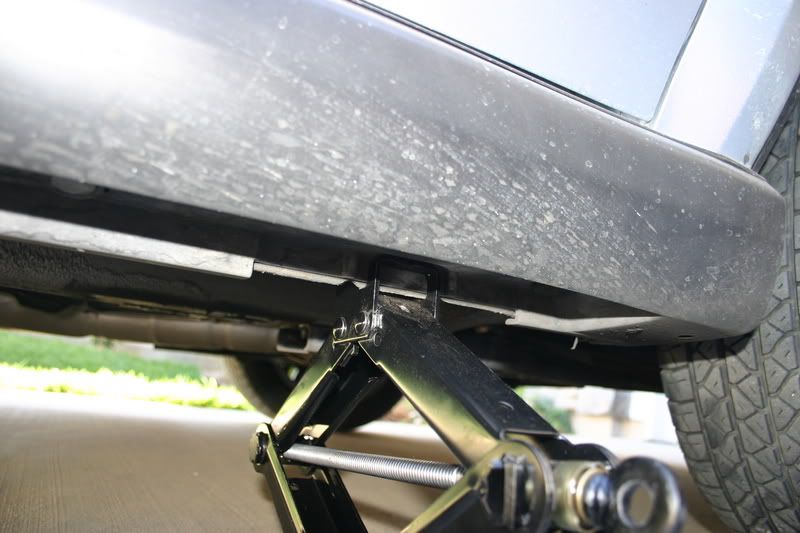
if your unsure where the jack point is, refrence the owners manual it depicts a small image, and explanation.
Next take the supplied tire iron and losen lug nuts on wheel but do not completly remove...
If your having a hard time getting them loose with the supplied lug wrench slip a breaker bar over it (a small 12-24" section of pipe) this will provide the neccessary leverage you may need. Once the nuts are loose turn the jack crank clockwise to raise the car. But do not jack up too high...jack up just enough so there is 1/4" clearence fron the tire to the asphalt/concrete.


")


